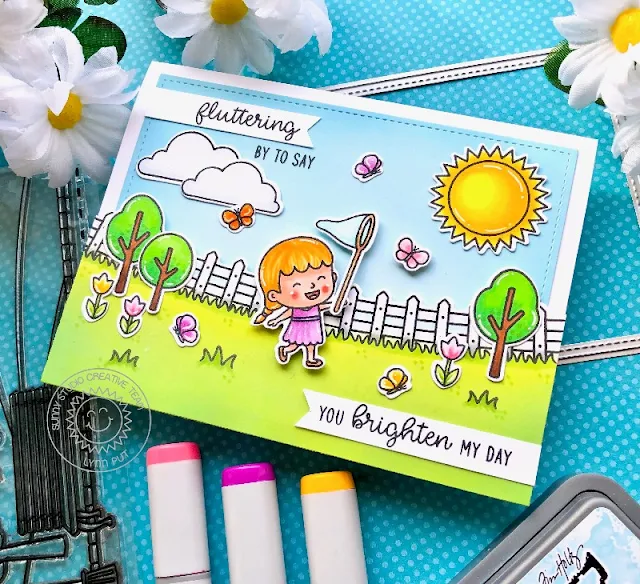
After stamping and die cutting all of my images, I colored
them using Copic markers. For the grass I colored with Copic markers just along
the fence line and then blended on some Twisted Citron and Mowed Lawn Distress Oxide
inks to fill in the rest of the area then stamped the little grass images from
the Spring Scenes set. I created banners for my sentiment, one on the top left
corner of my card with part of it stamped directly on my background, and
another banner for the second part of my sentiment.
Once all of my pieces where complete, I assembled my card by first adhering my stitched blue background panel to my card front, then I added foam tape to my fence/grass piece, the little girl with the butterfly net and one of the butterflies and adhered all of my images.
--------------------------------------------------
Hello everyone! It's Ashley today with a card featuring the new Spring Scenes stamp and die set! If you loved the Scenic Route stamps from the last release as much as I did, you are going to want to grab this set! It makes it so easy to create cute card scenes, especially when combined with other sets like the Spring Showers cuties.
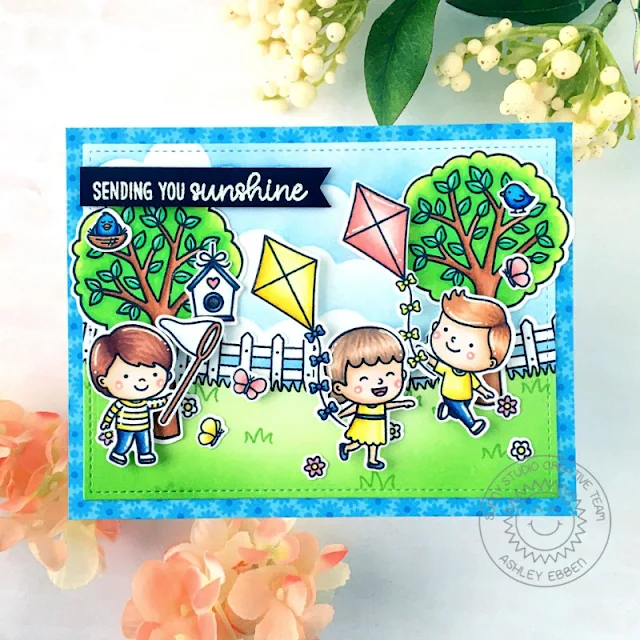
I started by
using the My Favorite Things Mini Cloud Edges stencil and Lawn Fawn Forget Me
Not ink to make my background sky. I stamped the fence and grass from Spring Scenes in
Lawn Fawn Jet Black ink and masked off the area above the grass so I could ink
blend. I blended Lawn Fawn Freshly Cut Grass and Jalapeno inks for the grass,
then used the individual grass clump sets with the Freshly Cut Grass ink to add
detail. I finished by coloring the fence and spaces between with Copics before
die cutting with the Spring Scenes dies. To
add the stitched details, I die cut both the cloud piece and the grass piece
with the frame of Frilly Frames Retro Petals.
I stamped images
from Spring Scenes, Spring Showers,
and Seasonal Trees in
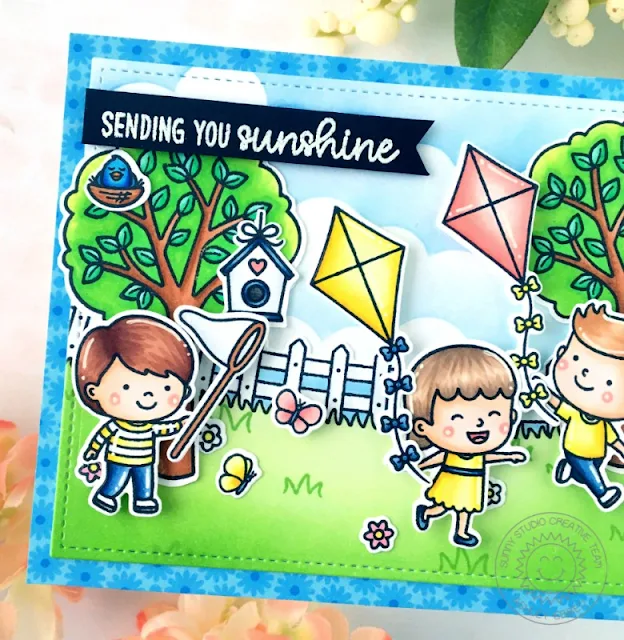
Jet Black and colored with Copics. I arranged my images around the card,
popping a few up with foam squares, before mounting the whole piece on a piece
of light blue flowered paper from the new Spring Fling paper
pack. I finished with a sentiment from Sending Sunshine embossed
in white on a strip of black cardstock and popped up with foam tape.
I just love how these sets work so well together! They create the cutest scenes, don't you think? Thank you so much for stopping by! Have a wonderful day!
I just love how these sets work so well together! They create the cutest scenes, don't you think? Thank you so much for stopping by! Have a wonderful day!
Sunny Studio Supplies Used:
 Sunny Sentiments Dies Shop at: Sunny Studio |
 Sunny Sentiments Stamps Shop at: Sunny Studio |
 Seasonal Trees Stamps Shop at: Sunny Studio |
 Seaonal Trees Dies Shop at: Sunny Studio |
 Sending Sunshine Stamps Shop at: Sunny Studio |
 Frilly Frames Retro Petals Dies Shop at: Sunny Studio |
 Spring Scenes Stamps Shop at: Sunny Studio |
 Spring Scenes Dies Shop at: Sunny Studio |
 Spring Showers Stamps Shop at: Sunny Studio | |
 Spring Showers Dies Shop at: Sunny Studio |
 Spring Fling Paper Shop at: Sunny Studio |


Love the colorful card!
ReplyDeleteRosalie