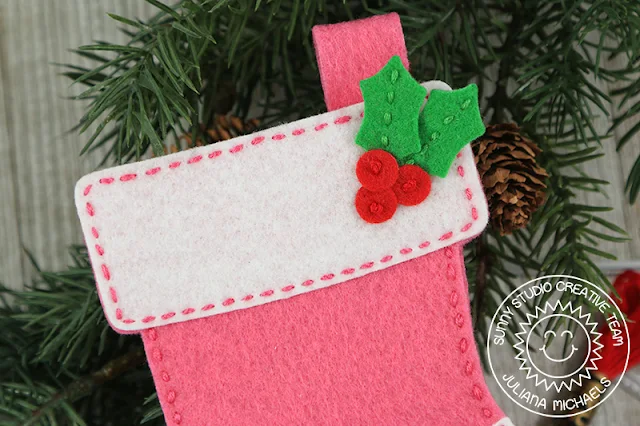
It's been forever since I did any stitching or embroidery, but the Santa's Stocking dies inspired me to pull them out to create a festive handmade Christmas ornament. Every year, I love to create handmade ornaments as gifts and I know I'll be making quite a few more of these over the next few weeks!
The first thing I did was to die cut all the shapes from felt
purchased at my local craft supply store. I also got matching embroidery thread
for each color of felt. I die cut 2 of the main stocking piece and then one of
the trim, toe and heel pieces. I also die cut some holly leaves and berries to
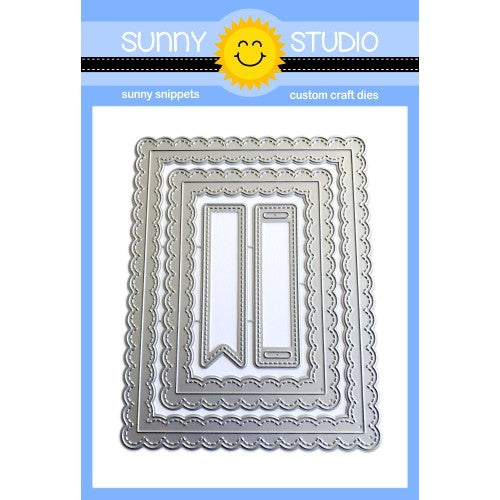
embellish it. For the hanger, I used the ribbon slider die from the Fancy Frames Rectangles die set. I just trimmed off the holes, but you could
also just cut a rectangle from the felt to use for your hanger.
Begin by adding stitching to the holly leaves and then sew them to the trim. Next, stitch the berries to the trim piece using french knots. Now it's time to stitch on the other pieces. The dies for the trim, heel and toe all have a stitched edge to them, so I used this as a guide to sew these pieces to one of the die cut stockings. Only stitch those edges to begin with.
Once that is completed, start stitching the two stockings together. Remember not to sew across the top of the stocking! I'll admit to forgetting this at first, so I had to remove a few stitches! For the final bit of sewing add the hanger to the back of the stocking.
I hope you enjoyed learning how to create this felt Christmas stocking ornament and how to use your dies for more than just paper crafting. I can't wait to create a few more of these and give them as gifts to my family and friends this Christmas. I'm pretty sure they'll be even more special when filled with some candy or even a gift card!
Sunny Studio Supplies Used:
 Fancy Frames- Rectangles Shop at: Sunny Studio |
 Santa's Stocking Dies Shop at: Sunny Studio |


So cute on the tree!
ReplyDelete