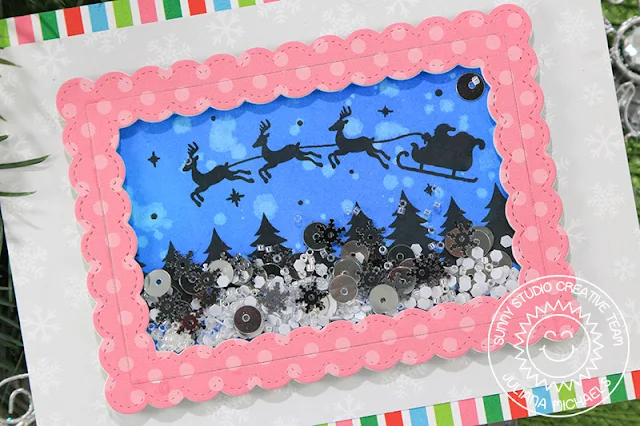
I began by cutting a piece of double sided foam
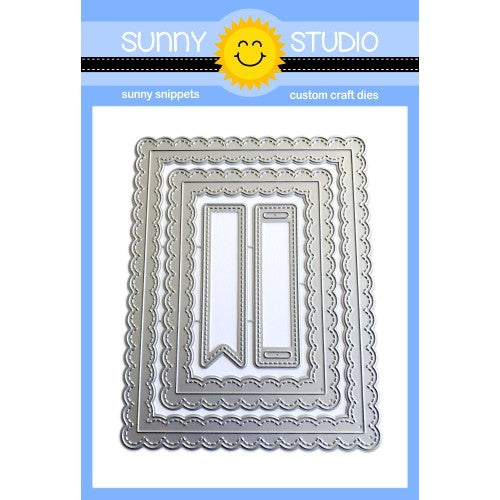
adhesive with the smallest frame die from the Fancy Frames Rectangle die set. I
then used it to cut a piece of pink polka dot paper from the Holiday Cheer 6x6 paper pad. Next, I cut a piece of acetate to just smaller than the opening on
the frame and adhered it to the top of the die cut foam frame. I then adhered
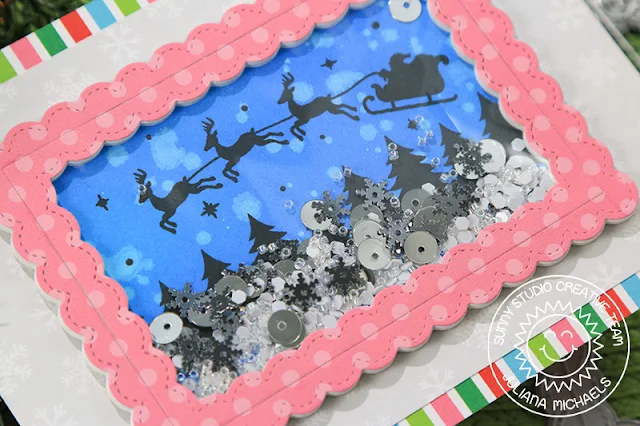
the pink polka dot frame on top of the acetate to complete the shaker box.
To create the background of the shaker card, I cut a piece of Bristol smooth paper to just smaller than the die cut frames and inked it with Distress Oxide in Salty Ocean and Blueprint Sketch. I then lightly splattered it with water and dabbed it dry with a paper towel. I love how this gives you the look of falling snow! Next, I took Ranger archival ink in black and stamped the trees along the bottom edge and the Santa with his reindeer across the top. I curved the stamp just slightly to give it a more animated feel. After the background was complete, I filled the shaker box with a mix of sequins and beads. I then adhered the background to the back side of the shaker box to complete the shaker.
For the card front, I again used some patterned papers from the Holiday Cheer 6x6 paper pad. To keep the patterns and colors from competing with the shaker box, I used a grey snowflake pattern behind the shaker and then added a striped pattern to the edge to add in a bit more color and balance the shaker box.
I hope you enjoyed learning how to create a
Christmas shaker card using the new Here Comes Santa stamp set and Fancy FramesRectangle dies. Thanks so much for stopping by today!
Sunny Studio Supplies Used:
 Fancy Frames- Rectangles Shop at: Sunny Studio |
 Holiday Cheer 6x6 Paper Shop at: Sunny Studio |
 Here Comes Santa Stamps Shop at: Sunny Studio |


No comments:
Post a Comment