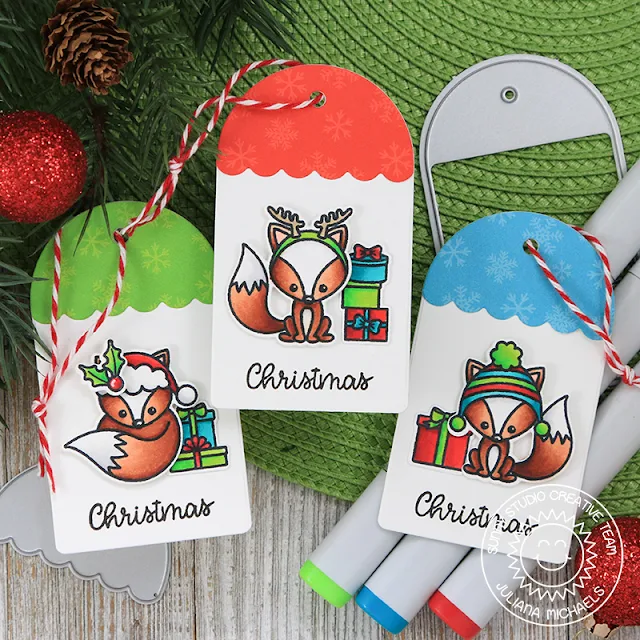
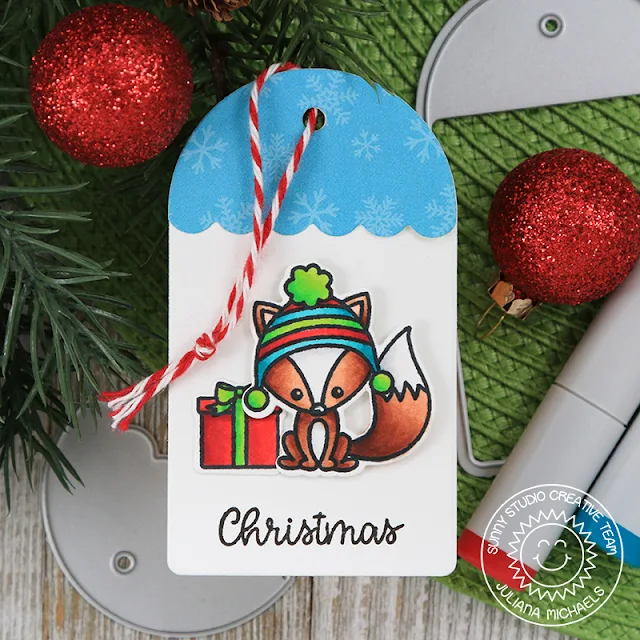
I began by stamping and coloring several of the adorable
foxes and gift boxes from the Foxy Christmas stamp set. I used Copic Markers
for all of the coloring and then die cut them using the coordinating die set.
Next, I took one of the tags from the Build A Tag No. 1 and die cut it from white cardstock. I then took some of the patterned papers from the Holiday Cheer 6x6 paper pad and die cut them using one of the tag toppers from the tag die set.
Once I had all of the pieces die cut, I was ready to start assembling the tags. I layered the toppers and die cut images onto the tags and created a little “scene” on each one. To finish off each tag, I added a piece of red and white baker's twine.
I hope you enjoyed this bit of Christmas gift tag inspiration using the new Build A Tag No.1 and Foxy Christmas stamp set. Thanks so much for stopping by today!
Sunny Studio Supplies Used:
 Holiday Cheer 6x6 Paper Shop at: Sunny Studio |
 Foxy Christmas Stamps Shop at: Sunny Studio |
 Foxy Christmas Dies Shop at: Sunny Studio |
 Build-A-Tag #1 Dies Shop at: Sunny Studio |


These are so cute!
ReplyDeleteAdorable tags!!!
ReplyDeleteSo cute!
ReplyDelete