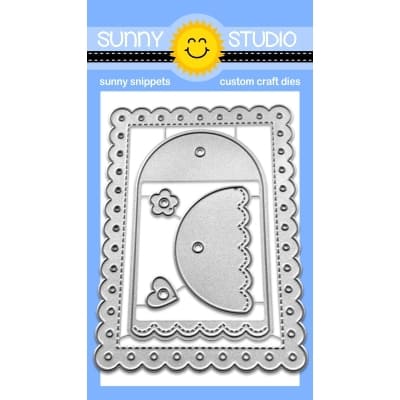
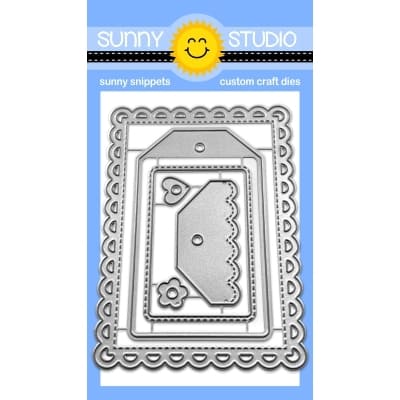
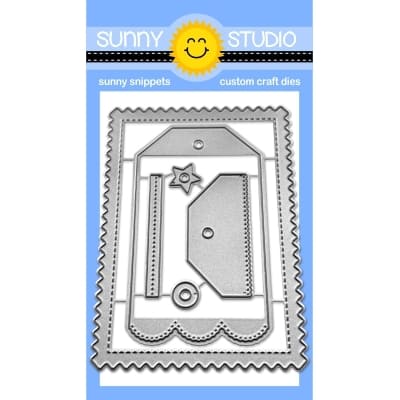
Hello to you! Vanessa here with a set of Christmas tags using the Mini Mat & Tag dies.
These dies are such fun to play with! I die-cut tags, rectangles, stars, shapes etc from white, black, vellum and gold cardstock and combined these to create various tags.
For an interactive feature, I die-cut a window from two rectangles, adhered vellum to both sides and filled the inside with small stars and sequins.
Onto some of the tiny tags I stamped "noel" and added a little star to replace the diereses.
These sets were used:
Mini Mat + Tag 1
Mini Mat + Tag 3
Mini Mat + Tag 4
Rustic Winter Dies
Stitched Rectangle Dies
Window Quad Square Dies
Winter Greenery Dies
Classy Christmas Stamps
I enjoyed creating these immensely! Have a lovely weekend and thanks for stopping by!
------------------------------------------------
Hello crafty friends, it’s Tina with two mini cards for you
today. I love making this smaller size card because it always looks so cute!
Especially for the holiday season, it’s fun to create something different than
the standard A2 size.
There are 4 beautiful mini mats with tags in the new release, today I am featuring the rectangle dies from Mini Mat & Tag 2 and Mini Mat & Tag 3. I used a smaller rectangle from the Infinity set to create a frame from both mats. Next, I also created two rectangle panels from Neenah card stock and ink blended the sky portion with a soft green combination of Distress Oxide Cracked Pistachio and Lucky Clover. Since these are Christmas cards, of course I had to do some splattering with water and white paint droplets to give the illusion of snowflakes. To finish the background panel, I cut two snowbanks from a shiny white card stock I had in my stash.
I stamped all my images using Reindeer Games (the cute reindeer), Santa Claus Lane (stockings) and the Penguin Party set (stars). All the coloring was done with Copic markers, adding snow details with a white gel pen.
The Autumn Tree die was perfect as branches to hang the stockings. Since these are mini cards, I only needed to cut one tree and divided it in half for each of the cards. I wanted the branches to look frosted, so I only added some warm grey tones in a few spots. The sentiment from Reindeer Games was stamped onto two skinny strips of white card stock.
I created two white mini card bases and glued a dark teal panel to both. Next, I worked on my background panel, gluing the branches in place, adding the snowbanks and finally the reindeer, stockings, and stars. Then, I mounted the Mini Mat frames to the backgrounds with foam tape for dimension. After adhering the sentiments, I could glue the mini mat frames to the card bases.
These mini cards turned out so cute, and they were a lot of fun to make! Thank you for joining me and happy crafting!
Sunny Studio Supplies Used:
 Stitched Rectangle Dies Shop at: Sunny Studio |
 Rustic Winter Dies Shop at: Sunny Studio |
 Santa Claus Lane Stamps Shop at: Sunny Studio |
 Santa Claus Lane Dies Shop at: Sunny Studio |
 Window Quad Square Die Shop at: Sunny Studio |
 Classy Christmas Stamps Shop at: Sunny Studio |
 Winter Greenery DIes Shop at: Sunny Studio |
 Penguin Party Stamps Shop at: Sunny Studio |
 Penguin Party Dies Shop at: Sunny Studio | |
 Reindeer Games Stamps Shop at: Sunny Studio |
 Reindeer Games Dies Shop at: Sunny Studio |
 Autumn Tree Die Shop at: Sunny Studio |
 Mini Mat & Tag 1 Dies Shop at: Sunny Studio | |
 Mini Mat & Tag 2 Dies Shop at: Sunny Studio |
 Mini Mat & Tag 3 Dies Shop at: Sunny Studio |
 Mini Mat & Tag 4 Dies Shop at: Sunny Studio |


No comments:
Post a Comment