Hi, Alma here. Today I want to show you three Christmas Shaker Tags, which I
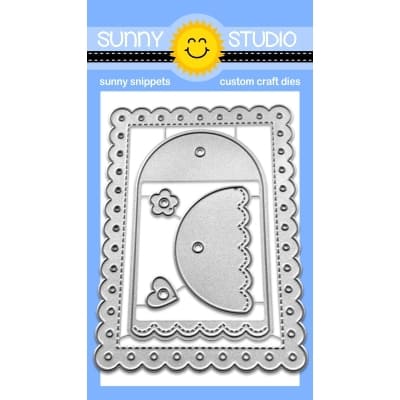
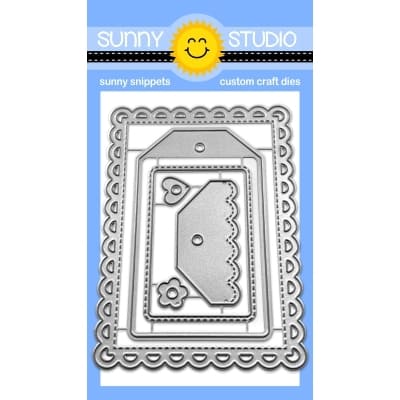
made with the Mini Mat & Tag 2 Dies.
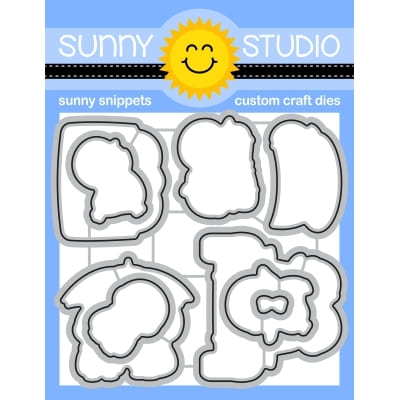
First of all I die-cut the tag from the Mini Mat & Tag 2 dies six time. Then I whipped the Tags with the Distress Oxide Inks "Iced Spruce" and "Stormy Sky". Then I die-cut a window in three of the tags with one of the Stitched Arch Dies.
After that I die-cut the dears and the birch trees (several time) from the Rustic Winter Dies and color them with Copics. Now I glued the birch trees in the tag with the window. After that I glued a foil behind the window and added a snow cloud (Slimline Nature Border Dies) and a deer in front of the foil. Then I filled a lot of sequins in the shaker tags and glued all together.
Finally I added
some decoration with the leaves from the Pristine Poinsettia Dies and
some ribbon and a little bell! Merry Christmas to all!
-------------------------------------------
Hello Crafty Friends! It's Marie back for more Holiday paper
crafting inspiration. Today I'm sharing three large gift tags created using
Sunny Studio's Mini Mat & Tag Dies.
These tags are perfect if you don't have a lot of time to create a card, because their size makes them super fast and easy to embellish! I also love how the back is large enough to write personal messages and attach straight to your gift!
For my first tag, I used the Mini Mat & Tag 2 Dies. I start off by die cutting my tag from Neenah Solar White 110 lb heavyweight cardstock. I then die cut another tag from pattern paper and adhered it to the cardstock base moving it slightly upward to reveal a very subtle white scalloped border at the bottom of the tag. I then added the white tag top. I die cut some craft paper and adhere that to the mini mat base using double sided adhesive tape. I splattered both the tag and mini mat using a watered down white acrylic paint. I stamped out my adorable penguins in an envelope images from the Passionate Penguins Stamps onto watercolor paper. I colored my images using Faber- Castell Watercolor pencils.
I wanted to turn this non Holiday image into something super festive so I dressed up my penguin with a Santa hat image from the Passionate Penguins Stamps and cut it out using the Penguin Party Dies. I also used some Holly Berries and leaves from the Winter Wreaths Stamps. I cut out the holly berries and leaves with the corresponding Winter Wreaths Dies. After fussy cutting my penguin image, I adhered it to my tag using double sided foam tape for dimension. I added some gold and white bakers twine tied in a bow to the top of of the tag and then adhered the tag to the mini mat using double sided tape adhesive. I then attached more twine to the top of the mini mat. I added some Ranger Grit Paste in "Snowfall" to the leaves and berries. I added Stickles in Sprinkled Sugar to the bow and santa hat. The grit paste and Stickles leave such a beautiful sugar crystal texture that sparkle and shine!
For tag number two, I used the Mini Mat & Tag 3 Dies. Using just the Mini Mat, I cut out my base panel from Neenah Solar White 110lb cardstock. I also die cut some patterned paper in a vintage mint shade. I attached the pattern paper to cardstock using double sided adhesive and gave it a subtle snow texture using watered down white paint splatters. I stamped out a wreath using the Winter Wreaths Stamps and cut it out using the Winter Wreaths Dies. I stamped out the adorable flying reindeer from the Reindeer Games Stamps. With Antique linen Distress Ink, I stamped my image onto watercolor paper, and colored it with watercolor pencils.
Then, using the Reindeer Games Dies I cut out my image. I adhered everything to the Mini mat using a combination of Bearly Art Craft Glue, double sided adhesive, and double sided foam strips. I added the word "Joy" using the Loopy Letters Dies cut from red glitter paper. This created such a cute touch to balance out the red colors in the images. I also added some snowflakes with Stickles in the shade Unicorn. To finish off, I placed red and white festive bakers twine to the top of the tag.
For tag number three, I used a combination of Mini Mat & Tag 2 Dies for the mat portion and Mini Mat & Tag 1 Die for the tag. I used the super adorable snowman image from the Snowman Kisses Stamps and cut it out using the Snowman Kisses Dies. I wanted to make a pastel themed tag so I added some pink snowflakes. I adhered the tag to the mat and added gold and white twine.
That does it for
this week's crafty Holiday Tag inspiration! I hope you are all enjoying the
Holiday Season! Christmas is coming so fast it's unbelievable! May you all have
a memorable holiday full of all things fun and crafty! Until next time, MERRY
CHRISTMAS!!! Love and Peace!
Sunny Studio Supplies Used:
 Loopy Letters Dies Shop at: Sunny Studio |
 Rustic Winter Dies Shop at: Sunny Studio |
 Stitched Arch Dies Shop at: Sunny Studio |
 Slimline Nature Borders Shop at: Sunny Studio |
 Pristine Poinsettia Dies Shop at: Sunny Studio |
 Passionate Penguins Stamps Shop at: Sunny Studio |
 Passionate Penguins Dies Shop at: Sunny Studio |
 Reindeer Games Stamps Shop at: Sunny Studio |
 Reindeer Games Dies Shop at: Sunny Studio | |
 Snowman Kisses Stamps Shop at: Sunny Studio |
 Snowman Kisses Dies Shop at: Sunny Studio |
 Winter Wreaths Stamps Shop at: Sunny Studio |
 Winter Wreaths Dies Shop at: Sunny Studio | |
 Mini Mat & Tag 2 Dies Shop at: Sunny Studio |
 Mini Mat & Tag 3 Dies Shop at: Sunny Studio |


No comments:
Post a Comment