Hello friends!
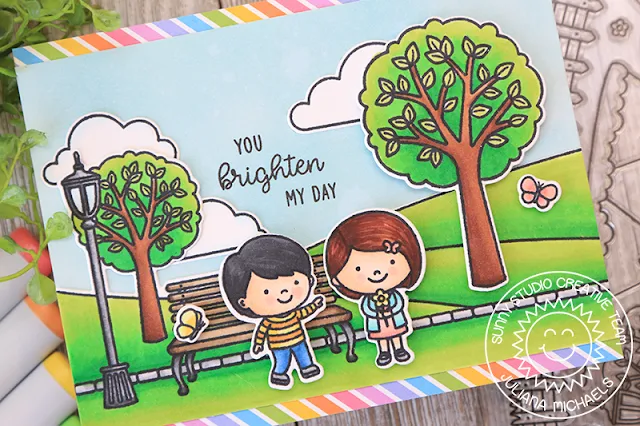
It's Juliana here and today I'll be
sharing a card featuring the Spring
Scenes Stamp Set. I couldn't resist combining it with the Spring
Showers Stamp Set to create a spring themed card.
I began by
stamping and coloring all the images from the Spring
Scenes Stamp Set and Spring
Showers Stamp Set with Copic Markers. I also added a tree image from the Seasonal
Tree Stamp Set. I then die cut them using the coordinating dies and began
arranging them to create a cute spring theme.
For the
background, I ink blended a piece of White Bristol Paper with Tumbled Glass
Distress Oxide. I then adhered the scene and added some stamped and die cut
clouds. As I added the clouds, I made sure to leave room for the sentiment
which is from the Spring
Showers Stamp Set. For the final touch, I added some strips of patterned
paper from the Spring
Sunburst Paper.
I hope you enjoyed this bit of spring inspiration using the Spring Scenes Stamp Set. Isn't it great how wonderfully it coordinates with so many of the stamps from the spring release? Thanks so much for stopping by today!
-----------------------------------------------------
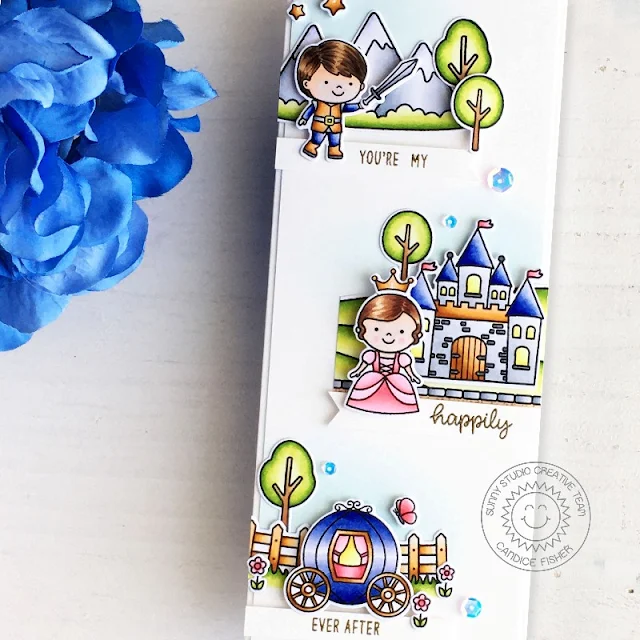
Hello, Candice with you today with this sweet little story on my slimline card using the awesome new Spring Scenes stamps to create the backgrounds for each scene!
- Spring Scenes stamps & coordinating dies
- Enchanted stamps & coordinating dies
- Studio Katia Crystal Clear
Fusion Sequins
I began by creating an 8 1/2 x 3 1/2 card base which is the
perfect size for your standard envelopes. I first stamped all the images from Spring Scenes & Enchanted stamp sets,
colored them with copic markers, and used the coordinating dies listed above to
cut them out. I then created three banners using the sentiments from
the Enchanted set and
heat embossed them in gold.
Before adhering each scene, I lined them up and inked lightly
with tumbled glass for the sky and then glued the backgrounds down and used
foam tape to add dimension to the front images. I kept the embellishments
simple by adding a few sequins to let the
story be the center of attention on my card.
Thank you for stopping by!
Thank you for stopping by!
Sunny Studio Supplies Used:
 Spring Sunburst 6x6 Paper Shop at: Sunny Studio |
 Seasonal Trees Stamps Shop at: Sunny Studio |
 Seaonal Trees Dies Shop at: Sunny Studio |
 Enchanted Stamps Shop at: Sunny Studio |
 Enchanted Dies Shop at: Sunny Studio |
 Spring Scenes Stamps Shop at: Sunny Studio |
 Spring Scenes Dies Shop at: Sunny Studio |
 Spring Showers Stamps Shop at: Sunny Studio |
 Spring Showers Dies Shop at: Sunny Studio | |


No comments:
Post a Comment