Hi
friends, Eloise
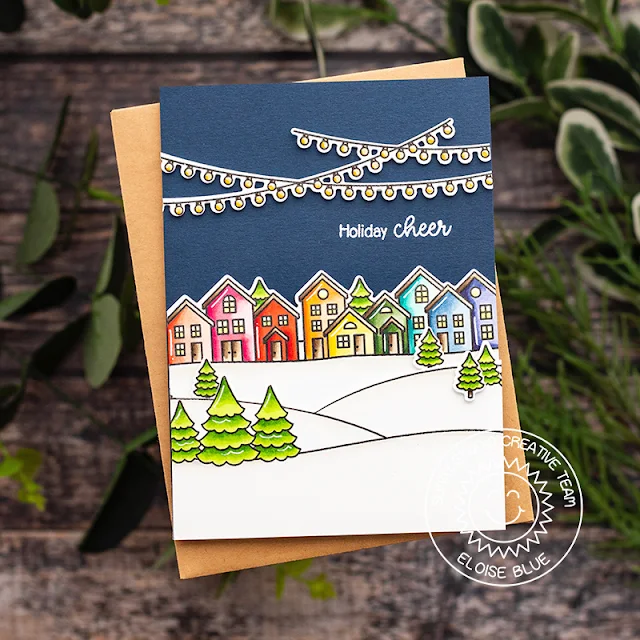
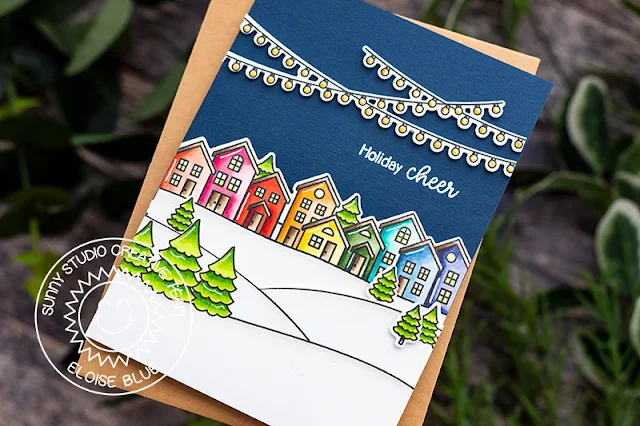
here and today I’m using the Scenic
Route Stamp Set to create my last Christmas Card for the year.
I
started off with stamping out the images from Scenic
Route onto some white cardstock and colouring them in with Copic
Markers. Once they were all coloured, I cut
them out.
(Copic Markers Used: R30, R21, R22, R24 / RV10, RV13, RV25, RV19 / R14, R17, R27, R29 / YR00, YR02, YR12, YR18 / Y11, Y13, Y15, Y19 / YG61, YG63, YG67, G28 / BG10, BG11, BG13, BG49 / B91, B93, B95, B97 / BV01, BV02, BV04, BV08 / YG01, YG03, YG23, YG17 / E42, E43, E44, E47 / W00, W0, W1 / 0)
(Copic Markers Used: R30, R21, R22, R24 / RV10, RV13, RV25, RV19 / R14, R17, R27, R29 / YR00, YR02, YR12, YR18 / Y11, Y13, Y15, Y19 / YG61, YG63, YG67, G28 / BG10, BG11, BG13, BG49 / B91, B93, B95, B97 / BV01, BV02, BV04, BV08 / YG01, YG03, YG23, YG17 / E42, E43, E44, E47 / W00, W0, W1 / 0)
I
then added foam tape onto the backs of all the pieces and adhered them onto a
navy card base. Lastly, I white heat embossed the ‘Holiday Cheer’ sentiment
onto the background and added white gel pen details onto the images.
Thanks so much for stopping by today and I’ll see you next week.
-------------------------------------------------
Thanks so much for stopping by today and I’ll see you next week.
-------------------------------------------------
Happy Holidays everyone, Leanne here! Even
though I'm officially done with Christmas projects, I still wanted to make some
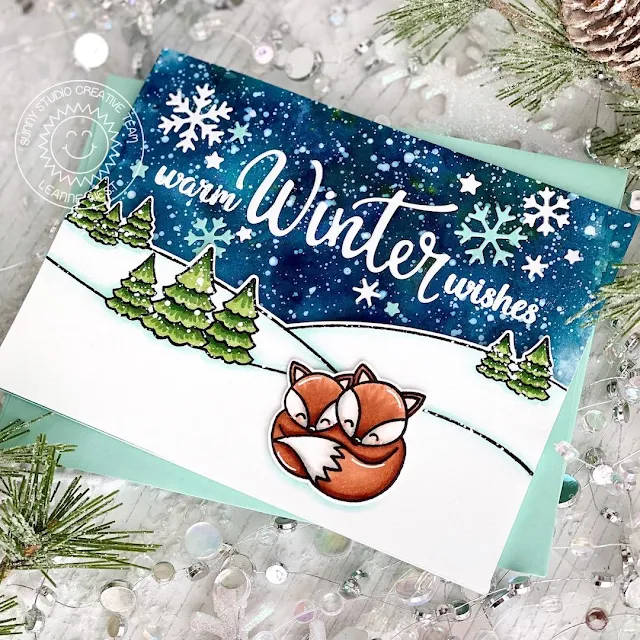
winter themed cards to have on hand. I've created a simple but sweet
little scene on today's card. It couldn't have been easier with the help of
the Scenic Route stamp set.
I love that with
just one stamp, I can have the perfect landscape for my scene. I Copic colored
the trees and added some light shading to the snowy hills. I wanted to include
some cute critters to my wintery scene. I choose the adorable little
foxes from Foxy Christmas.
For the top half of this scene, I wanted to create a beautiful night sky. I used a combination of two Nuvo Shimmer Powders (Atlantis Burst & Meteorite Shower) to achieve this. I started with a panel of Bristol Smooth card stock and sprayed it with a little water. I then sprinkled the powders overtop. I used a paint brush to move the color around while adding more water where needed to cover the entire panel. After the panel was completely dry, I splattered it with thinned white paint.
For the top half of this scene, I wanted to create a beautiful night sky. I used a combination of two Nuvo Shimmer Powders (Atlantis Burst & Meteorite Shower) to achieve this. I started with a panel of Bristol Smooth card stock and sprayed it with a little water. I then sprinkled the powders overtop. I used a paint brush to move the color around while adding more water where needed to cover the entire panel. After the panel was completely dry, I splattered it with thinned white paint.
I layered the snowy landscape
over the sky panel with foam tape and then adhered the completed scene to an A2
size card base. I combined stamps and a die cut for the greeting. The
stamped warm wishes is from Heartfelt Wishes. The winter die cut word is from the Layered Snowflake Frame set. To finish off the card I added a
few die cut snowflakes scattered around the greeting.
Sunny Studio Supplies Used:
Sunny Studio Supplies Used:
 Heartfelt Wishes Stamps Shop at: Sunny Studio |
 Foxy Christmas Stamps Shop at: Sunny Studio |
 Foxy Christmas Dies Shop at: Sunny Studio |
 Scenic Route Stamps Shop at: Sunny Studio |
 Scenic Route Dies Shop at: Sunny Studio |
 Layered Snowflake Frame Shop at: Sunny Studio |
 Snowflake Circle Frame Shop at: Sunny Studio |


Beautiful cards! ❤
ReplyDelete