Hello everyone, Leanne here! Have you
started decorating for the holidays yet? I just love the Farmhouse style of
decorating especially for Christmas. It was this decorating trend that inspired
my card today. Most of the Farmhouse Christmas decor ideas I've seen
include buffalo plaid, so for my card I created a green and black plaid
background using the Buffalo Plaid Embossing Folder.
To achieve the green and black
plaid, I started with green card stock and then I used Onyx Black VersaFine to
ink up the embossing folder before running it through my die cut machine. I added the embossed plaid panel to an A2 sized card base. I die cut one
of the Fancy Frames Rectangles to place in the center of the plaid background.
The Farmhouse decorating style
is known for it's simplicity so I followed suit and kept this card design
fairly clean and simple. I die cut the "Merry Christmas", using the Christmas Garland Frame Dies, from black glitter card stock and adhered to the frame
at an angle. I then used the Layered Poinsettia dies to create a single flower to add just below the
greeting. For a little bit of embellishment, I added a few clear sequins
to finish off the card.
------------------------------------------------
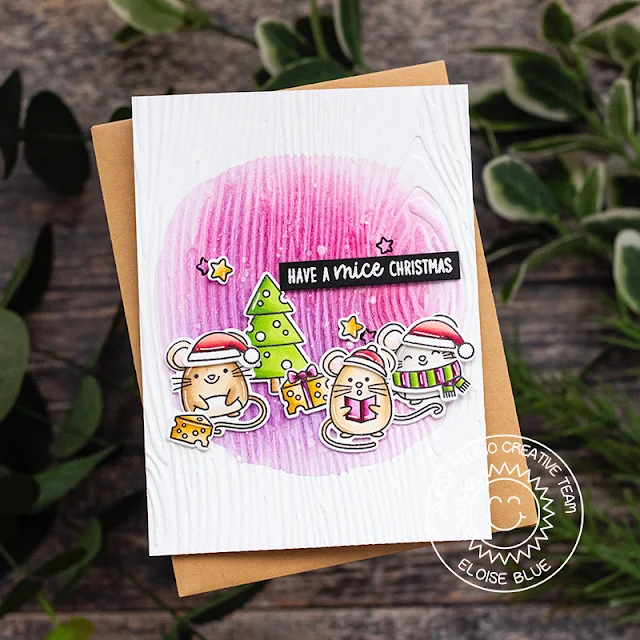
Hi friends, Eloise here and today I’ll be using the Woodgrain Embossing Folder along with Merry Mice to create a Christmas card.
------------------------------------------------
Hi friends, Eloise here and today I’ll be using the Woodgrain Embossing Folder along with Merry Mice to create a Christmas card.
I
started off with stamping out my images and colouring them in with Copic
Markers. I cut them out
and then added white details using a gel pen.
(Copic Markers Used: B0000, B000 / YG03, YG23, YG25, YG17 / R000, R00 / R32, R35, R37, R39 / YR20, YR21, YR23, YR24 / W00, W0, W1, W3 / E50, E51, E53, E55 / E30, E31, E34, E35 / RV91, RV93, RV95, RV99 / RV63, RV66, RV69, R89 / 0)
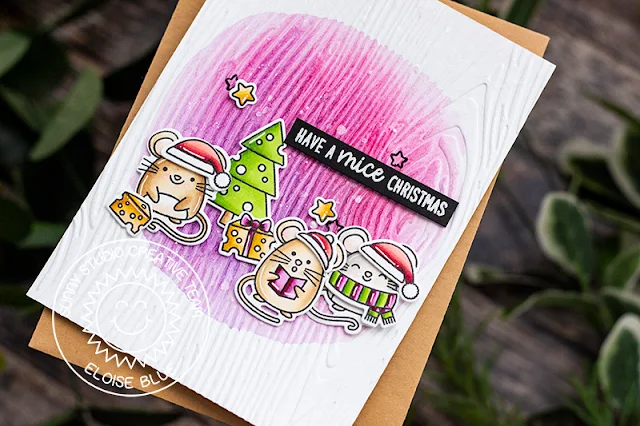
I then took a piece of watercolour cardstock and ran that through my die cutting machine with the Woodgrain Embossing Folder. I then water-coloured a pink/purple circle into the centre.
Lastly, I adhered my images into place and white heat embossed the ‘Have A Mice Christmas’ sentiment onto a thin strip of black cardstock and adhered that on too.
Thanks so much for stopping by today and I’ll see you all next week.
All retail purchases of any size will have 10% donated to Convoy of Hope to help with children’s feeding initiatives and disaster response.
And as always orders will also come with our mini holiday light bulb die (not pictured).
Sunny Studio Supplies Used:
 Fancy Frames- Rectangles Shop at: Sunny Studio |
 Buffalo Plaid Embossing Shop at: Sunny Studio |
 Woodgrain Embossing Shop at: Sunny Studio |
 Merry Mice Stamps Shop at: Sunny Studio |
 Merry Mice Dies Shop at: Sunny Studio |
 Layered Poinsettia Dies Shop at: Sunny Studio |
 Christmas Garland Frame Shop at: Sunny Studio |


Awesome cards!!! Love the inked Buffalo Plaid!!!
ReplyDeleteGood post
ReplyDelete