For the background added Frilly Frames Chevron Dies with Neenah
Solar White cardstock then I cut a little smaller cardstock made ink blending
on it with Spun Sugar and Tattered Rose Distress Oxide Ink. After the
ink blending I stamped the "Merry Christmouse" sentiments with clear
watermark ink and made a quick heat embossing on it.
To the background I added a beautiful
red cardstock from Striped Silly 6x6 Paper Pad behind the background die-cut. In the end I styled my card and
adhered everything together.
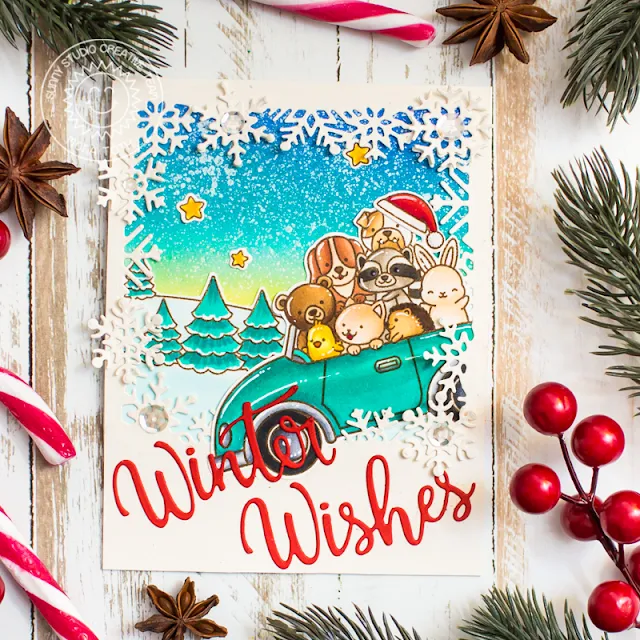
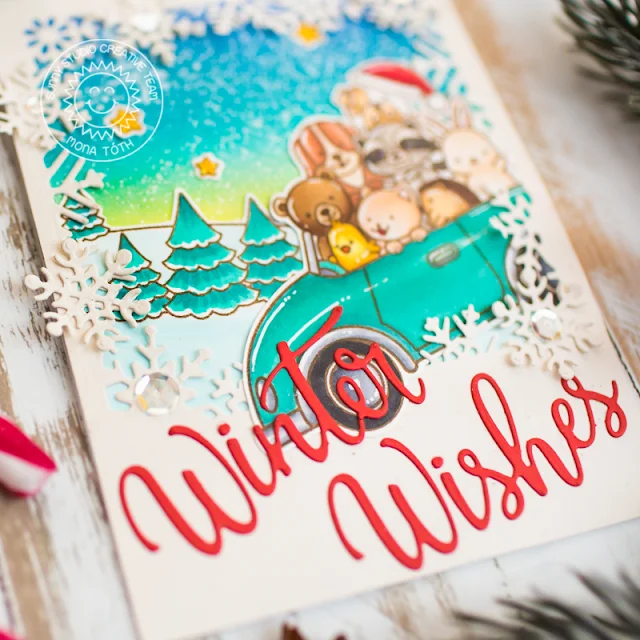
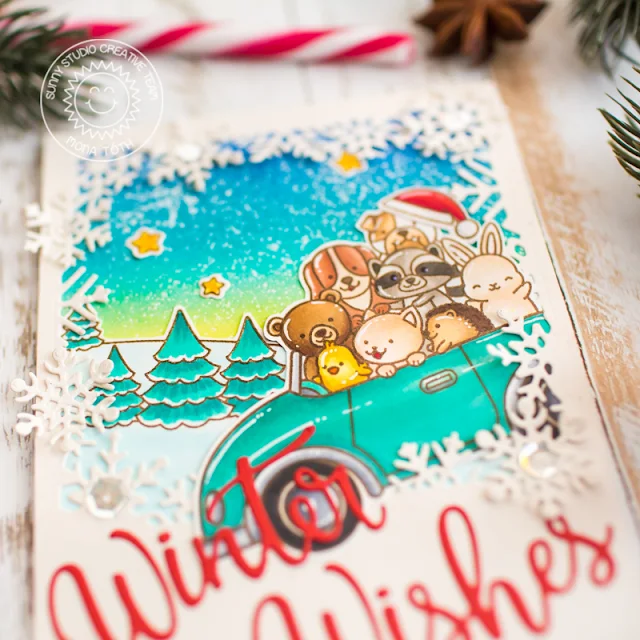
For my second card I made almost the
same process, but this time I have used the Cruising Critters stamp set
together with the Scenic Route set. I colored them with Copic markers as well.
For the background I die-cut the
Layered Snowflake Frame Die from a cream cardstock and created with it this
sweet but festive scene.
In the end I run the "Winter Wishes" sentiment through my die-cut machine with red cardstock, adhered to my card and
it was ready.
Thank you very much for reading through my post, I hope that you have enjoyed it, feel free to comment which one you like more. Feel free to check my Instagram for more inspiration. :)
Have an amazing day, big hugs, Mona!
Thank you very much for reading through my post, I hope that you have enjoyed it, feel free to comment which one you like more. Feel free to check my Instagram for more inspiration. :)
Have an amazing day, big hugs, Mona!
Sunny Studio Supplies Used:
 Striped Silly 6x6 Paper Shop at: Sunny Studio |
 Frilly Frames Chevron Die Shop at: Sunny Studio |
 Cruising Critters Stamps Shop at: Sunny Studio |
 Cruising Critters Dies Shop at: Sunny Studio |
 Merry Mice Stamps Shop at: Sunny Studio |
 Merry Mice Dies Shop at: Sunny Studio |
 Scenic Route Stamps Shop at: Sunny Studio |
 Scenic Route Dies Shop at: Sunny Studio |
 Layered Snowflake Frame Shop at: Sunny Studio | |


Hello! Both of these cards are great!
ReplyDeleteRosalie
Thank you Rosalie for your sweet feedback. It's so appreciated. :)
DeleteThese are DARLING.
ReplyDelete