Next, I worked on ink blending a snowy sky and used Pine
Needles, Peacock Feathers, Cracked Pistachio, and Old Paper distress oxide
inks. I splattered white acrylic paint generously. Then die cut some snow
drifts out of white card stock and blended the edges with Broken China distress
oxide ink.
After adding my snow layers, I added my images onto the
scene with foam tape. I used the large ‘winter wishes’ sentiment die cut from
the Layered Snowflake Frame Die. It is die cut out of white card stock and
adhered right on the background, and that completes the card!
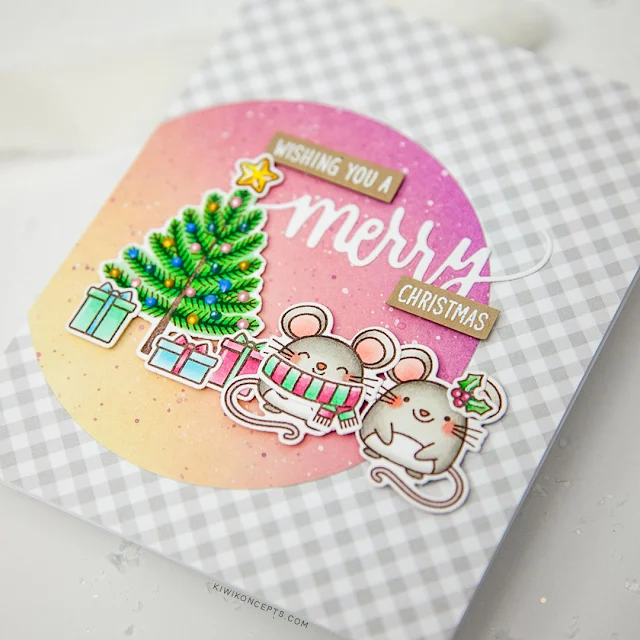
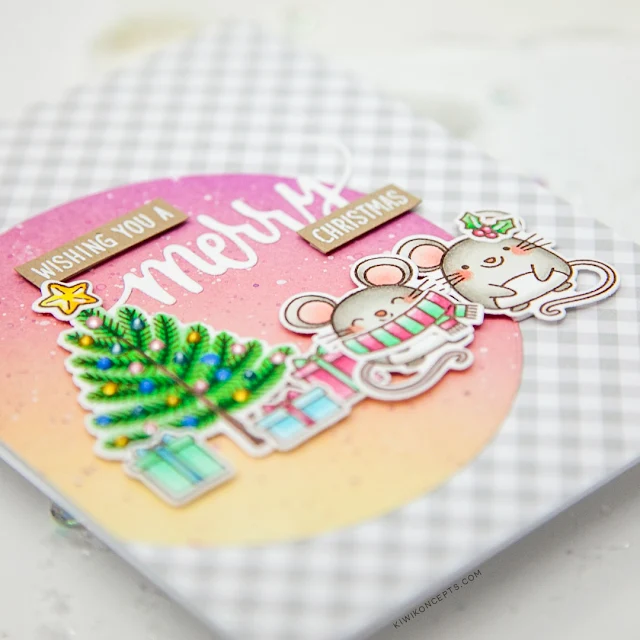
My next card once again uses the Merry Mice set, but I also
borrowed some images from the Santa Claus Lane set. Again, I stamped my images
in a dark brown hybrid ink and colored them with Copic markers. I die cut the
images out with the matching dies.
I ink blended a background with Wilter Violet, Victorian
Velvet and Antique Linen and die cut it with a simple circle die. I offset this
background on some grey plaid pattern paper from Subtle Grey Tones 6x6 Paper.
I added my images thereafter with foam tape for dimension.
For the sentiment, I die cut the ‘merry’ using the sentiment die found in the
Christmas Garland Frame. I then heat embossed the ‘wishing you a’ and
‘christmas’ from the Santa Claus Lane set in white onto kraft card stock. I
trimmed it down to thin strips and added it above and below the ‘merry’ with
foam tape.
I hope you enjoy today’s inspiration. Happy holidays folks!
I hope you enjoy today’s inspiration. Happy holidays folks!
Sunny Studio Supplies Used:
 Subtle Grey Tones Paper Shop at: Sunny Studio |
 Santa Claus Lane Stamps Shop at: Sunny Studio |
 Santa Claus Lane Dies Shop at: Sunny Studio |
 Merry Mice Stamps Shop at: Sunny Studio |
 Merry Mice Dies Shop at: Sunny Studio |
 Layered Snowflake Frame Shop at: Sunny Studio |
 Christmas Garland Frame Shop at: Sunny Studio |


I just bought these Mice at my local scrapbook store and I look forward to using them. I think the cheese trees are adorable!
ReplyDelete