I started off with stamping and colouring my images from Woodsy
Autumn. I used Copic Markers and then cut
them out. While die cutting, I cut out a white frame from the Fancy Frames Oval Set, as well.
(Copic Markers Used: YG21, YG23, YG17, YG67 / B91, B93, B95, B97 / R00, R30, R20 / 0 / R81, R83, R85, R89 / Y13, Y35, YR23, YR27 / E97, E99, E07, E09 / E82, E83, E87, E89 / YR12, YR14, YR16, YR18 / W00, W0, W1, W3, W5, W7 / E50, E51, E53, E55, E57, E59 / E40, E41, E42, E43, E44, E47, E49 / RV63, RV66, RV69, RV99)
(Copic Markers Used: YG21, YG23, YG17, YG67 / B91, B93, B95, B97 / R00, R30, R20 / 0 / R81, R83, R85, R89 / Y13, Y35, YR23, YR27 / E97, E99, E07, E09 / E82, E83, E87, E89 / YR12, YR14, YR16, YR18 / W00, W0, W1, W3, W5, W7 / E50, E51, E53, E55, E57, E59 / E40, E41, E42, E43, E44, E47, E49 / RV63, RV66, RV69, RV99)
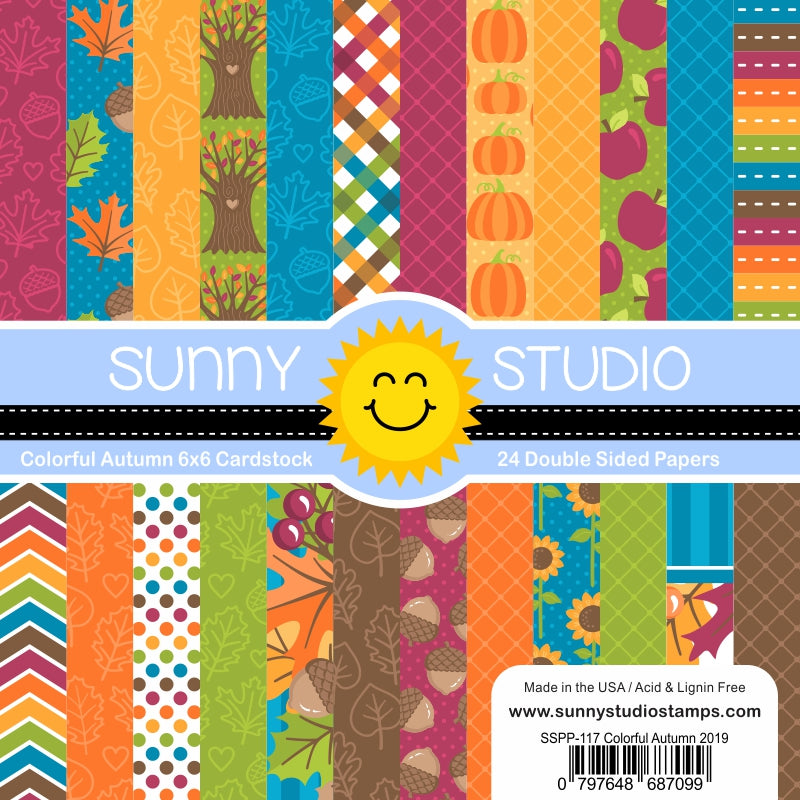
I then took a piece of patterned paper from Colorful
Autumn Paper Pad and traced oval die on top of a piece of striped
paper and then cut it out with scissors. I added adhesive onto the back of the
white frame and adhered it on top of the patterned paper. I tied a hemp cord
bow onto the left-hand side of the panel. Next, I took a piece of natural
cardstock and ink blended a little Tumbled Glass to the top, Twisted Citron to
the middle and Scattered Straw to the bottom. I then adhered my oval panel on
top.
I adhered my scene together using foam tape and liquid glue
and then white heat embossed the ‘Bundles of Hugs’ sentiment onto a thin strip
of black cardstock and adhered it to the right-hand side.
Thanks so much for stopping by today and I’ll see you next week.
Thanks so much for stopping by today and I’ll see you next week.
------------------------------------------------------
Hi everyone! Leanne here and I have a fun fall scene card to share today. Anyone who knows my card making style, is well aware of my love for building scenes. Fall scenes are some of my favorite to create. I like my scenes to have several layers and lots of dimension so I've used a combination of stamps and dies to create a complete scene from top to bottom.
Hi everyone! Leanne here and I have a fun fall scene card to share today. Anyone who knows my card making style, is well aware of my love for building scenes. Fall scenes are some of my favorite to create. I like my scenes to have several layers and lots of dimension so I've used a combination of stamps and dies to create a complete scene from top to bottom.
I started with an A2 sized
panel of white card stock. I wanted to create a sky with a lot of
interest. I blended Peacock Feathers Distress Oxide ink onto the top half
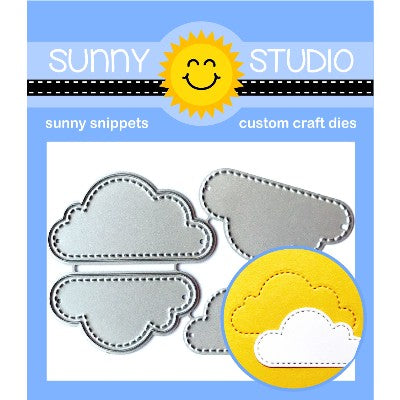
of the panel. I then used the Fluffy
Cloud dies to add
stitched cloud shapes right into the sky. I also added a few die cut white
clouds overtop.
Next I created 3 layers of
rolling hills with the Woodland
Borders dies and colored
by ink blending on Bundled Sage Distress Oxide ink. I stamped and Copic
colored images from the Woodsy
Autumn set. I added
lots of extra details to the colored images with a white gel pen. I can
never leave a scarf plain on any cute critter. I just love to add stripes
or polka dots or plaids.
After I adhered all the images
in place, I had plenty of room to add a greeting in the top left portion of the
sky. I white heat embossed a sentiment from the Woodsy
Autumn set onto
light brown card stock. I trimmed into a thin strip and adhered flush to
the left edge of the card.
Sunny Studio Supplies Used:
Sunny Studio Supplies Used:
 Fancy Frames- Ovals Shop at: Sunny Studio |
 Woodland Borders Dies Shop at: Sunny Studio |
 Fluffy Clouds Dies Shop at: Sunny Studio |
 Colorful Autumn 6x6 Paper Shop at: Sunny Studio |
 Woodsy Autumn Stamps Shop at: Sunny Studio |
 Woodsy Autumn Dies Shop at: Sunny Studio |


No comments:
Post a Comment