First, stamp the adorable fox pair from the Foxy Christmas
twice, color it and then die cut it using the coordinating dies. Repeat this
with the holly leaves. Set these pieces to the side once the coloring and die
cutting is complete.
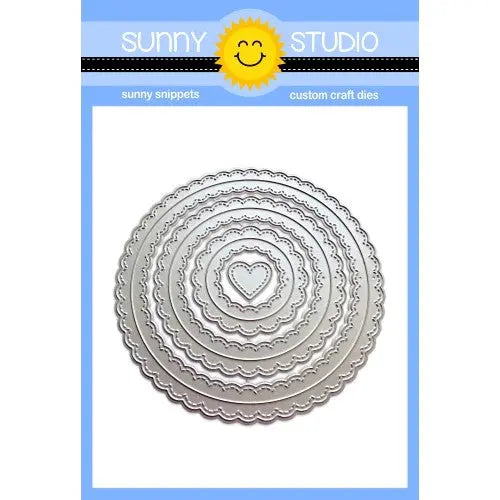
The next step is to create the spinner part of the card. Use the smaller die from the Fancy Frames Circle die set to cut an opening out of top center of a piece of green cardstock trimmed to 4 x 5.25 inches.
Use this piece as a template to line up the die and repeat this on a second piece of green cardstock trimmed to 4 x 5.25.
Once again, use the same piece as a template to line up the die on your white card base trimmed to 4.25 x 8.5 and scored in half.
To add some texture to the card front, take one of the green pieces and emboss the front of it using the Cable Knit embossing folder.
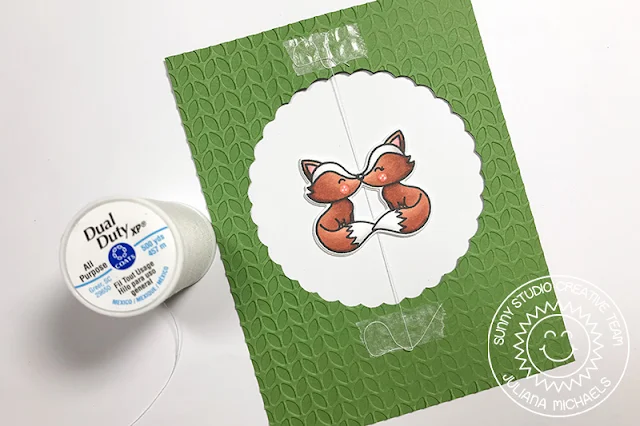
Take a piece of thread and attach it to the back side of the opening. Adhere one of the fox images on one side of the thread and then adhere the other fox on the other side. Repeat this with the holly leaves. The leaves won't line up perfectly, but they were close enough for me!
Use adhesive tape to adhere the insides of the Fancy Frames Circle dies to the back side of the embossed piece of green cardstock. Line up the other piece of green cardstock and the inside circle frames and adhere it on top of this piece. Adhere this piece onto the white card base, once again lining up the die cut opening. Use a liquid adhesive to adhere the white circle frames on the inside of the card.
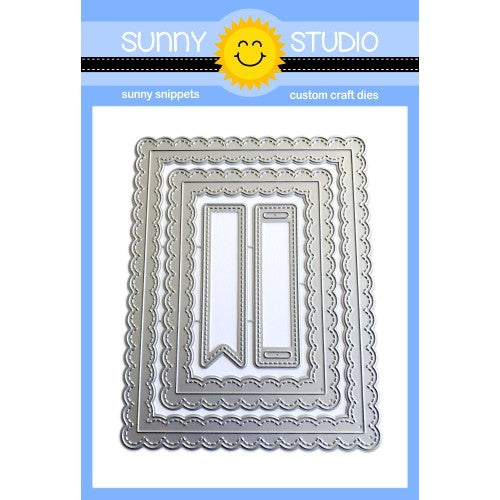
Stamp the sentiment from the Foxy Christmas stamp set onto a piece of white cardstock die cut using the ribbon slider die from the Fancy Frames Rectangle die set. Add a piece of ribbon and attach it to the card front. Finish off the card by adding a coordinating bow to the top of the frame.
Before you send the card, wind up the spinner by spinning the image around. Close the card and then place it in the envelope. When the recipient pulls it out and opens the card, the little foxes with spin around and around!
I hope you enjoyed learning how to create your own Christmas spinner card using the new Foxy Christmas stamp set and Fancy Frames Circle dies. Thanks so much for joining me today!
Sunny Studio Supplies Used:
 Fancy Frames-Circle Dies Shop at: Sunny Studio |
 Fancy Frames- Rectangles Shop at: Sunny Studio |
 Cable Knit Embossing Shop at: Sunny Studio |
 Foxy Christmas Stamps Shop at: Sunny Studio |
 Foxy Christmas Dies Shop at: Sunny Studio |


What a great card!
ReplyDelete