Sunday, September 6, 2026

Sleigh Ride Surprise Penguin Holiday Card with Hanh

Hello Crafty Friends! It's Hanh here with you today, and I am so excited to share a super fun and cute Christmas card featuring the new Sleigh Ride Surprise Dies. There are so many fun elements in the die set. Today I decided to focus on the main sleigh to create a ride for these adorable penguins from the Roly Poly Penguins and Penguin Pair sets. So let's get started.

Sunny Studio Stamps Roly Poly Penguins Holiday Hugs Winter Christmas Card using Sleigh Ride Surprise Metal Cutting Craft Dies

I used the Sleigh Ride Surprise Dies to die-cut the sleigh, strand of lights, Christmas tree, and sack of gifts out of colored cardstock. I assembled the strand of lights and sleigh with liquid glue. I added some white highlights with a gel pen.

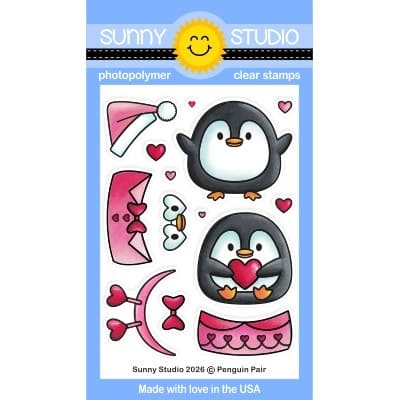
Next, I stamped the penguins and hat from the Roly Poly Penguins Stamps and the Penguin Pair Stamps sets onto a piece of Neenah Solar White 110 lb cardstock with Memento Tuxedo Black ink. I used the coordinating Roly Poly Penguins Dies and Penguin Pair Dies to die-cut them out. I colored with Copic markers and highlighted with a white gel pen.

COPIC COLORS:
Penguins: T4/5/7, W00/0/1, Y38 YR04, R00/20
Hat/Earmuff/Scarf: R14/24/29/39, C0/1/3

Sunny Studio Stamps Roly Poly Penguins Holiday Hugs Winter Christmas Card using Sleigh Ride Surprise Metal Cutting Craft Dies

For the background, I lightly ink-blended some Spun Sugar Distress Oxide ink onto a piece of Bristol Smooth cardstock. I used the Slimline Nature Borders Dies to die-cut a snowbank out of white cardstock. I adhered the snowbank onto the bottom portion of the inked panel. I trimmed the panel down to 4" x 5.25".

For the sentiment, I stamped the "Holiday Hugs" from the Holiday Hugs Stamps set with Versafine Satin Red ink onto a piece of white cardstock and used the coordinating Holiday Hugs Dies to die-cut them out. I stamped the "coming your way!" from the Holiday Express Stamps set with Memento Tuxedo Black ink onto a piece of white cardstock and used a paper trimmer to trim it out.

I adhered the sleigh, colored images, and sentiments onto the inked panel with liquid glue and foam tape. Finally, the panel was adhered to a white A2 cardbase (4.25" x 5.5").

Sunny Studio Stamps Roly Poly Penguins Holiday Hugs Winter Christmas Card using Sleigh Ride Surprise Metal Cutting Craft Dies

I appreciate you taking the time to stop by and visit today. I hope you liked my card. Be sure to visit the Sunny Studio Stamps Shop to check out the new Holiday Release for more info and ideas. Please also visit my INSTAGRAM feed for more inspiration.

Have a wonderful and crafty day!
_____________________________________________________

Glassboard Studio has launched a limited-edition collection for September featuring their most popular products using the Metric system! And in honor of the Labor Day weekend, you can now use the code SUNNYSTUDIO to save 20% at checkout (using our code after Labor Day will still get you 15% every day). Their large glass mat might be my favorite crafty purchase (ever), and their newer scrapbook mat is also fabulous.

Also, there's still time to shop our birthday sale for 20% off all full-priced Sunny Studio-branded products with the discount code ELEVENYEARS at checkout. We've extended the sale to go through Monday at Midnight PDT. Excludes the newest release and retirement items already on sale. Limit one discount code per order.

Save 20% off on Full-Priced Sunny Studio products (excludes new release & retiring sale items) using code ELEVENYEARS through 9/6/26

Sunny Studio Supply List:

Holiday Express Stamps
Shop at:
Sunny Studio
Holiday Hugs Stamps
Holiday Hugs Stamps
Shop at:
Sunny Studio
Holiday Hugs Dies
Holiday Hugs Dies
Shop at:
Sunny Studio
Roly Poly Penguin Stamps
Shop at:
Sunny Studio
Roly Poly Penguin Dies
Shop at:
Sunny Studio
Penguin Pair Stamps
Penguin Pair Stamps
Shop at:
Sunny Studio
Penguin Pair Dies
Penguin Pair Dies
Shop at:
Sunny Studio
Slimline Nature Borders
Shop at:
Sunny Studio
Sleigh Ride Surprise
Shop at:
Sunny Studio
Versafine Onyx Black Ink
Shop at:
Sunny Studio

Saturday, September 5, 2026

Nativity Scene Builder Card with Jarle

We would like to welcome Jarle Franceus to the Sunny Studio Stamps design team! We are excited to have her on the team and look forward to her beautiful creations. You can find more of her work here:

- Instagram: @handmadecards_by_jarle
- Blog:
Handmade Card Happy Heart 
- YouTube:
Handmade Card Happy Heart

 -------------------------------------------------------

Hi you! It's Jarle here, with my very first post as a member of the Sunny Studio Stamps Design Team. I am excited to be here and I hope to inspire you with my projects. Today I am using the beautiful Nativity Scene Builder die set. 

Sunny Studio Stamps: Nativity Scene Builder Christmas Card by Jarle Franceus (featuring Rounded Rectangle Window Dies, Build-A-Greetings Holidays)

I started by inking up my A2 panel with different Distress Oxide colors: Squeezed Lemonade, Picked Raspberry, Wilted Violet, and Blueprint Sketch. I splattered on some Copic white, diluted with water, and let it dry. 

I trimmed a panel out of Brushed Gold cardstock from Spellbinders to A2 size. I then used the Rounded Rectangle Window dies to die-cut a window out of that same panel. This gives a lovely stitching detail to the frame. Since I really love dimension on handmade cards, I put foam strips on the back of that frame and popped it on the ink-blended panel. 

Sunny Studio Stamps: Nativity Scene Builder Christmas Card by Jarle Franceus (featuring Rounded Rectangle Window Dies, Build-A-Greetings Holidays)

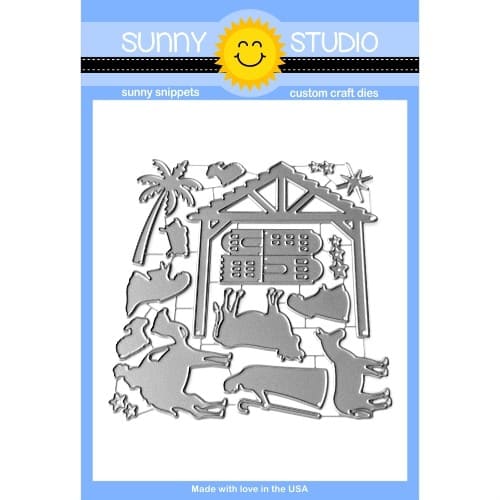
I die-cut different pieces of the Nativity set in black and (the same) brushed gold cardstock. I assembled all the pieces inside the window. Some were popped up with foam squares and others were adhered directly onto the panel with liquid glue. 

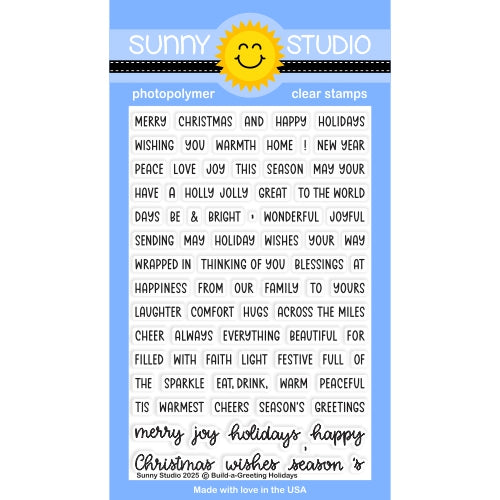
After that, I stamped my sentiment of the Build-A-Greeting: Holidays stamp set onto black cardstock with Versamark ink, sprinkled on white embossing powder, and heat-set it with my heat gun. I trimmed it down to a small strip and placed it inside my scene. Finally, I adhered the whole panel to a white card base. 

I like how the colors turned out, and those silhouettes just make the perfect elegant Christmas card! Have a beautiful day! 

Sunny Studio Supplies Used:


Rounded Rectangle Window Dies
Shop at:
Sunny Studio
Build-a-Greeting Holidays
Shop at:
Sunny Studio
Nativity Scene Builder
Shop at:
Sunny Studio

Friday, September 4, 2026

Alpine Adventure Card with Janneke

Hello crafty friends, Janneke here. Today I’m sharing a winter scene shaker card featuring the new Alpine Adventure set.

Sunny Studio Stamps: Alpine Adventure Winter Themed Card by Janneke Peters

I started by creating the ice pong. I took a piece of blue cardstock, approximately half the size of my card, and blended the edges with some blue ink. I then wrapped a piece of plastic around it. I always use plastic sheet protectors for this, as they are easy to work with, and perfect for making infinity shaker elements.

Just before sealing the final edge, I added some flat shaker material inside. Once everything was securely closed, I adhered the ice to the bottom half of my card base. For the bright blue sky, I used patterned paper from the Spring Sunburst Paper Pad and adhered it to the top half of the card base.

Next, I stamped and die-cut the Alpine Adventure background stamp. Since I wanted the ice to be a shaker element, I cut away the area where the ice would be by hand. I trimmed the edges so that the background would fit perfectly on the card.

Sunny Studio Stamps: Alpine Adventure Winter Themed Card by Janneke Peters

Of course, no winter scene would be complete without some cute penguins! I stamped the adorable penguin images and colored all of the images using my Ohuhu markers and added some white highlights with a white gel pen.

Once everything was colored and ready, I adhered all the elements to the card, building up the scene around the skating penguins.

As a final touch, I added some glitter gel to the snow surrounding the ice pond. It gives the snow a lovely sparkle and adds that extra bit of winter magic to the finished card.

Cards done, ready to send joy!

Sunny Studio Supplies Used:

Spring Sunburst 6x6 Paper
Shop at:
Sunny Studio
Alpine Adventure Stamps
Shop at:
Sunny Studio
Alpine Adventure Dies
Shop at:
Sunny Studio

Thursday, September 3, 2026

Holiday Tags & Labels Card with Yan

Hey crafty friends! It's Yan here, and I'm so excited to share a cozy holiday card that got me right into the festive spirit! Today, I’m playing with the adorable Holiday Tags & Labels Stamps from Sunny Studio Stamps' brand-new release. This project came together so smoothly, and mixing it with a few sweet hedgehogs made it absolute fun to create. Grab a warm cup of coffee, and let's dive into how I made it!

Sunny Studio Stamps: Holiday Tags & Labels and Quill Cuties Christmas Card by Yan X DIY (featuring Holiday Greetings, Icing Rectangle Frame Dies)

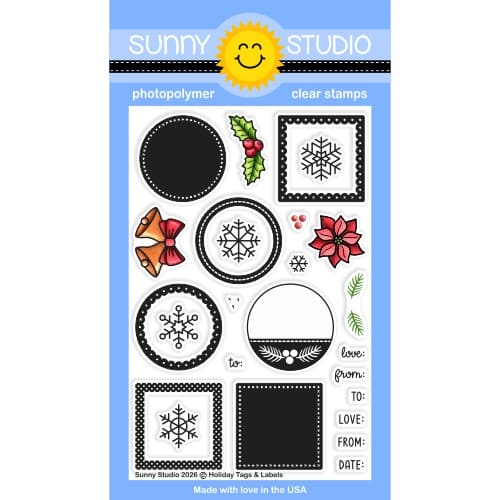
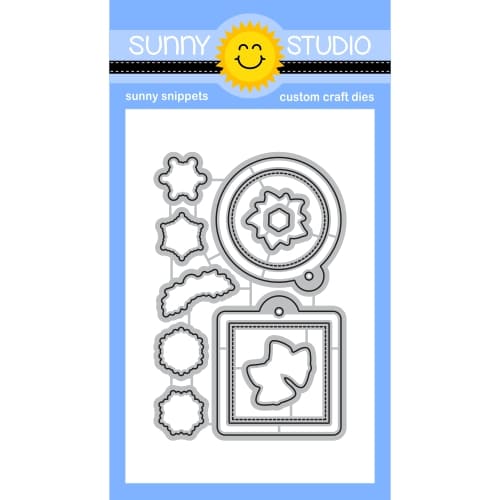
​To kick things off, I stamped the tag frame from the Holiday Tags & Labels Stamps using a couple of bright red inks to give them a festive pop. Then, I directly stamped those darling hedgehogs from the Quill Cuties Stamps right inside the frames using Memento Tuxedo Black Ink. Coloring these little critters with Copic markers is always my favorite part—I added warm browns and sweet pinks to give them lots of personality! Once I finished coloring, I lined up the coordinating Holiday Tags & Labels Dies and cut them out.

​COPIC COLORS:
Hedgehogs: E18, E31, E35, E41, R30
Red/Pink : R30, R32 R43 
Green: YG03, YG17, G19

Sunny Studio Stamps: Holiday Tags & Labels and Quill Cuties Christmas Card by Yan X DIY (featuring Holiday Greetings, Icing Rectangle Frame Dies)

Next, I die-cut a few additional ornament bases out of bold red cardstock and delicate vellum paper using the Holiday Tags & Labels Dies. For the background, I wanted to keep things clean and soft, so I used the Icing Rectangle Frame Dies to cut a crisp panel from the Subtle Grey Tones 6x6 Paper.

​For the sentiment, I heat-embossed the greeting from the Holiday Greetings Stamps in crisp white embossing powder onto a strip of vellum paper and die-cut it with the matching die. Finally, I assembled all the cute layers, Christmas ornaments, and sentiment using foam tape to give the whole layout plenty of fun dimension and depth!

​I hope this card brings a little warmth and festive cheer to your day! Thanks for stopping by, and happy crafting!

Sunny Studio Supplies Used:

Holiday Greetings Stamps
Shop at:
Sunny Studio
Holiday Greetings Dies
Shop at:
Sunny Studio
Quill Cuties Stamps
Quill Cuties Stamps
Shop at:
Sunny Studio
Quill Cuties Dies
Quill Cuties Dies
Shop at:
Sunny Studio
Icing Rectangle Frame Dies
Shop at:
Sunny Studio
Holiday Tags & Labels Stamps
Shop at:
Sunny Studio
Holiday Tags & Labels Dies
Shop at:
Sunny Studio
Subtle Grey Tones Paper
Shop at:
Sunny Studio

Wednesday, September 2, 2026

Pathway Home Card with Tina H

Hello crafters, it’s Tina and I always love beautiful scene cards. The Pathway Home stamp and die set is a great staple to have in your stash because it is so versatile.

Sunny Studio Stamps: Pathway Home Card by Tina Henkens (featuring Inside Greetings, Rounded Rectangle Mat Dies)

A whole scene is ready for you to create with and the matching dies make it super easy to add any background you want. Today I opted for a partial landscape on this sweet autumnal card. After stamping the house and cute raccoon, I also added some pumpkins from Turkey DayI settled down, put on my favourite music and enjoyed the coloring with my Copic markers. 

Next, I tried several sizes of the Rounded Rectangle Mat dies to figure out which one would be the perfect match. For some extra contrast, I also cut a slightly larger mat from a green Polka-Dot-Parade paperThen I glued both rectangle mats to a white card base with liquid glue. I added the cute raccoon and pumpkins with some foam tape for dimension.

Sunny Studio Stamps: Pathway Home Card by Tina Henkens (featuring Inside Greetings, Rounded Rectangle Mat Dies)

The sentiment was taken from the Inside Greetings Congrats set and stamped on a small white banner with Versafine Onyx Black inkThis scene card only needed some subtle embellishments, so I went with a few Champagne Clear Jewels.

Now I am curious to see all your takes on this beautiful background stamp and die set! Thank you for joining me and happy crafting!

Sunny Studio Supplies Used:

Polka-dot Parade 6x6 Paper
Shop at:
Sunny Studio
Inside Greetings Congrats
Shop at:
Sunny Studio
Turkey Day Stamps
Turkey Day Stamps
Shop at:
Sunny Studio
Turkey Day Dies
Turkey Day Dies
Shop at:
Sunny Studio
Pathway Home Stamps
Pathway Home Stamps
Shop at:
Sunny Studio
Pathway Home Dies
Pathway Home Dies
Shop at:
Sunny Studio
Rounded Rectangle Mat Dies
Shop at:
Sunny Studio

Tuesday, September 1, 2026

Nativity Scene Builder Card with Marieke

Hello all, Marieke here. I'm back again with my weekly post for Sunny Studio Stamps. Today I hope to inspire you with a card that I made using the Nativity Scene Builder Dies.

Sunny Studio Supplies Used: Nativity Scene Builder Christmas Card by Marieke Slaats (feauting Build-A-Greetings Holiday, Frilly Frame Dies)

So for this project I thought it would be fun to create a light up card. So for this to work I cut a black and a white scalloped rectangle using the Frilly Frames Hexagon dies. Scored one at 1 1/2 inch and adhered them together. This is the base of the card. Cut a slightly smaller watercolor panel and decided where I wanted the light to be placed.

Sunny Studio Supplies Used: Nativity Scene Builder Christmas Card by Marieke Slaats (feauting Build-A-Greetings Holiday, Frilly Frame Dies)

Die cut a circle out of the rectangle and ink blended the top of the card using Dried Marigold, Seedles Preserves and Black Soot. Splattered some water and cut a black strip of cardstock. Decided where the light up button was going to be and heat set the "press" using gold embossing powder.

Cut a watercolor rectangle, placed this on the front of the base card and traced the outside on the card and added the inked panel on to. Traced the circle on the watercolor panel and ink blended it using Scattered Straw.

Sunny Studio Supplies Used: Nativity Scene Builder Christmas Card by Marieke Slaats (feauting Build-A-Greetings Holiday, Frilly Frame Dies)

Die cut all the elements of the scene using black cardstock and gold Glitter cardstock with the Nativity Scene Builder Dies. Placed the scene so I knew where I wanted to place the sentiment. Stamped the sentiment out of the Build-a-Greeting Holidays Stamp directly on a small inked rectangle.

Glued the small rectangle on the base cardstock, decided where the light element needed to go and adhered it to the base. Assembled the elements on the front of the card and finished the card by adding some gold stars.

Have a wonderful day!

Sunny Studio Supplies Used:

Frilly Frames Hexagon Dies
Shop at:
Sunny Studio
Build-a-Greeting Holidays
Shop at:
Sunny Studio
Nativity Scene Builder
Shop at:
Sunny Studio