Tuesday, June 19, 2018

Background Basics Trio of Pirates Hello Card with Juliana

Ahoy Mateys! It's Juliana Michaels and today I'm sharing a fun hello card using the new Background Basics stamp set, Window Trio Circles die set and Pirate Pals stamp set.

Sunny Studio Stamps: Background Basics Pirate Pals Window Trio Circle Dies Hello Card by Juliana Michaels

I began by stamping the adorable pirates from the Pirate Pals stamp set and colored them with Chameleon Pens. I then die cut them using the coordinating dies. This set was released during the 2017 Summer Release, but it's still one of my favorite stamps to play with!

Sunny Studio Stamps: Background Basics Pirate Pals Window Trio Circle Dies Hello Card by Juliana Michaels

Next, I die cut a piece of white cardstock using the Window Trio Circles die set and placed the pirates behind the openings. It's like they are peeking out of the port holes on their pirate ship! Using the Window Trio Circles die set I also cut out 3 circles from gray cardstock and used them to fill the openings behind the pirates.

To add a touch of boldness, I used the striped stamp from the Background Basics stamp set. I stamped it with black Versafine Ink, sprinkled it with clear embossing powder and heat set it using a heat gun. I then attached this to the wood grain background.

Sunny Studio Stamps: Background Basics Pirate Pals Window Trio Circle Dies Hello Card by Juliana Michaels

For the sentiment piece, I die cut the ribbon slider die from a piece of black cardstock. I then stamped the sentiment on it with Versamark Ink, sprinkled it with white embossing powder and then heat set using a heat gun. I used a piece of jute twine to attach it to the card front.

Thanks so much for stopping by today! So how have you used the new Background Basics stamp set? We'd love to see what you have created!

Sunny Studio Supplies Used:

Pirate Pals Dies
Pirate Pals Dies
Shop at:
Sunny Studio
Pirate Pals Stamps
Pirate Pals Stamps
Shop at:
Sunny Studio
Window Trio- Circles Die
Shop at:
Sunny Studio
Background Basics Stamps
Shop at:
Sunny Studio

Monday, June 18, 2018

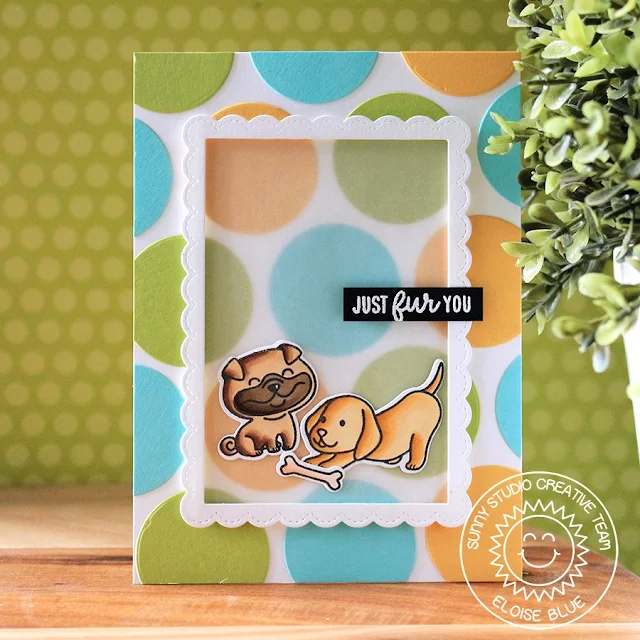
Devoted Doggies Just Fur You Spotty Background Card with Eloise

Hi everyone, Eloise here and for today's project I'll be using Devoted Doggies stamp set to create a "fur" you card, as well as the Window Trio Circle Dies for my spotty background.

Sunny Studio Stamps: Devoted Doggies Window Trio Circle Dies Just Fur You Spotty Background Card by Eloise Blue

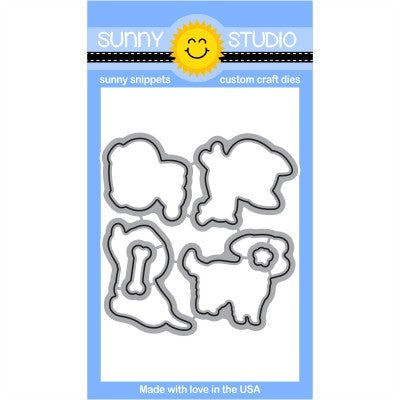
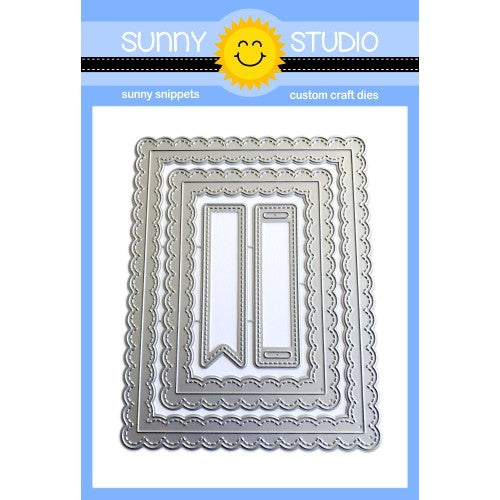
To begin my card today, I started off with stamping out my dogs from Devoted Doggies and coloured them in with Copic Markers. I used the coordinating dies to cut them out and set them off to the side. While I had my die cutting machine out, I also cut out one from the frames from Fancy Frames Rectangles out of some plain white cardstock. Then, I used the Window Trio Circles Dies and cut a ton of the circles out of some green, aqua and yellow cardstock. I stopped once I had enough for my background. Next, I cut down a card base and adhered my circles that were cut randomly onto the background and cut off the excess with my scissors.

(Copics Used: Y32, YR21, Y26, YR24 / E44, E47, E49 / E53, E55, E57 / R00, RV42 / E000, E00, E21)

Sunny Studio Stamps: Devoted Doggies Window Trio Circle Dies Just Fur You Spotty Background Card by Eloise Blue

Next, I cut down a piece of vellum and adhered it to the centre of my card. I popped up my frame on foam tape and adhered that down as well. Next, I adhered down my images at the bottom. For my sentiment, I white heat embossed the 'Just Fur You' onto a strip of black cardstock and adhered that to the right hand side.

Thanks so much for stopping by today and I'll catch you all next time.

Sunny Studio Supplies Used:

Devoted Doggies Stamps
Shop at:
Sunny Studio
Devoted Doggies Dies
Shop at:
Sunny Studio
Fancy Frames- Rectangles
Shop at:
Sunny Studio
Window Trio- Circles Die
Shop at:
Sunny Studio

Sunday, June 17, 2018

Guest Designer Spotlight: Cards with Michelle Short

Hello there, Michelle Short here and I am delighted to be back guest designing with Sunny Studio today. I have three cards to share and I had a lot of fun making them!

Sunny Studio Stamps: Critter Campout Cascading Stars Card by Michelle Short

For my first card, I started off by creating the background for my scene. I stamped the Cascading Stars stamp on to a piece of watercolour paper, using Versamark Ink. I applied clear embossing powder and heat set. I then stamped and embossed the stars again, so that it covered the width of the panel. I took Distress Inks in various shades of blue and blended these on to the top of the panel for the night sky. I then blended browns on to the bottom, for the ground. I took the sentiment from the Critter Campout stamp set and stamped this with black ink on to the bottom of the panel. This piece was then added to an A2 white card base with tape runner.

Sunny Studio Stamps: Critter Campout Cascading Stars Card by Michelle Short

I took the critters and fire from the Critter Campout stamp set and stamped these with black ink on to white cardstock. I coloured them with Copic Markers, adding a little yellow glow to the critters from the fire. These were then die cut out using the coordinating dies. These were added to the card with foam tape.

Sunny Studio Stamps: Background Basics Hello Word Die Card by Michelle Short

My next card uses the wonderful Background Basics stamp set to create a background. This is such a versatile set! I took the polka dot stamp from the set and stamped this repeatedly over a panel of watercolour paper with Versamark Ink. I applied white embossing powder and heat set. I then took Distress Inks in rainbow colours and blended these on to the panel. The panel was cut down and added to an A2 card base, at an angle, with tape runner.

Sunny Studio Stamps: Background Basics Hello Word Die Card by Michelle Short

I took the turtle from the Oceans of Joy stamp set and stamped him on to white cardstock with black ink. I coloured him with Copic Markers and die cut out with the coordinating dies. I also die cut the Hello Word die from black cardstock three times and stacked these up with liquid glue. The hello die was added to the card with more liquid glue and the turtle added with foam tape. I took the ‘sea you soon’ sentiment from the Oceans of Joy stamp set and heat embossed this in white onto black cardstock. This was cut in to a strip and added to the card with more foam tape.

Sunny Studio Stamps: Background Basics Magical Mermaids Card by Michelle Short

For my last card, I wanted to use the Background Basics stamp set for a border, instead of a whole background. I really love the accent of black and white stripes on this card! I took an A2 white card base and stamped the diagonal stripes stamp from the set on to it using black ink. I then took a panel of watercolour paper and blended blue Distress ink onto it for a sea background. This was splattered with water before stamping the sentiment from the Magical Mermaids stamp set on to it with black ink. I added the panel to the card base with foam tape.

Sunny Studio Stamps: Background Basics Magical Mermaids Card by Michelle Short

I took one of the mermaids from the Magical Mermaids stamp set, along with the rock and seaweed, and stamped these on to white cardstock with black ink. I then die cut them with the coordinating dies. I coloured them with Copic Markers and added them to the card with a combination of tape runner and foam tape.

I hope you have enjoyed seeing my cards today, a big thank you to Mendi for having me guest with Sunny Studio Stamps today! Have a great day!

Sunny Studio Supplies Used:
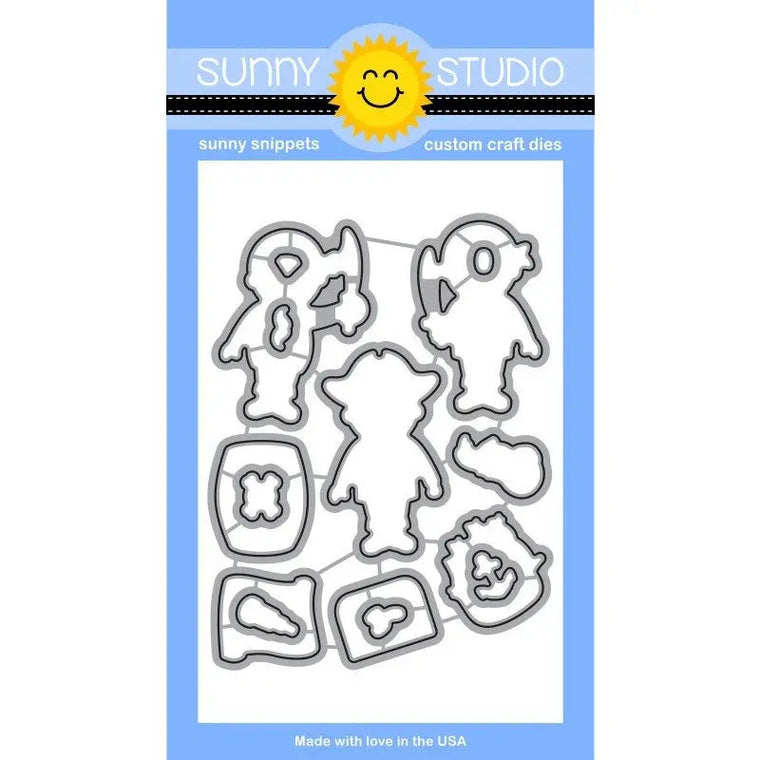
Magical Mermaid Dies
Shop at:
Sunny Studio
Magical Mermaid Stamps
Shop at:
Sunny Studio
Oceans of Joy Dies
Oceans of Joy Dies
Shop at:
Sunny Studio
Oceans of Joy Stamps
Shop at:
Sunny Studio
Cascading Stars Stamps
Shop at:
Sunny Studio
Critter Campout Stamps
Shop at:
Sunny Studio
Critter Campout Dies
Shop at:
Sunny Studio
Background Basics Stamps
Shop at:
Sunny Studio

Saturday, June 16, 2018

The Daily Marker 30 Day Coloring Challenge with Fourth of July Cards

Hello! This is Day 2 of a two day hop to celebrate the tenth 30 Day Coloring Challenge. Have you heard of "The Daily Marker's 30 Day Coloring Challenge" hosted by Kathy Racoosin? Right now it's in the middle of the challenge and it's a great time to take a leap, jump in and get your feet wet!  Don't feel like you are jumping into the middle of the challenge I hope you will think of it as a new beginning.
The premise of "The Daily Marker 30 Day Coloring Challenge" is to color something everyday even if it's for five minutes. However feel free to  jump in or out as time permits.
You should have arrived to this post from the Studio Katia blog, but if you are just joining in the hop you can start at the beginning at The Daily Marker.

In honor of the blog hop we have created two cards to share with you today...

Card No. 1: With Fourth of July right around the corner I thought pull out my favorite Copic Markers and color the dogs from our Party Pups & Devoted Doggies sets with a banner from our Stars & Stripes stamps. I love that I was able to switch up the party hats and color them with a patriotic twist. For my greeting I borrowed a stamp from a versatile new sentiment set debuting next month. ;)
Sunny Studio Stamps: Party Pups & Stars & Stripes Fourth of July Dog Card by Mendi Yoshikawa
Sunny Studio Supplies Used:
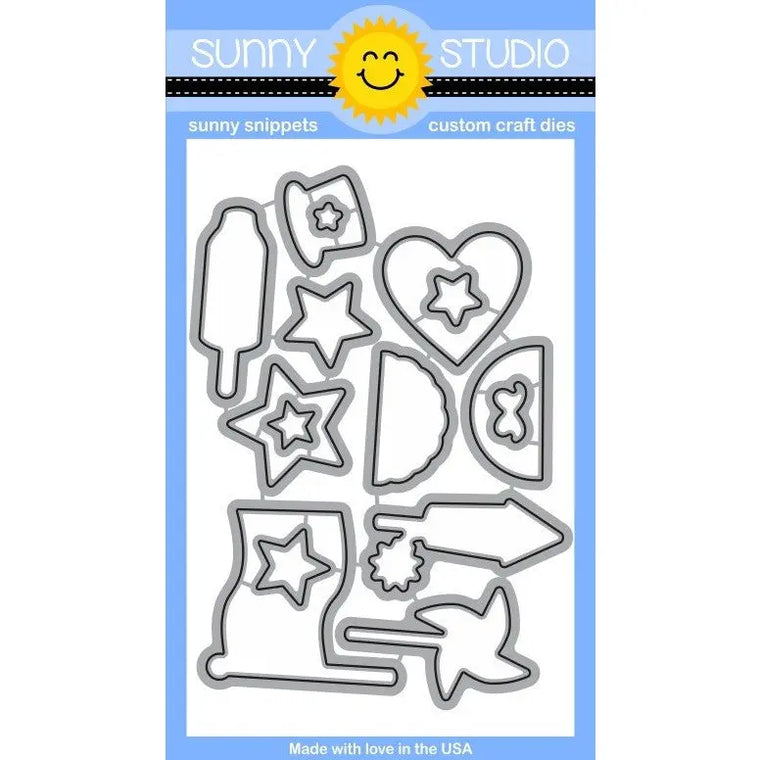
Stars & Stripes Dies
Shop at:
Sunny Studio
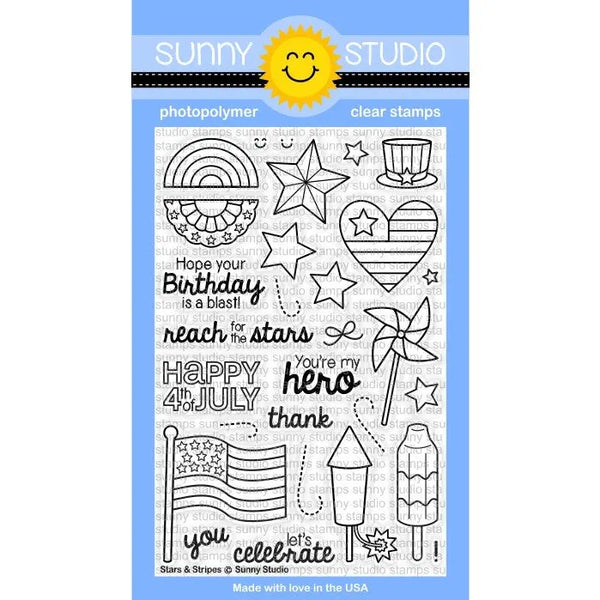
Stars & Stripes Stamps
Shop at:
Sunny Studio
Party Pups Stamps
Party Pups Stamps
Shop at:
Sunny Studio
Party Pups Dies
Party Pups Dies
Shop at:
Sunny Studio
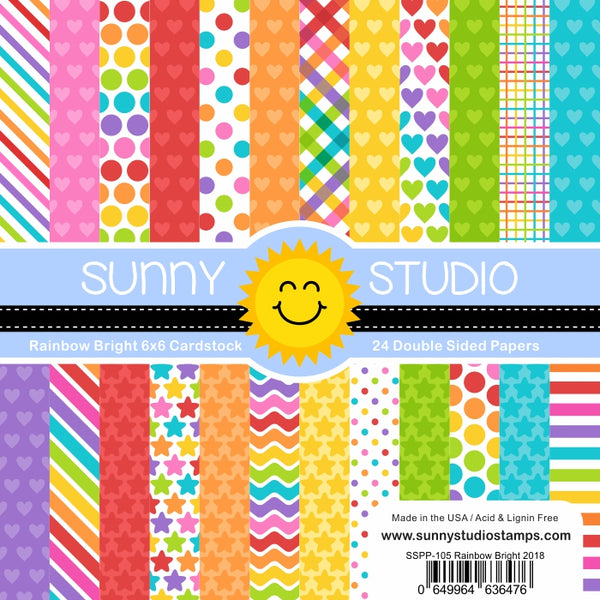
Rainbow Bright 6x6 Paper
Shop at:
Sunny Studio
Devoted Doggies Stamps
Shop at:
Sunny Studio
Devoted Doggies Dies
Shop at:
Sunny Studio


Card No. 2: For my second card I used the flag and some leftover bunting images that I had already colored from that same Stars & Stripes set together with the hedgehog, raccoon & snail from our Critter Campout set that I had colored several months ago.  I love that I was able to create a card from essentially leftover scraps that were otherwise going unused in my stash.
Sunny Studio Stamps: Critter Campout & Stars & Stripes Fourth of July Raccoon & Hedgehog Card by Mendi Yoshikawa
Sunny Studio Supplies Used:
Stars & Stripes Dies
Shop at:
Sunny Studio
Stars & Stripes Stamps
Shop at:
Sunny Studio
Critter Campout Stamps
Shop at:
Sunny Studio
Critter Campout Dies
Shop at:
Sunny Studio
Rainbow Bright 6x6 Paper
Shop at:
Sunny Studio
For this challenge any coloring medium is welcomed. Click here for DAY 1. TO UPLOAD YOUR COLORING  or here on Instagram or here on Facebook (FB is a closed group).

Please remember to use the hashtag #thedailymarker30day and tag @kathyrac . Also for kids & young adults use the tag #thedailymarker30daykids


If you have any questions about "The Daily Marker 30 Day Coloring Challenge" you can refer to this post. Your next stop in the hop is Technique Tuesday. :)
The Daily Marker
Pretty Pink Posh
Purple Onion Designs
Reverse Confetti
Right at Home
Studio Katia
Sunny Studio (you are here)Technique Tuesday
Trinity Stamps
The Ton
Whimsy Stamps
Winnie & Walter
Your Next Stamp In honor of the hop we're giving away a $25 gift code to our online store. Leave a comment and pin an image for your chance to win. The winner will be announced on Friday, June 22. :)

Friday, June 15, 2018

Beach Babies Sand and Ocean Fun Shaker Card with Lexa

Hello everyone! Lexa here today with a summer shaker card featuring Beach Babies Stamps and the coordinating dies. I believe many of you already know how cute this stamp set is with all the beach accessories you can make as many as designs you can imagined. My basic idea was to create a shaker card on the ocean part with some sequins and fishes. So I come up with this card.

Sunny Studio Stamps: Beach Babies Sand and Ocean Fun Shaker Card by Lexa Levana

First I stamp all the images with Versafine black ink and watercolor them with Distress Markers. After I finished with the coloring I use the coordinating dies to cut them. I also add a little crab, starfish and some fishes from both Oceans Of Joy and Magical Mermaids stamps. Those little people are having so much fun at the beach! 

Sunny Studio Stamps: Beach Babies Sand and Ocean Fun Shaker Card by Lexa Levana

I use Cracked Pistachio Distress Ink for the sky and Tea Dye for the sand. To create the ocean, I blend some Salty Ocean and Tumbled Glass Distress Inks before create the rectangle shaker window. You can't go wrong with shaker cards, anyone love them since they are so much fun!

I really enjoy making this card, I hope you love it as much as I do. Thank you so much for stopping by today and have a great day!

Sunny Studio Supplies Used:

Magical Mermaid Dies
Shop at:
Sunny Studio
Magical Mermaid Stamps
Shop at:
Sunny Studio
Oceans of Joy Dies
Oceans of Joy Dies
Shop at:
Sunny Studio
Oceans of Joy Stamps
Shop at:
Sunny Studio
Beach Babies Stamps
Beach Babies Stamps
Shop at:
Sunny Studio
Beach Babies Dies
Beach Babies Dies
Shop at:
Sunny Studio