
Hello all, Marieke here. I'm back again with my weekly post for Sunny Studio Stamps. Today I hope to inspire you with a card that I made using the Nativity Scene Builder Dies.

So for this project I thought it would be fun to create a light up card. So for this to work I cut a black and a white scalloped rectangle using the Frilly Frames Hexagon dies. Scored one at 1 1/2 inch and adhered them together. This is the base of the card. Cut a slightly smaller watercolor panel and decided where I wanted the light to be placed.

Die cut a circle out of the rectangle and ink blended the top of the card using Dried Marigold, Seedles Preserves and Black Soot. Splattered some water and cut a black strip of cardstock. Decided where the light up button was going to be and heat set the "press" using gold embossing powder.
Cut a watercolor rectangle, placed this on the front of the base card and traced the outside on the card and added the inked panel on to. Traced the circle on the watercolor panel and ink blended it using Scattered Straw.

Die cut all the elements of the scene using black cardstock and gold Glitter cardstock with the Nativity Scene Builder Dies. Placed the scene so I knew where I wanted to place the sentiment. Stamped the sentiment out of the Build-a-Greeting Holidays Stamp directly on a small inked rectangle.
Glued the small rectangle on the base cardstock, decided where the light element needed to go and adhered it to the base. Assembled the elements on the front of the card and finished the card by adding some gold stars.
Have a wonderful day!
Sunny Studio Supplies Used:
 Frilly Frames Hexagon Dies Shop at: Sunny Studio |
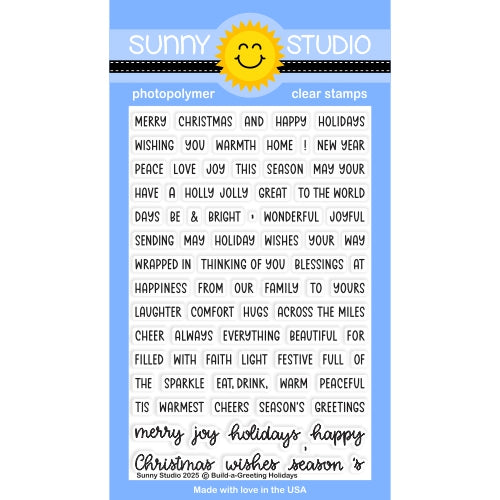 Build-a-Greeting Holidays Shop at: Sunny Studio |
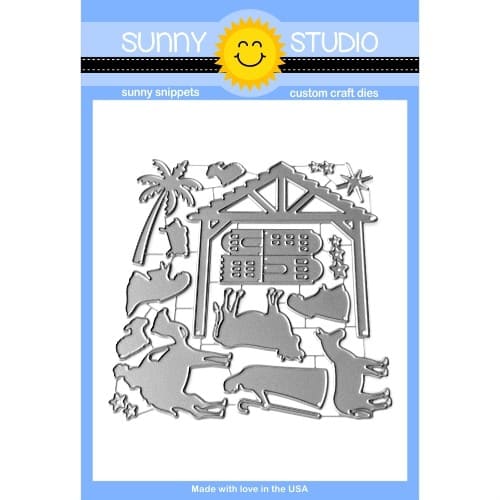 Nativity Scene Builder Shop at: Sunny Studio |



LOVE this, Marieke!!
ReplyDelete