Hello Crafty Friends! This is Hanh on the Sunny Studio Stamps blog today with a winter-themed box card featuring these absolutely adorable snowmen from the Snowman Kisses set. Do you like boxcards? Have you ever made a boxcard? I absolutely LOVE boxcards! Today, I'm going to show you how to make one without any special boxcard dies. So, let's get started.
I stamped the snowmen
from the Snowman Kisses Stamp set onto a piece of
Neenah Solar White 110 lb cardstock with Memento Tuxedo Black ink and used the
coordinating Snowman Kisses Dies to die cut them out. I colored the
images with Copic markers and highlighted them with a white gel pen.
COPIC COLORS:
Snowmen: B0000/000,
Y38 YR04, R20
Red: R05/24/29/39
Green: YG05/07 G05/09
White: C1/3
Shadow: C1
To create the
boxcard, I used the largest die from the Stitched Arch Dies to die cut the back panel out of
light blue cardstock. I used the second largest arch die from the same die set
to die cut a piece of pattern paper from the All is Bright Paper pack. I adhered the two arches
together.
For the base of the boxcard, I used a paper trimmer to create a 1.25" x 9.5" strip out of the same light blue cardstock. I used a score board to score the light blue strip at the 0.5", 2", 5" and 6.5" marks. I folded on the score lines and used liquid glue to close and secure the box with the 0.5" end tab. I adhered the arch back panel to the base of the boxcard.
For the shelves of the boxcard, I took two strips of white cardstock (4" x 2") and used the Slimline Nature Borders Dies to die cut the top edge of the slopes. I used a score board to score at the 0.5" marks on each side of the shelves to create end tabs. Scissors were used to trim away the top portion of the end tabs, leaving only the bottom 1" to adhere to the sides of the box. I adhered the shelves to the boxcard.
For the sentiment,
the banner die from the Stitched Rectangles Dies was used to die cut a piece
of white cardstock. I stamped the super sweet "warm wishes & snowman
kisses" sentiment from the Snowman Kisses Stamp set with Memento Tuxedo
Black ink onto the banner. I adhered the banner to the front of the
boxcard.
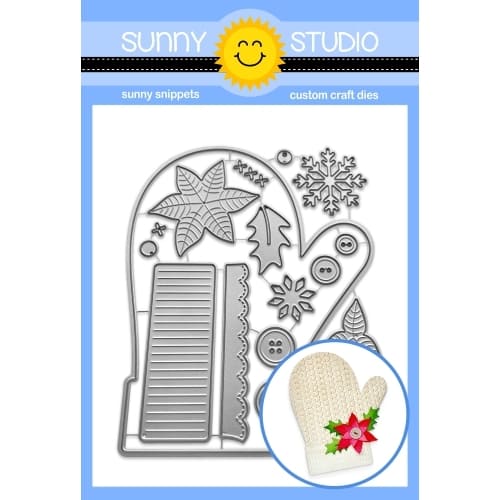
I decorated the boxcard with the snowmen as well as some snowflakes die cut out of white cardstock using the dies from the Woolen Mitten Dies and Basic Mini Shapes Dies 2 sets. HINT: For the floating appearance, I like to use little clear acetate strips to secure objects like the snowflakes to the boxcard.
My boxcard measures
3" W x 4.25" H and flattens to 4.5" W x 4.25" H. The
flattened boxcard fits nicely in a standard A2 sized envelope (for
4.25" x 5.5" cards) for mailing.
I appreciate you taking the time to stop by and visit today. I hope you liked my boxcard and are inspired to create your own. Be sure to check out the Sunny Studio Stamps Shop for more info and ideas. Please also visit my INSTAGRAM feed for more inspirations.
Have a wonderful and crafty day!
Sunny Studio Supplies Used:
 Stitched Rectangle Dies Shop at: Sunny Studio |
 Basic Mini Shape Dies 2 Shop at: Sunny Studio |
 Stitched Arch Dies Shop at: Sunny Studio |
 Slimline Nature Borders Shop at: Sunny Studio |
 All Is Bright Paper Shop at: Sunny Studio |
 Snowman Kisses Stamps Shop at: Sunny Studio |
 Snowman Kisses Dies Shop at: Sunny Studio |
 Woolen Mitten Dies Shop at: Sunny Studio |


This is a super-cute card!!!
ReplyDelete