Hello and welcome! This is Mendi here today, popping in to share some Christmas cards featuring our Pretty Poinsettia Stamps and Petite Poinsettia Stamps.
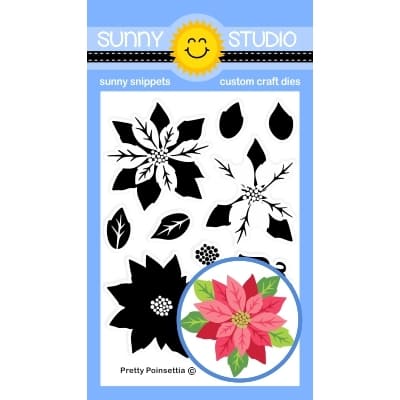
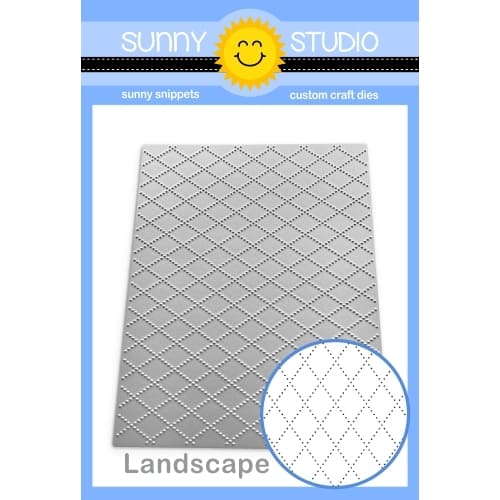
For my first card today, I am showcasing the beautiful mini layering Pretty Poinsettia Stamps and coordinating Pretty Poinsettia Dies. This set is super easy to layer and creates gorgeous cards for such an affordable price point, given its 3x4-inch size!I started this card by piercing the pink cardstock background using the Dotted Diamond Landscape Dies and layering it with the scalloped oval from the Fancy Frames Oval Dies and the Stitched Oval 2 Dies cut from white cardstock. I don't know that I would have typically thought to pair these two particular dies together, given the small gap between them, however, I had these die-cuts leftover in a scrap bag on my desk from other cards they got discarded from and seeing them together made me think they could add an interesting design detail to my card.
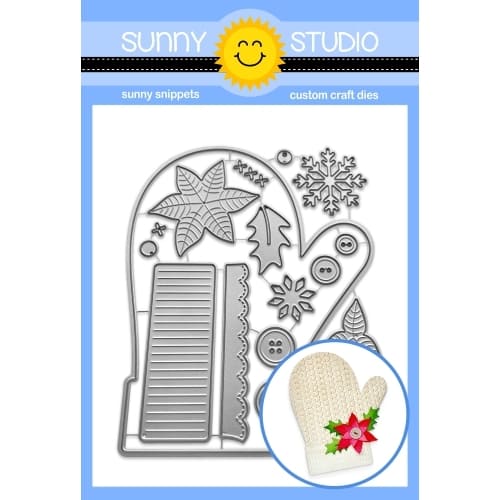
I heat embossed the "Merry Christmas" sentiment from the Holiday Greetings Stamps using Hero Arts Brass Embossing Powder (one of my favorites). I embellished around my pink poinsettia flowers with pinecones from our Christmas Trimmings Stamps and the small die-cut holly leaves from the Woolen Mitten Dies. I am smitten with how the colors came together for this card—it's so soft and pretty with the pink, brown, crisp white, a touch of green leaves, and the glitz of the gold embossing!
Poinsettia Ink Colors:
- Altenew Frosty Pink
- Hero Arts Cotton Candy
- Hero Arts Azalea
Green Leaves Ink Colors: Using various combinations of these three colors
For my second card, I used our older retiring Petite Poinsettia Stamps, which we still have in stock for half price. I paired them with the holly from our Christmas Trimming Stamps. For my background, I inked up cardstock using Uncharted Mariner Distress Ink and added stitching around the edges using the outer die from the Frilly Frames Quatrefoil Dies.
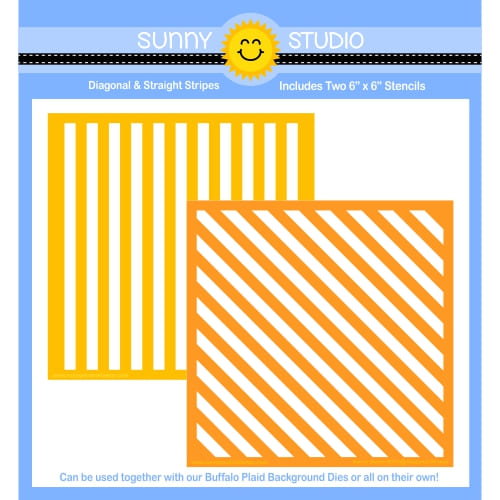
I masked off the top half of my card and used our Diagonal & Straight Stripes Stencils for the bottom portion. I pressed a VersaMark Ink pad directly into my cardstock over the stencil to give me sticky stripes to sprinkle and heat-emboss with a clear sparkle embossing powder. I made a boo-boo with my stencil accidentally shifting, so I went back over the heat-embossed stripes with another layer of the ink to hide my mistake. Lastly, I heat-embossed & die-cut the word "Christmas" from the Season's Greetings Stamps and added the word "Merry" directly onto my card background from the Build-a-greeting Holiday Stamps.
That wraps up my projects for today. Thanks so much for hanging out with me. I hope I've inspired you to spread a little happiness by sending out a card to someone you love. 💛
Don't forget to check out the Pretty Poinsettia Stamps, Petite Poinsettia Stamps, and Dotted Diamond Landscape Die in our online shop, which are all currently on sale!
Supplies Used:
 Pretty Poinsettia Stamps Shop at: Sunny Studio |
 Pretty Poinsettia Dies Shop at: Sunny Studio |
 Christmas Trimmings Stamps Shop at: Sunny Studio |
 Christmas Trimmings Dies Shop at: Sunny Studio |
 Fancy Frames- Ovals Shop at: Sunny Studio |
 Stitched Oval 2 Dies Shop at: Sunny Studio |
 Holiday Greetings Stamps Shop at: Sunny Studio |
 Holiday Greetings Dies Shop at: Sunny Studio |
 Petite Poinsettias Stamps Shop at: Sunny Studio |
 Dotted Diamond Landscape Shop at: Sunny Studio |
 Woolen Mitten Dies Shop at: Sunny Studio |
 Diagonal & Straight Stripes Stencils Shop at: Sunny Studio |
 Season's Greetings Stamps Shop at: Sunny Studio |
 Season's Greetings Word Dies Shop at: Sunny Studio |
 Brass Embossing Powder Shop at: Sunny Studio |
 VersaMark Watermark Ink Shop at: Sunny Studio |


No comments:
Post a Comment