Hello crafty friends, Marine here, I'm so happy to be back with this cheerful shaker card showcasing Santa and the reindeers getting ready for the holiday season. As very often I picked images from different sets to create a nice and cute mix & match scene, and as always everything is listed down below.
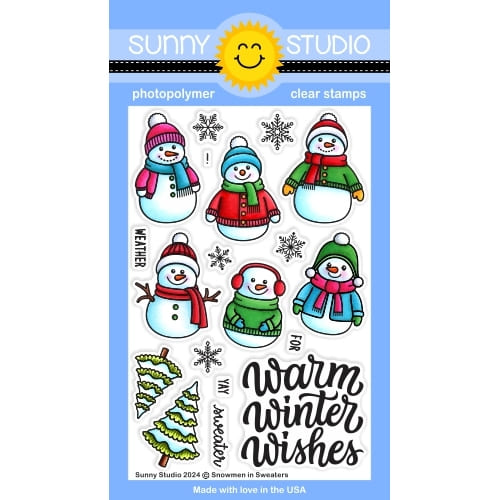
So, speaking of which, I started off by stamping my images on 110lb Neenah solar white cardstock using an alcohol marker friendly black ink. I used the coordinating dies to cut them all, and then colored everything using my Ohuhu markers and Graph'it brush markers. Here is a detailed list of the stamp sets I used: • North Pole - Santa, north pole sign, nice list • Reindeer Games - reindeers • Snowmen In Sweaters - trees, snowflakes • Santa Claus Lane - presents, sack.
I added highlights and details to the images with a white gel pen, applied white blizzard nuvo drops to the trees to make the snow on them sparkle, and then moved on to the shaker panel and cut all the pieces I needed to build it. First, I cut a Rounded Rectangle Mat panel out of an All Is Bright turquoise paper using the largest die from the set.
Next I picked the fourth smallest Rounded Rectangle Window die and cut two openings out of my turquoise panel. And using that same fourth smallest die again, I cut two panels out of white cardstock and cut a wavy border out of each of those white panels to create two snowy borders. For the background of my shaker, I used the largest Rounded Rectangle Mat die again to cut a Joyful Holiday polka dot panel.
Before assembling my shaker panel, I added texture to the different pieces. I mixed copic opaque white ink with water and used a slim brush to add white splatters to the turquoise panel and to the polka dot panel, I mixed liquid stardust with water and added sparkling splatters to the snowy borders, and when my turquoise panel was dry, I stamped "Have a super jolly Christmas" from Reindeer Games at the very bottom using black ink.
I attached a piece of acetate at the back of my turquoise panel using liquid glue, and still at the back of my panel, I attached foam strips around each opening and on the rest of the panel as well. I poured twenty White Snowflake confetti inside each opening and tiny clear crystal pieces as well, peeled all the backing papers off the foam strips, and then attached my polka dot panel to totally close my shaker panel. Back to the front of my panel, I stuck a snowy border at the bottom of each opening using liquid glue, attached my shaker panel to a 5,5 x 4,25 inches white panel and then to a white card base. Next I finally attached my images using 1mm and 2mm foam squares.
And that's it! I hope that you like this lovely holiday shaker card! Thanks so much for stopping by, and see you next week!
Sunny Studio Supplies Used:
 Santa Claus Lane Stamps Shop at: Sunny Studio |
 Santa Claus Lane Dies Shop at: Sunny Studio |
 North Pole Stamps Shop at: Sunny Studio |
 North Pole Dies Shop at: Sunny Studio |
 All Is Bright Paper Shop at: Sunny Studio |
 Reindeer Games Stamps Shop at: Sunny Studio |
 Reindeer Games Dies Shop at: Sunny Studio |
 Joyful Holiday Paper Shop at: Sunny Studio |
 Snowmen in Sweaters Stamps Shop at: Sunny Studio | |
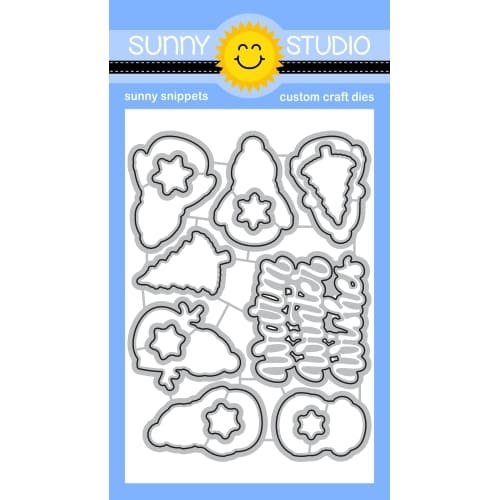
 Snowmen in Sweaters Dies Shop at: Sunny Studio |
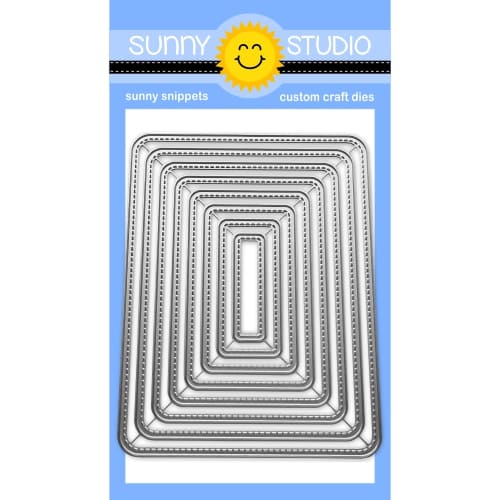
 Rounded Rectangle Mat Dies Shop at: Sunny Studio |
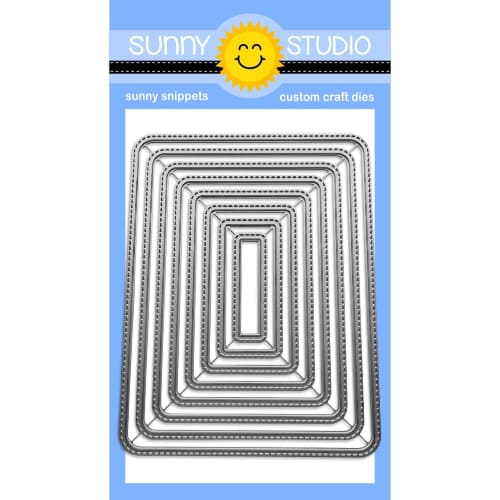
 Rounded Rectangle Window Dies Shop at: Sunny Studio |


No comments:
Post a Comment