It is not easy to decide what colors to use for the gorgeous
hibiscus blossoms, there's such a wide range of biodiversity available! I ended
up with the best known red version - because I had multiple red inks in my
stash :)
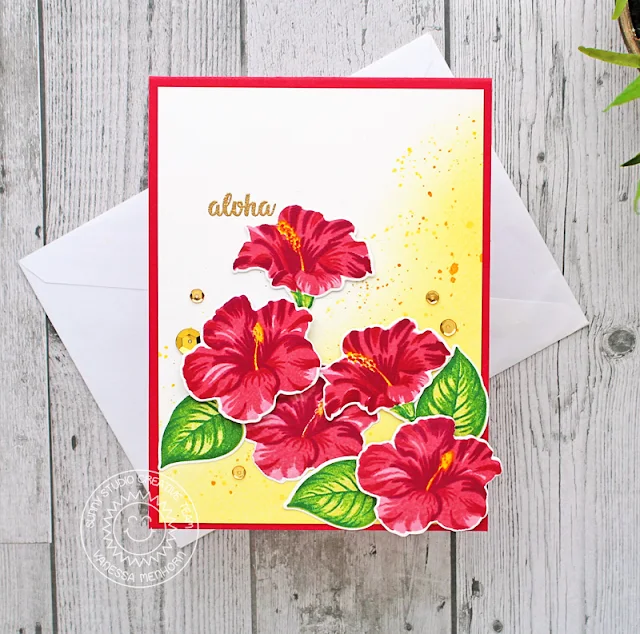
I started with a panel of white cardstock and inked the bottom part with yellow Distress Ink. Then I added ink droplets, stamped and heat-embossed the "aloha" with gold embossing powder and adhered the panel to the red card base.
I started with a panel of white cardstock and inked the bottom part with yellow Distress Ink. Then I added ink droplets, stamped and heat-embossed the "aloha" with gold embossing powder and adhered the panel to the red card base.
Now I stamped the
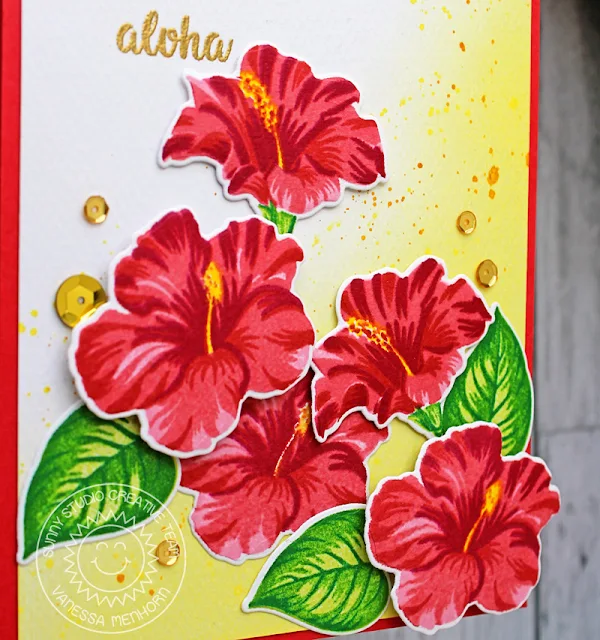
flowers and leaves using the following colors - Blossoms, from lightest
to darkest color: MFT Cotton Candy, Hero Arts Pale Tomato, MFT Cherry Crisp, Hero
Arts Raspberry Jam, MFT Sunshine (Center). Leaves, from lightest to
darkest color: MFT Sour Apple, Distress Ink Mowed Lawn, MFT Green Eyed Monster
After I had die-cut the elements with the matching dies, I adhered everything to the card, using foam tape for more dimension. Finally, I added gold sequins.
Don't you love how these layered stamps work? Mendi did such a great job with these! Thank you for visiting, see you next week!
After I had die-cut the elements with the matching dies, I adhered everything to the card, using foam tape for more dimension. Finally, I added gold sequins.
Don't you love how these layered stamps work? Mendi did such a great job with these! Thank you for visiting, see you next week!
---------------------------------------------------------
Hi everyone, Anja here and today I have a new summer card for you using the beautiful Hawaiian Hibiscus Stamps. Do you know how many working hours and effort went into designing these kind of layering stamps? I'm always amazed by the detailed images and it is so much fun to stamp the layers in different colors.
So here is my floral birthday card where I combined the pretty hibiscus flowers with a foiled Botanical Backdrop frame. I put a piece of
Deco Foil Turquoise Transfer Sheet by Therm o Web on cardstock using Ken
Oliver's Stick it adhesive. Then I ran it through my die cutting machine with
the floral frame die.
Next, I stamped the layered flowers and leaves (find ink colors below) and cut them out with the coordinating dies. Originally, I wanted the darkest layer to be a bright pink. First, I tried pigment ink which sits on top of the paper, but it wasn't bright enough. Then I remembered the vibrant pink embossing powder that I had in my stash for years. But as it isn't opaque, it turned out red ;-) I thought it gave a nice contrast to the first three stamped layers though and kept going.
Next, I stamped the layered flowers and leaves (find ink colors below) and cut them out with the coordinating dies. Originally, I wanted the darkest layer to be a bright pink. First, I tried pigment ink which sits on top of the paper, but it wasn't bright enough. Then I remembered the vibrant pink embossing powder that I had in my stash for years. But as it isn't opaque, it turned out red ;-) I thought it gave a nice contrast to the first three stamped layers though and kept going.
I stamped the
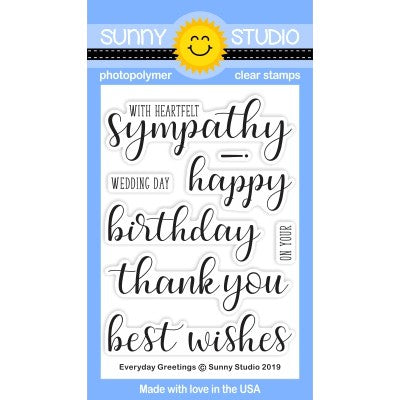
birthday sentiment from the Everyday
Greetings set in VersaMark Ink and
heat embossed it with turquoise embossing powder. Finally, I adhered the images
and also added some matching crystals and enamel dots.
Dye Inks used - Hibiscus Flowers: MFT Insulation Pink, Altenew Sunkissed and Orange Cream; Leaves: Altenew Bamboo, Parrot and Olive
Thank you so much for stopping by! Have a nice day!
Dye Inks used - Hibiscus Flowers: MFT Insulation Pink, Altenew Sunkissed and Orange Cream; Leaves: Altenew Bamboo, Parrot and Olive
Thank you so much for stopping by! Have a nice day!
Sunny Studio Supplies Used:
 Botanical Backdrop Die Shop at: Sunny Studio |
 Everyday Greetings Stamps Shop at: Sunny Studio |
 Hawaiian Hibiscus Stamps Shop at: Sunny Studio |
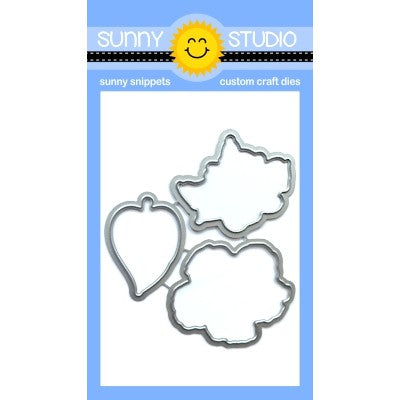
 Hawaiian Hibiscus Dies Shop at: Sunny Studio |


BEAUTIFUL!!!!
ReplyDeleteI just got this set and I love love love it!!!!! Can't wait to make more cards today!