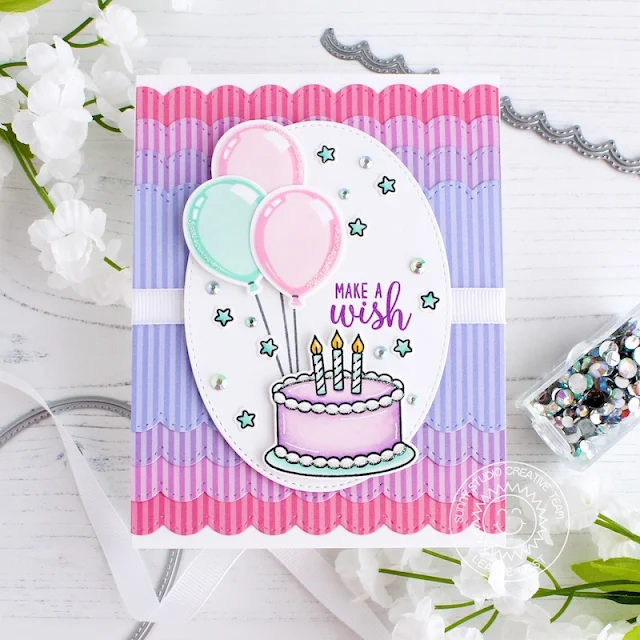
I then added the completed layered panel to an A2 card base. I cut out an oval with a die from the Stitched Oval dies to be the base for a birthday vignette in the center of my card. I stamped and Copic colored the cake and tiny stars from Make a Wish. I used the Make a Wish dies to cut them out.
I used the Birthday Balloons to stamp three balloons. I stamped the balloon strings
directly onto the oval and then added the images with adhesive foam squares. I left a space above the cake to stamp a sentiment which is also
from Make a Wish. This very feminine birthday card would not be complete
without a little bling and sparkle so I added some iridescent gems and glitter
accents to the balloons and cake.
---------------------------------------------------------
Hello friends, Eloise here and today I’ll be sharing a card using the Make A Wish stamp set. This set is super amazing, as it’s a small stamp set, the price point is great and it includes just enough images to make a card on its own, or it can easily pair with any stamp set it make a birthday themed card, it’s a great stamp to keep on hand at all times.
To start my card today I stamped out my images from Make
A Wish and then also pulled in some balloons from Oceans
of Joy. I coloured them in
with Copic Markers and cut them out using the coordinating
dies. For the strings of the balloons, I cut them out with my
scissors since they don’t have a die.
(Copic Markers Used: BV02, BV04, BV08 / RV13, RV25, RV19 / YR20, YR21, YR23 / Y11, Y18, YR15 / YG01, YG03, YG17 / C0, 0 / BG11, BG13, BG49 / Y11, Y13, Y17 / Y38, YR15, YR04)
(Copic Markers Used: BV02, BV04, BV08 / RV13, RV25, RV19 / YR20, YR21, YR23 / Y11, Y18, YR15 / YG01, YG03, YG17 / C0, 0 / BG11, BG13, BG49 / Y11, Y13, Y17 / Y38, YR15, YR04)
While I had my die cutting machine out, I ran through the Sunburst
Embossing Folder with some white cardstock. I then laid out all my
images and stamped the sentiment ‘Make A Wish’ into the middle piece with black
ink and stamped some stars around as well.
I then added foam tape onto all the backs of the images and
adhered them into place where I had temporarily placed them before. I adhered
the entire panel onto a card base and the card was complete.
Thanks so much for stopping by today and I’ll see you next time.
Thanks so much for stopping by today and I’ll see you next time.
Sunny Studio Supplies Used:
 Oceans of Joy Dies Shop at: Sunny Studio |
 Oceans of Joy Stamps Shop at: Sunny Studio |
 Stitched Scallop Dies Shop at: Sunny Studio |
 Birthday Balloon Stamps Shop at: Sunny Studio |
 Birthday Balloon Die Shop at: Sunny Studio |
 Stitched Oval Dies Shop at: Sunny Studio |
 Dots & Stripes Pastels 6x6 Paper Shop at: Sunny Studio |
 Sunburst Embossing Shop at: Sunny Studio |
 Make A Wish Stamps Shop at: Sunny Studio | |
 Make A Wish Dies Shop at: Sunny Studio |


These are Fabulous birthday cards!!!
ReplyDelete