Thursday, May 15, 2025

Froggy Friends Card with Marine

Hello crafty friends, Marine here with you today, back with this super fun shaker card featuring some Froggy Friends having fun jumping and hopping from a pad to another. I totally enjoyed creating this card, and I hope that it will inspire you!

Sunny Studio Stamps: Froggy Friends Shaker Card by Marine Simon (featuring Country Scenes, Puddle Jumpers, Comic Strip Everyday Dies, Sweet Treats House Add-On Dies)

So, as very often, I started off by stamping the images on 110lb Neenah solar white cardstock using an alcohol marker friendly black ink. I used the coordinating dies to cut them all, and then colored everything using my Ohuhu markers in various shades of green and also bright pinks for the water lily flowers to match with the shaker components.

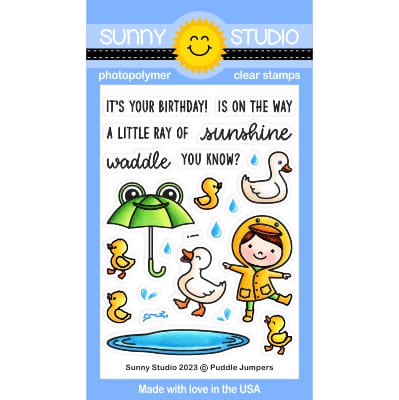
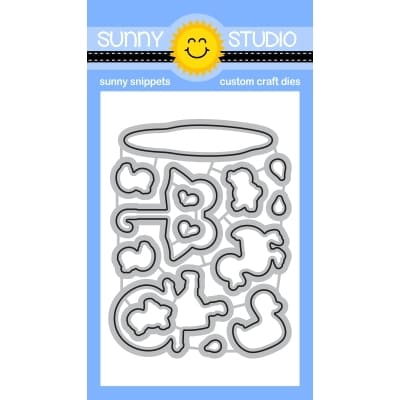
Here is the detailed list of the stamp sets I used: • Froggy Friends - frogs, large cattails, large pads, flies • Country Scenes - small cattails, water lily flowers on pads • Puddle Jumpers - frog umbrella • Feeling Froggy - fireflies.

Sunny Studio Stamps: Froggy Friends Shaker Card by Marine Simon (featuring Country Scenes, Puddle Jumpers, Comic Strip Everyday Dies, Sweet Treats House Add-On Dies)

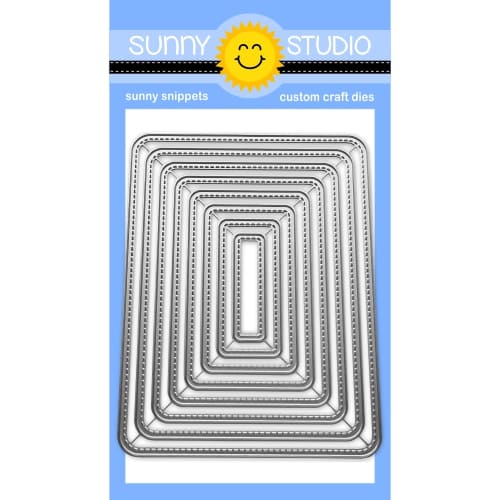
Once the coloring was done, I added highlights and details to the images using a white gel pen, and then worked on my shaker panel. First, I cut a Comic Strip Everyday panel out of light brown woodgrain cardstock and kept the frame only. I cut another one out of an Amazing Argyle teal woodgrain pattern paper, kept the five inside pieces only, and used a scalloped die from the Sweet Treat House Add-On to cut five slim scalloped borders out of those inside pieces.

Sunny Studio Stamps: Froggy Friends Shaker Card by Marine Simon (featuring Country Scenes, Puddle Jumpers, Comic Strip Everyday Dies, Sweet Treats House Add-On Dies)

Next I attached my woodgrain frame to a clear acetate panel using liquid glue, and stuck a slim scalloped border at the bottom of each window using liquid glue as well. On the upper part of the top right hand corner window, I stamped "You make me hoppy" from Froggy Friends using white Stazon ink (it dries quickly and doesn't smear on acetate) I flipped my woodgrain panel over, added foam strips all along the four edges and at the back of the slim window dividers as well, creating this way five spaces to pour lots of Frogs & Flowers confetti into. I peeled all the backing papers off the foam strips, and attached a Gingham Pastels teal gingham panel to the strips to totally close my shaker panel.

I attached my panel to a white card base and then stuck all the images using 1mm and 2mm foam squares. I attached a few flies and fireflies here and there, and finally added white blizzard nuvo drops to the fireflies wings to make them sparkle. 

And that's it! What a cool and fun project it was to create, I hope that you like it. Thanks so much for stopping by, and see you next week!

Sunny Studio Supplies Used:

Froggy Friends Dies
Froggy Friends Dies
Shop at:
Sunny Studio
Froggy Friends Stamps
Shop at:
Sunny Studio
Amazing Argyle 6x6 Paper
Shop at:
Sunny Studio
Gingham Pastels 6x6 Paper
Shop at:
Sunny Studio
Sweet Treats House Add-on
Shop at:
Sunny Studio
Country Scenes Stamps
Shop at:
Sunny Studio
Country Scenes Dies
Country Scenes Dies
Shop at:
Sunny Studio
Feeling Froggy Stamps
Shop at:
Sunny Studio
Feeling Froggy Dies
Feeling Froggy Dies
Shop at:
Sunny Studio
Puddle Jumpers Stamps
Shop at:
Sunny Studio
Puddle Jumpers Dies
Puddle Jumpers Dies
Shop at:
Sunny Studio
Comic Strip Everyday Dies
Shop at:
Sunny Studio

Wednesday, May 14, 2025

Super Duper Card with Tina

Hello crafters, it’s Tina and today I am sharing a Birthday card with the fun Super Duper stamp and die set! Such amazing characters and the sentiments in this set are so versatile!

Sunny Studio Stamps: Super Duper Birthday Card by Tina Henkens (featuring Frilly Frame Dies, Stitched Semi-Circle Dies, Comic Strip Speech Bubble Dies, Rounded Rectangle Mat Dies)

After creating a card base, I cut a white panel with the outer die from Frilly Frames Chevron. To add extra interest, I dry embossed this panel with the Sunburst folder. This is one of my favorite techniques for including quick and easy details to a project.

The next level of this card was made from a red polka dot paper (Polka-dot Parade) cut with the second largest die from the Rounded Rectangle Mat set. I knew I was going for a red Superman suit and this paper was a perfect match. My hero had to make a spectacular entry so I needed to create the space with one of the Stitched Semi Circle dies. Next, I glued this red piece to the white panel and attached the whole to the card base.

I selected my character and a few stars from the Super Duper stamp set and colored everything with my Copic markers.

Sunny Studio Stamps: Super Duper Birthday Card by Tina Henkens (featuring Frilly Frame Dies, Stitched Semi-Circle Dies, Comic Strip Speech Bubble Dies, Rounded Rectangle Mat Dies)

The add extra ‘drama’ to my sentiment I used the starburst shape from the Comic Strip Speech Bubbles and stamped the ‘Hope your day’ part (Super Duper stamp) with Versafine Onyx Black ink. Next, I used the largest rectangle speech bubble (Comic Strip Speech Bubbles), cut of the little tail and stamped the second part of the message (with red ink from my stash).

To complete the design, I placed the images inside the frame and added the two speech bubbles. As a final embellishment, some Silver Jewels were glued on each side of the sentiment.

I loved creating with this fun Super Duper set and I hope you will enjoy it too! Thank you for joining me and happy crafting!

Sunny Studio Supplies Used:

Polka-dot Parade 6x6 Paper
Shop at:
Sunny Studio
Sunburst Embossing
Sunburst Embossing
Shop at:
Sunny Studio
Frilly Frames Chevron Die
Shop at:
Sunny Studio
Super Duper Stamps
Super Duper Stamps
Shop at:
Sunny Studio
Super Duper Dies
Super Duper Dies
Shop at:
Sunny Studio
Comic Strip Speech Bubble Dies
Shop at:
Sunny Studio
Stitched Semi-Circle Dies
Shop at:
Sunny Studio
Rounded Rectangle Mat Dies
Shop at:
Sunny Studio

Tuesday, May 13, 2025

City Streets Card with Amanda

Hey crafty friends, Amanda here! Do you ever use masking to create a one layer card? It’s a great way to use your stamps that don’t have coordinating dies! Or, if you just want to try out a different look to your cards! 

Sunny Studio Stamps: City Streets Card by Amanda Fitterer (featuring Foxy Friends, Sprawling Surfaces)

To create this card, I used Heffy Memo Tape for my masking. You can also use sticky notes or other masking tape. For this technique, I start by determining the order in which the images need to be stamped and masked. For this card, the umbrella needs to be stamped first. So, I stamped the umbrella with my MISTI Then, without removing my stamp, I put a piece of Heffy Memo Tape down over top of the stamped image and used the leftover ink on the stamp to stamp the image. This gives me an outline to cut for my mask. Using scissors, I cut out the umbrella and placed the mask over the stamped image on the card panel.

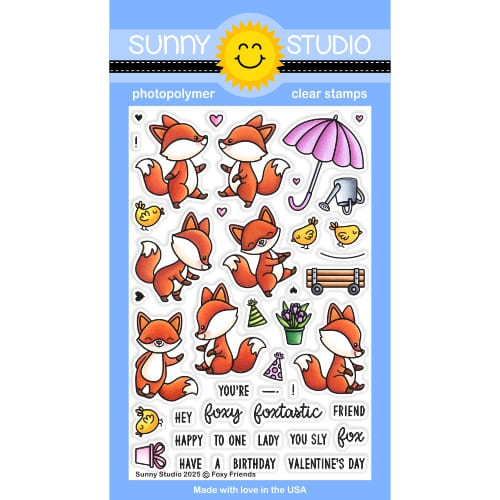
Next, I stamped the fox and birds from the Foxy Friends Stamps. Using the same technique as I did with the umbrella, I created masks for these images and placed them over the stamped images.

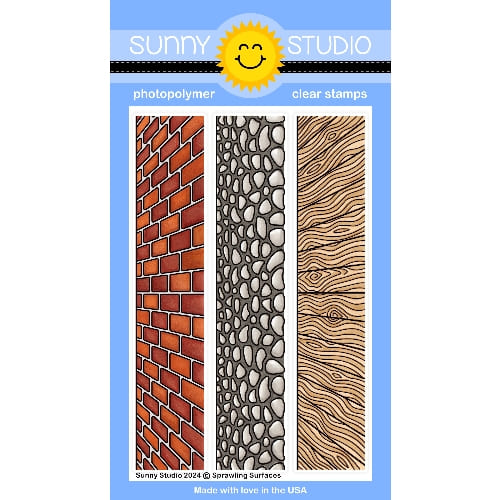
The next layer is the Sprawling Surfaces. Then, the City Streets buildings and lamp post. I didn’t need a mask for either of these layers. However, if you wanted to ink blend a sky or background, you could mask off the buildings, lamp post, and street to do this!

Sunny Studio Stamps: City Streets Card by Amanda Fitterer (featuring Foxy Friends, Sprawling Surfaces)

Now that I’ve got all my stamped images done, I can remove all the masks and color the scene with Copic markers. I used tones of brown, gray, blue-green, yellow-green and red.

The final step is to create my sentiment. In stead of stamping it directly onto the background, I decided to put it on a black banner. To do this, I stamped the sentiment with my WOW! embossing pad on black cardstock and then I applied white embossing powder to it. I melted the powder with my heat tool and then trimmed it into a flag banner with my paper trimmer and scissors.

Thank you for coming by the Sunny Studio Stamps blog today! I hope you enjoy the rest of your week and find some time to get crafty!!

Sunny Studio Supplies Used:

City Streets Stamps
City Streets Stamps
Shop at:
Sunny Studio
Sprawling Surfaces Stamps
Shop at:
Sunny Studio
Foxy Friends Stamps
Foxy Friends Stamps
Shop at:
Sunny Studio

Monday, May 12, 2025

Color My World & A Cut Above Teacher Cards with Mendi

Hello and welcome! This is Mendi here today, popping in to share some more School-Themed cards showcasing our Color My World Stamps, A Cut Above Stamps, and Teacher Appreciation Stamps.

Sunny Studio Rainbow Scissors & Pencils School Cards using Teacher Appreciation, Color My World, & A Cut Above Clear Stamps

For my first card of the day, I started by die-cutting white cardstock using our Notebook Tabs Dies and then added the rows of lines to my paper using the stamp from our A Cut Above Stamps. This gave me an easy surface to align the sentiments from our Teacher Appreciation Stamps, which I stamped using VersaFine Onyx Black Ink. I made a point to stamp it on the left-hand side so I would have room to add a focal point pair of scissors from our A Cut Above Stamps to layer over the top on the right. I then began the work of randomly layering other pairs of scissors on my black background in a rainbow of colors. I was careful to not let a single piece go to waste, so when a pair bled off the edge of my card front, I saved that trimmed portion to squeeze in another black space. When all was said and done, I believe I created this card with a total of 6 stamped pairs of scissors.


Sunny Studio Rainbow Scissors School Card using Teacher Appreciation & A Cut Above Clear Craft Stamps, & Notebook Tabs Dies

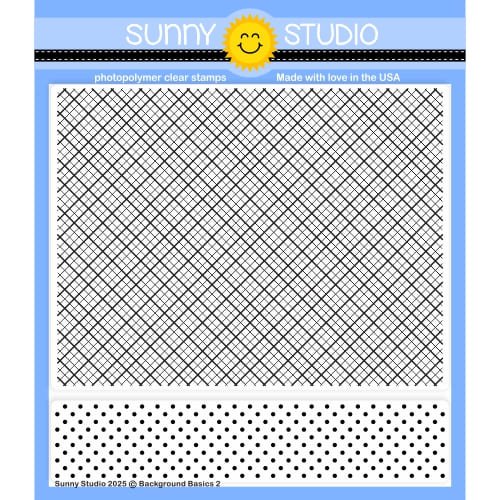
It was challenging to capture the fabulous texture in my background when taking a photo of my card straight on, so here's a closer look at it from an angle. I adore how the Background Basics 2 Stamps add subtle texture and interest without being busy or overwhelming to my design. I stamped the background using clear VersaMark Ink and Clear Embossing Powder to provide a bit of tone-on-tone glossy shine.

Sunny Studio Rainbow Scissors School Card using Teacher Appreciation & A Cut Above Clear Craft Stamps, & Notebook Tabs Dies

Next up is another fun rainbow teacher card featuring the colored pencils from our Color My World Stamps. For this card, I started by die-cutting my stitched panel from white cardstock using our Rounded Rectangle Mat Dies. I then stamped my sentiment from our Teacher Appreciation Stamps using VersaFine Onyx Black Ink. This gave me a focal point to arrange my pencils around. Once again, I tried to not let a single piece of my stamped images go to waste by using the portion cut off on the opposite side. By arranging them outside of rainbow order, it felt more random, and it was easier to hide the fact that I was using fewer pencils than it appeared.

Sunny Studio Rainbow Pencils School Card using Teacher Appreciation, Color My World Clear Stamps, & Rounded Rectangle Dies

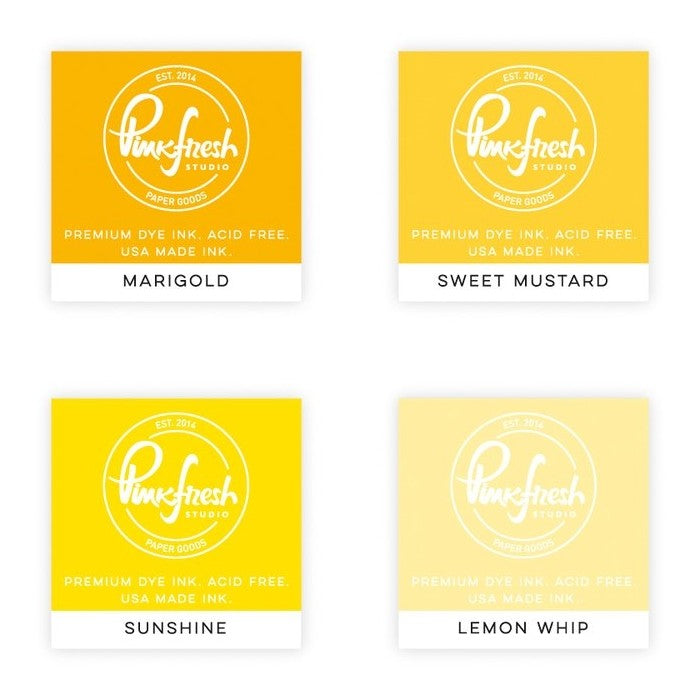
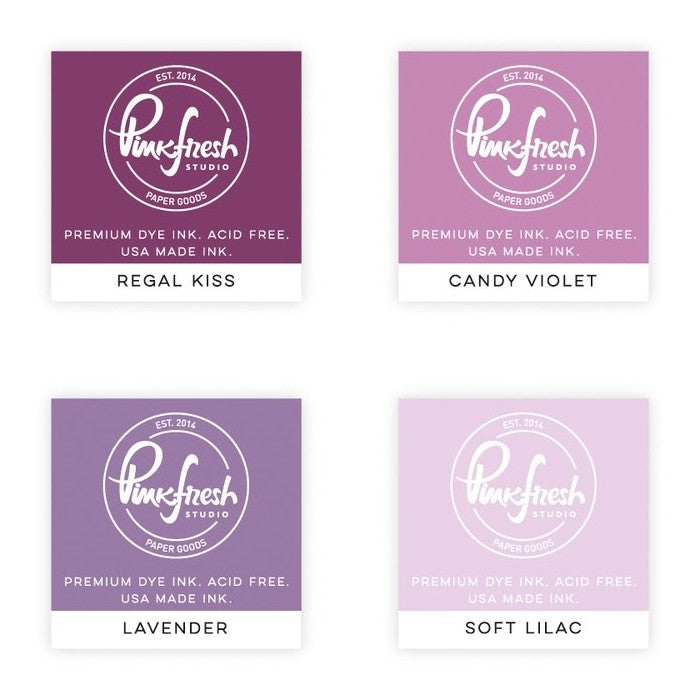
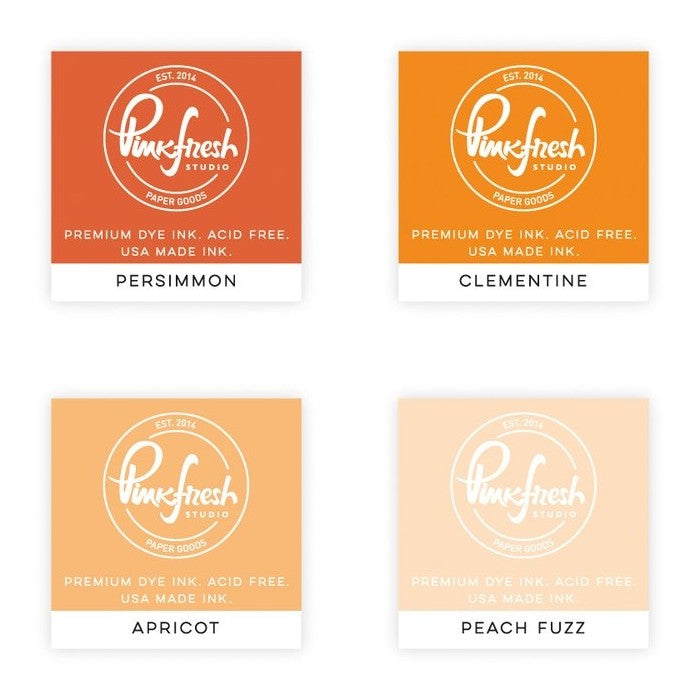
I am frequently asked which ink colors I used for my layered images.  While I think there are so many great options out there, these are the colors I used today for my stamped images from light to dark:

As always we have layering guides as the second image on each of these stamp product pages that are also available to download with links in the product descriptions.

That wraps up my projects for today. Thanks so much for hanging out with me. I hope I've inspired you to spread a little happiness by sending out a card to someone you love. 💛

Don't forget to check out our A Cut Above Stamps and Dies in our online shop, which are currently on sale!

Supplies Used:

Color My World Stamps
Shop at:
Sunny Studio
Color My World Dies
Color My World Dies
Shop at:
Sunny Studio
Teacher Appreciation Stamps
Shop at:
Sunny Studio
Versafine Onyx Black Ink
Shop at:
Sunny Studio
A Cut Above Stamps
A Cut Above Stamps
Shop at:
Sunny Studio
A Cut Above Dies
A Cut Above Dies
Shop at:
Sunny Studio
Notebook Tabs Dies
Notebook Tabs Dies
Shop at:
Sunny Studio
Rounded Rectangle Mat Dies
Shop at:
Sunny Studio
Background Basics 2 Stamps
Shop at:
Sunny Studio
Hero Arts Shades of Grey Ink
Shop at:
Sunny Studio
Hero Arts Ultra Fine Clear
Shop at:
Sunny Studio
VersaMark Watermark Ink
Shop at:
Sunny Studio
PinkFresh Rise & Shine Ink
Shop at:
Sunny Studio
PinkFresh Heartbeat Ink
Shop at:
Sunny Studio
PinkFresh Over The Hills Ink
Shop at:
Sunny Studio
PinkFresh Starry Night Ink
Shop at:
Sunny Studio
PinkFresh Soul of Provence
Shop at:
Sunny Studio
PinkFresh Indian Summer Ink
Shop at:
Sunny Studio