Sunday, May 19, 2024

Designer's Choice: Big Panda Card with Cathy

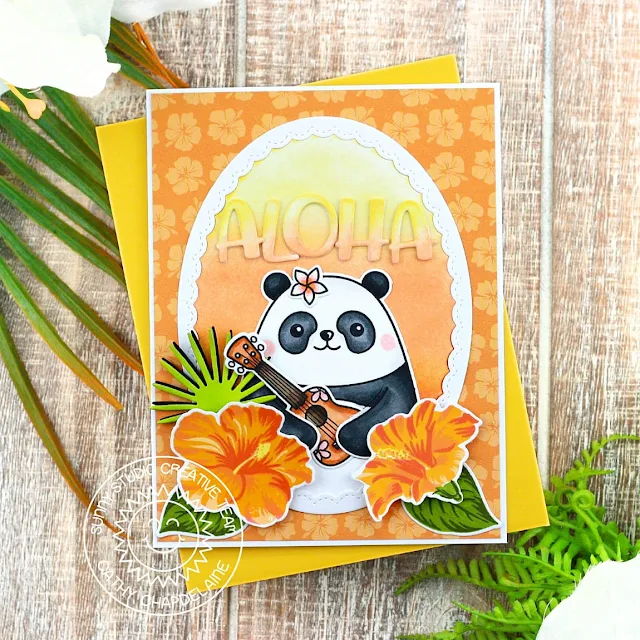
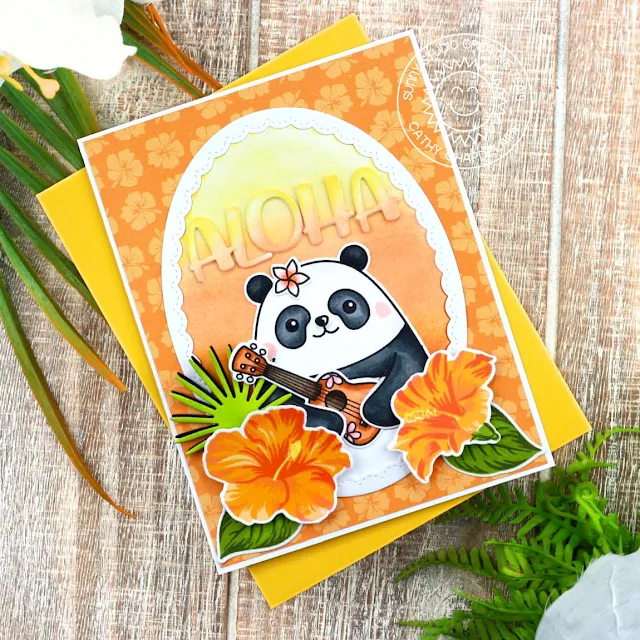
Hey friends! Cathy here today sharing a Hawaiian themed card featuring the adorable Big Panda Stamps!

Sunny Studio Stamps: Big Panda Tropical Themed Card by Cathy Chapdelaine (featuring Hawaiian Hibiscus, Summer Greenery Dies, Chloe Alphabet Dies, Fancy Frame Dies)

I started this A2 card by cutting the hibiscus paper from the Summer Splash Paper 4 1/8” x 5 3/8” and adhering it to a white card front.

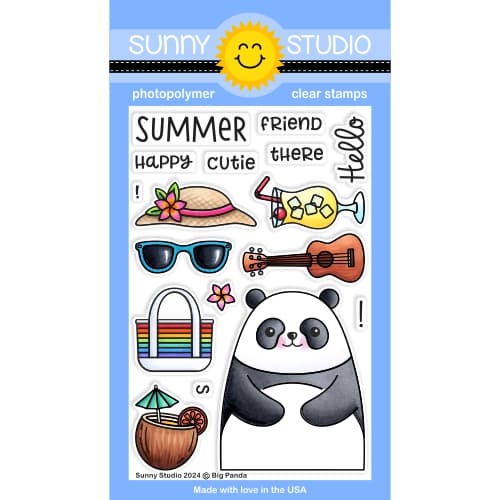
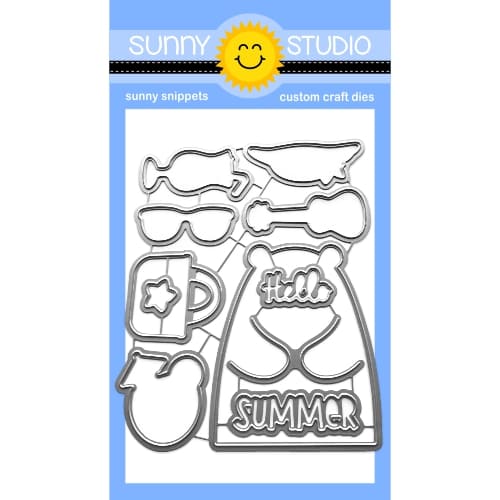
Next, I die-cut a piece of white cardstock using the largest of the Fancy Frames Oval Dies and inked the background center portion with Squeezed Lemonade, Dried Marigold, Spiced Marmalade and Ripe Persimmon Distress inks. I stamped the Panda, flower and ukulele from the Big Panda Stamps on Neenah Classic Crest 80lb solar white cardstock, colored them with Copics and die-cut them using the coordinating dies. (I stamped 2 small flowers from the Fabulous Flamingos Stamps on the ukulele to add a fun accent). I adhered the panda to the bottom center of the oval overlapping the bottom edge and trimmed off the excess of the stamped image. I then adhered the inked oval to the center of the card front and adhered the white oval frame around it.

Sunny Studio Stamps: Big Panda Tropical Themed Card by Cathy Chapdelaine (featuring Hawaiian Hibiscus, Summer Greenery Dies, Chloe Alphabet Dies, Fancy Frame Dies)

To finish, I stamped the hibiscus and leaves from the Hawaiian Hibiscus Stamps using inks from my stash, die-cut them using the coordinating dies and popped them up with foam dimensional tape. I die-cut a frond from white and black cardstock using the Summer Greenery Dies, inked the white piece with Twisted Citron Distress ink and then overlapped them slightly. For my ALOHA sentiment, I die-cut the letters from white cardstock using the Chloe Alphabet Dies and inked them with Squeezed Lemonade and Dried Marigold Distress inks for a tone-on-tone effect against the background. I die-cut the letters a second time and layered them for a bit more dimension.

I hope you enjoyed and thanks for stopping by today! For more inspiration, please visit my blog www.inkredibleadventures.com and you can also find me on Instagram as @cathy.chapdelaine.

Sunny Studio Supplies Used:

Chloe Alphabet Dies
Chloe Alphabet Dies
Shop at:
Sunny Studio
Fancy Frames- Ovals
Fancy Frames- Ovals
Shop at:
Sunny Studio
Fabulous Flamingos Stamps
Shop at:
Sunny Studio
Fabulous Flamingos Dies
Shop at:
Sunny Studio
Hawaiian Hibiscus Stamps
Shop at:
Sunny Studio
Hawaiian Hibiscus  Dies
Hawaiian Hibiscus Dies
Shop at:
Sunny Studio
Summer Splash 6x6 Paper
Shop at:
Sunny Studio
Summer Greenery Die
Summer Greenery Die
Shop at:
Sunny Studio
Big Panda Stamps
Big Panda Stamps
Shop at:
Sunny Studio
Big Panda Dies
Big Panda Dies
Shop at:
Sunny Studio

Saturday, May 18, 2024

Sunny Saturday Share: Customer Cards


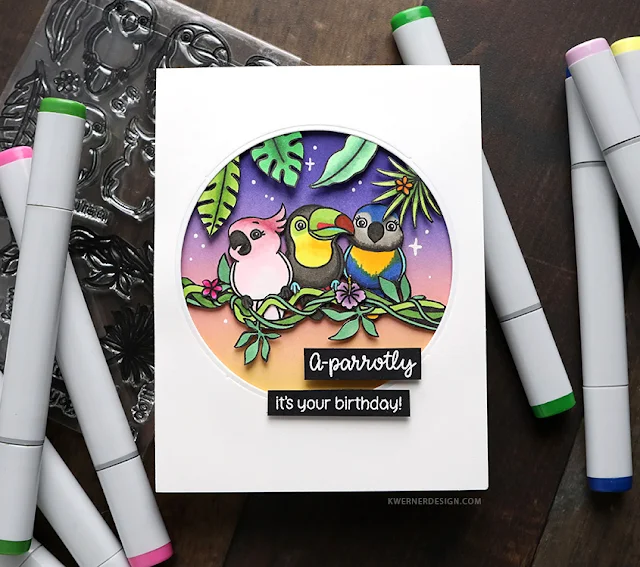
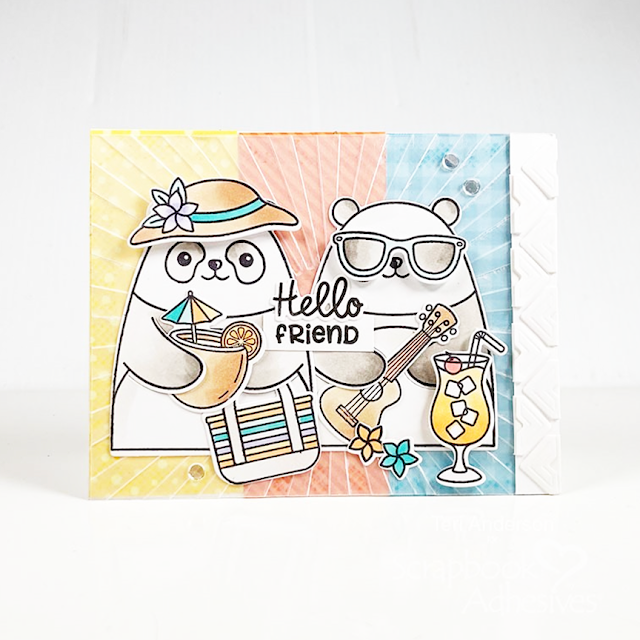
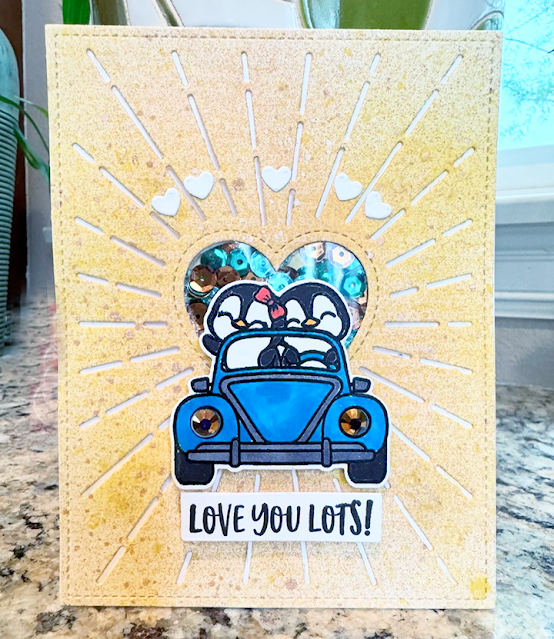
Hey everyone, how are you all doing this weekend? I'm so excited to be popping in today with a Sunny Saturday Share. There have been so many amazing cards popping up on Instagram that have made my jaw drop so I couldn't wait to share them with all of you! 


Sunny Studio Stamps: Tropical Birds Customer Card by Kristina Werner


Sunny Studio Stamps: Big Panda Customer Card by Teri Anderson

Bunnyville cards by Maria

Sunny Studio Stamps: Bunnyville Customer Card by Maria


Sunny Studio Stamps: Passionate Penguins Customer Card by Anna Moreno


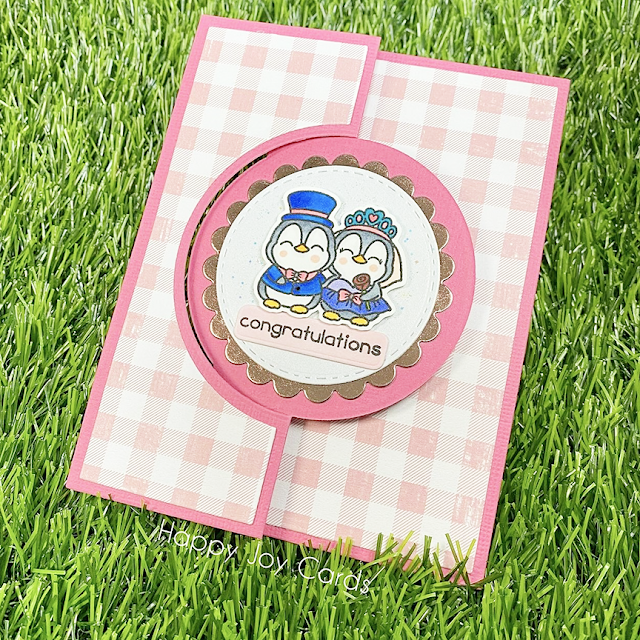
Sunny Studio Stamps: Wedded Bliss Customer Card by Lynn


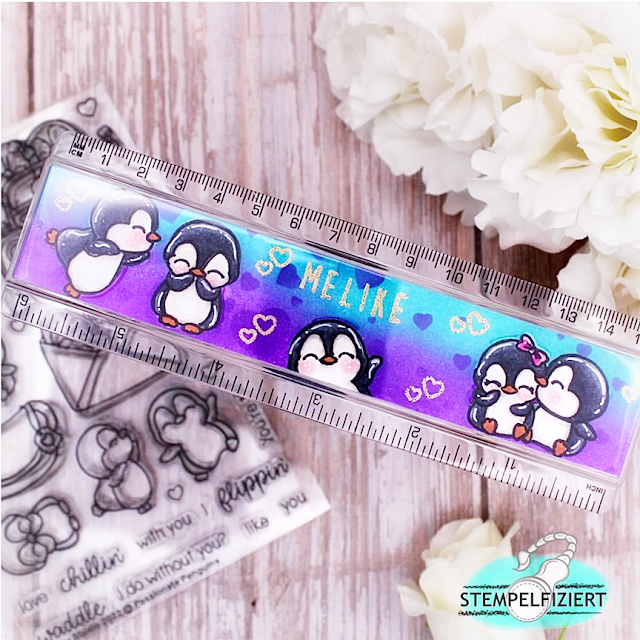
Sunny Studio Stamps: Passionate Penguins Customer Altered Ruler by Nicole Kayaalp

Thank you for sharing all these fabulous ideas with us! I hope you will continue to share your gorgeous projects with us--It always makes my day to see them. Please tag us on instagram @sunnystudiostamps or share your projects with us in our flickr group. Sadly we are no longer able to view all the posts using our hashtag on Instagram so it's super important for you to also tag us @sunnystudiostamps so we can find them and they don't get missed.


Sunny Studio Supplies Used:

Bunnyville Stamps
Bunnyville Stamps
Shop at:
Sunny Studio
Bunnyville Dies
Bunnyville Dies
Shop at:
Sunny Studio
Passionate Penguins Stamps
Shop at:
Sunny Studio
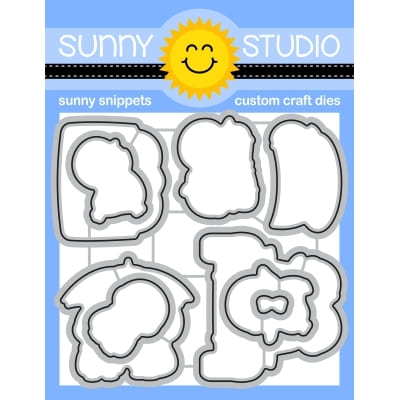
Passionate Penguins Dies
Shop at:
Sunny Studio
Wedded Bliss Stamps
Wedded Bliss Stamps
Shop at:
Sunny Studio
Wedded Bliss Dies
Wedded Bliss Dies
Shop at:
Sunny Studio
Big Panda Stamps
Big Panda Stamps
Shop at:
Sunny Studio
Big Panda Dies
Big Panda Dies
Shop at:
Sunny Studio
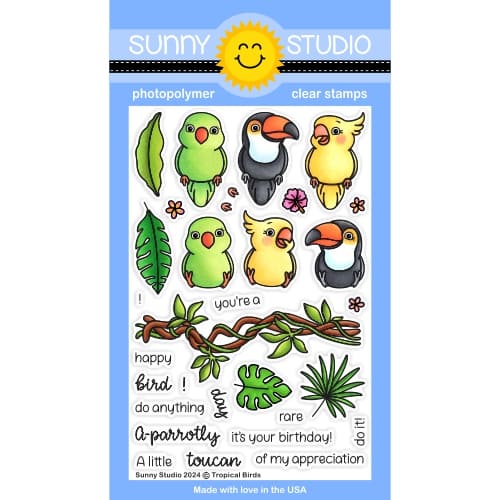
Tropical Birds Stamps
Shop at:
Sunny Studio
Tropical Birds Dies
Tropical Birds Dies
Shop at:
Sunny Studio

Friday, May 17, 2024

Mermaid Kisses Card with Nicky

Happy Friday everyone! This is Nicky with you today on the Sunny Studio Stamps blog and I have a brand new card today featuring the Mermaid Kisses Stamps.

Sunny Studio Stamps: Mermaid Kisses Birthday Card by Nicky Meeks (featuring Scalloped Square Dies)

I started by creating the main feature panel. I die cut a sturdy white panel of cardstock using the Scalloped Square 2 Large Dies. I masked off the panel just inside the faux stitching and ink blended using Scattered Straw Distress Oxide Ink for the sandy sea floor and for the water I used 'Lagoon' by The Stamp Market. I added some Perfect Pearls to a couple of drops of water and then splashed the blended background with the solution before carefully removing the mask.

Sunny Studio Stamps: Mermaid Kisses Birthday Card by Nicky Meeks (featuring Scalloped Square Dies)

I stamped the images using Memento Ink in Tuxedo Black and I coloured using the following Copic marker combinations:

Skin - E04, E11, E21, E00
Mermaid Tails - G19, BG15, BG23, G00
Teal Hair - BG78, BG49, BG57, BG32
Pink Hair - RV69, RV19, RV06
Orange Hair - YR09, YR04, Y38
Blushes - R22, R21, R20
Yellow - Y38, Y19, Y15, Y13
Blue - B29

I highlighted with a white gel pen and also dotted in interest on the tails with the same white pen, plus a metallic pen and Copic marker. I die cut using the coordinating Mermaid Kisses Dies and either glued directly or added main images with foam tape.

Sunny Studio Stamps: Mermaid Kisses Birthday Card by Nicky Meeks (featuring Scalloped Square Dies)

I popped the panel in my Misti and triple stamped the sentiments for a nice bold image then I backed the decorative panel with white craft foam, added it to a teal panel and then to a 5 3/4 inch white panel. This was all glued to a card base and the final touch was the addition of a few water droplet embellishments.

I appreciate you coming to read about my card today. Have a fun and creative week ahead and I'll be back here on the blog one week from now with new inspiration.

Sunny Studio Supplies Used:

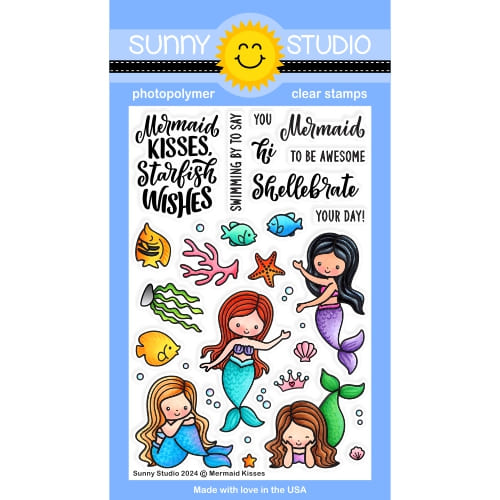
Mermaid Kisses Stamps
Shop at:
Sunny Studio
Mermaid Kisses Dies
Mermaid Kisses Dies
Shop at:
Sunny Studio
Scalloped Square 2 Large Die
Shop at:
Sunny Studio

Thursday, May 16, 2024

Summer Jar Mug Card with Marine

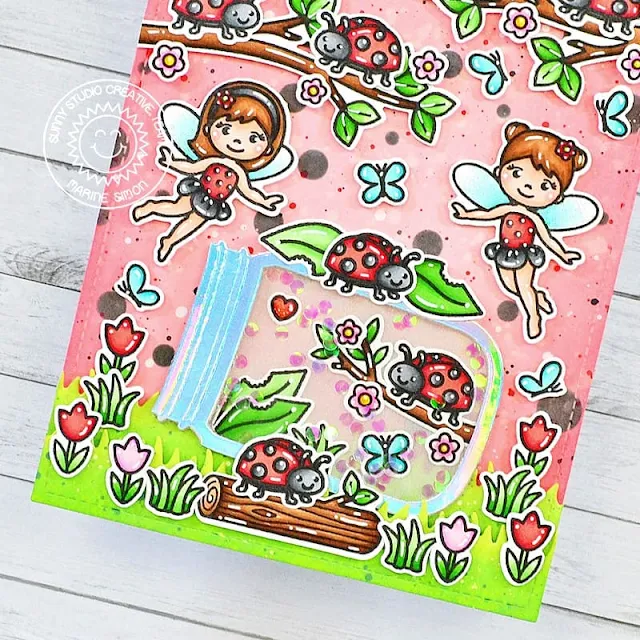
Hello crafty friends, Marine here with you today, I'm thrilled to be sharing with you this lovely card featuring the jar from the Summer Jar Mug die set from the Summer 2024 release. I have so many ideas of cards to make with this new die set, and the first that came to my mind was this ladybug themed card with ladybug fairies, because I like to use them for all the seasons and for any theme. If you missed them, here are the previous Garden Fairy cards I made: Bee FairiesHalloween FairiesNight FairiesHoliday Fairies.

Sunny Studio Stamps: Summer Jar Mug Die Focused Shaker Card by Marine Simon (featuring Garden Fairy, Garden Critters, Picket Fence Border Dies)

I started off by cutting a 5,5 x 4,25 inches Strathmore bristol smooth panel that I entirely covered with saltwater taffy oxide inks, with a little bit of festive berries oxide ink on the edges. To create a ladybug pattern, I used a bubble stencil from my stash along with black soot oxide ink to make black dots all over my panel. I splattered water on my piece of paper and dried it using a paper towel, mixed some festive berries oxide ink with water and added more splatters on my panel using a small brush, and then did the same with black soot oxide ink and with copic opaque white ink.

Next I cut another 5,5 x 4,25 inches bristol panel, cut two grass borders out of it using a Picket Fence Border die, and colored both of them using shabby shutters and mowed lawn oxide inks. I mixed some rustic wilderness oxide ink with water, and used my small brush again to make splatters on the grass borders, and did the same with copic opaque white ink.

I stamped all my images on 80lb Neenah solar white cardstock using an alcohol marker friendly black ink, cut them using the coordinating dies, and colored everything using my Spectrum Noir Illustrator markers and Graph'it brush markers. 

Sunny Studio Stamps: Summer Jar Mug Die Focused Shaker Card by Marine Simon (featuring Garden Fairy, Garden Critters, Picket Fence Border Dies)

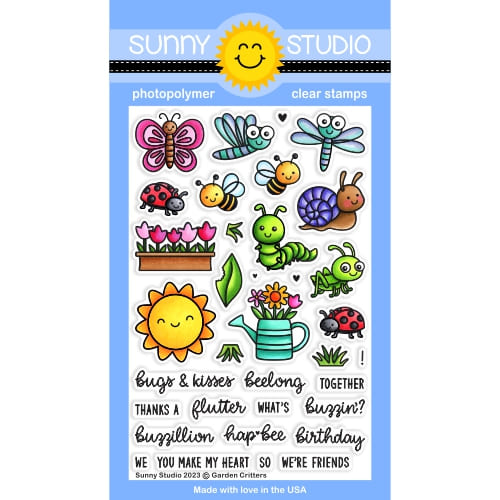
Here is a detailed list of the stamp sets I used: • Garden Fairy - two fairies • Garden Critters - ladybugs and leaves • Special Day - heart • Love Birds - flowers • Little Birdie - branches • Bunnyville - grass, butterflies, tulips • Outback Critters - small branch • Seasonal Trees - log

Next I worked on my shaker Summer Jar Mug, and started off by cutting the different pieces: one holographic jar frame for the front, one whole acetate jar, one whole pearlescent vellum jar for the back, and two white jar frames to create dimension inside the jar. I first attached some images directly on the pearlescent jar using liquid glue, making sure to leave enough space on the edges to attach the jar later on. I attached the acetate jar at the back of the holographic jar frame using liquid glue. Next I stuck both white jar frames to the acetate using liquid glue again. Poured some iridescent confetti inside the jar, and finally glued the pearlescent jar to close my shaker jar.

Sunny Studio Stamps: Summer Jar Mug Die Focused Shaker Card by Marine Simon (featuring Garden Fairy, Garden Critters, Picket Fence Border Dies)

I attached everything on my ladybug panel, starting with the grass borders using 1mm foam squares. Next I stuck the jar using liquid glue at the bottom and 1mm foam squares at the top. And then I attached all the images using 1mm and 2mm foam squares, leaving enough space on the top left hand corner for my white heat embossed "You make my heart flutter" greeting from Garden Critters.

Finally I added highlights and details to the images using a white gel pen, applied white blizzard nuvo drops to the fairies wings to make them shine, and glued a tiny red clay heart next to my greeting for a last touch of cuteness. 

And that's it! I hope you like this new card, I had so much fun making it, and I can't wait to share more cards with the amazing Summer Jar Mug. See you next week!

Sunny Studio Supplies Used:

Picket Fence Border Dies
Shop at:
Sunny Studio
Seasonal Trees Stamps
Shop at:
Sunny Studio
Seaonal Trees Dies
Seaonal Trees Dies
Shop at:
Sunny Studio
Garden Fairy Stamps
Garden Fairy Stamps
Shop at:
Sunny Studio
Garden Fairy Dies
Garden Fairy Dies
Shop at:
Sunny Studio
Bunnyville Stamps
Bunnyville Stamps
Shop at:
Sunny Studio
Bunnyville Dies
Bunnyville Dies
Shop at:
Sunny Studio
Little Birdie Stamps
Shop at:
Sunny Studio
Little Birdie Dies
Little Birdie Dies
Shop at:
Sunny Studio
Garden Critters Stamps
Shop at:
Sunny Studio
Garden Critters Dies
Shop at:
Sunny Studio
Special Day Stamps
Special Day Stamps
Shop at:
Sunny Studio
Special Day Dies
Special Day Dies
Shop at:
Sunny Studio
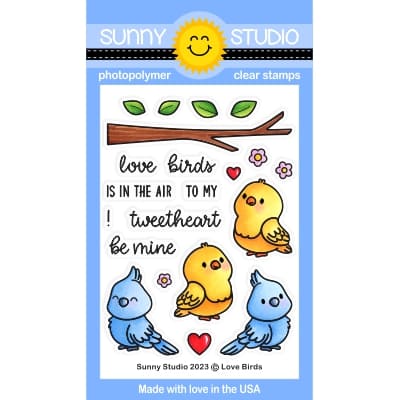
Love Birds Stamps
Love Birds Stamps
Shop at:
Sunny Studio
Love Birds Dies
Love Birds Dies
Shop at:
Sunny Studio
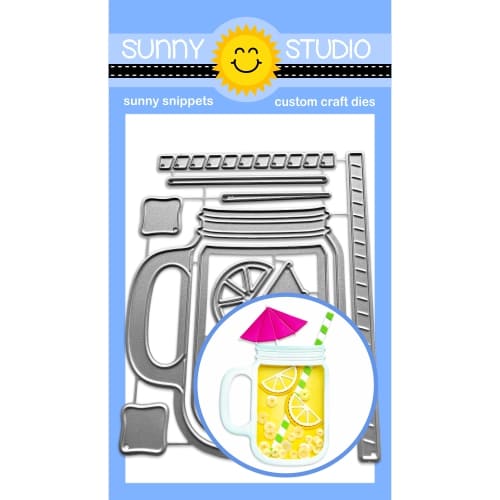
Summer Jar Mug Dies
Summer Jar Mug Dies
Shop at:
Sunny Studio