Saturday, November 4, 2023

Guest Designer Spotlight: Cards with Donna Mikasa

Hello and Happy Saturday! Donna Mikasa here and I’m excited to share some projects using products from the newest Sunny Studio release.

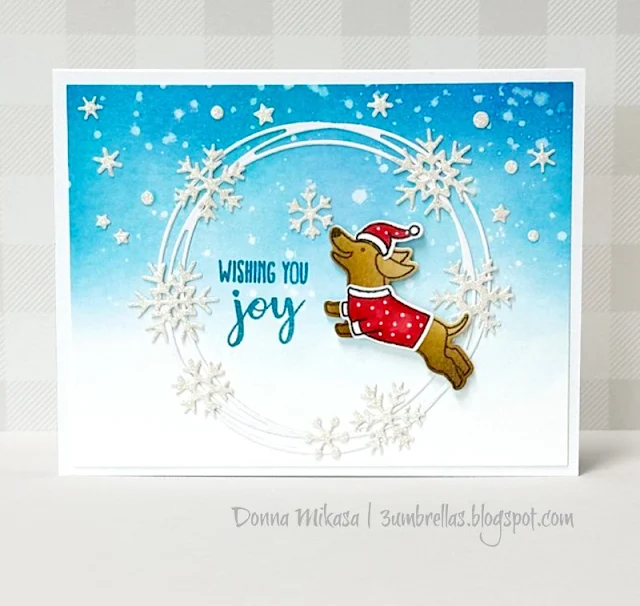
Sunny Studio Stamps: Dashing Dachshund Winter Themed Holiday Card by Donna Mikasa

I’ve combined new and older products that I thought worked well together. For my first project, I made a card with the happy go lucky pup from Dashing Dachshund.

A sky was ink blended on watercolor card stock and spattered with water. I used the Snowflake Circle Frame Die as a focal point, die cutting the snowflakes from glitter card stock.

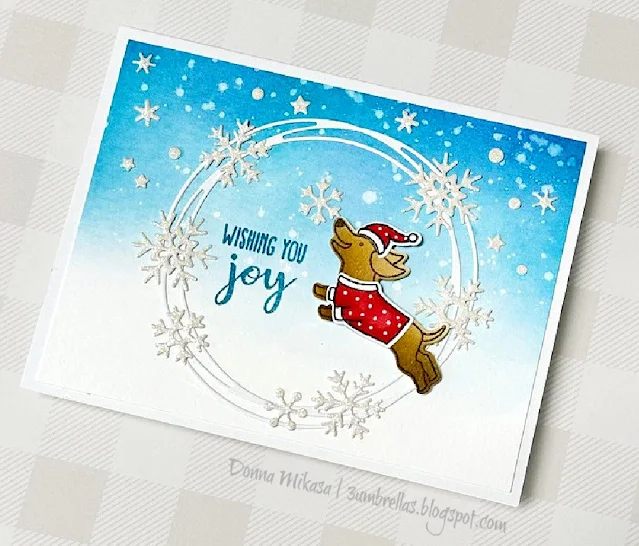
Sunny Studio Stamps: Dashing Dachshund Winter Themed Holiday Card by Donna Mikasa

A little secret on how I “colored” the pup. Since my Copic markers are drying up from not being used, I decided to stencil in the colors by cutting out the pup and laying it over the stamped image. I stenciled in the color and die cut him out. It’s not perfect coloring but I wanted o test out a different way to color an image. The sentiment is from Holiday Style.

Sunny Studio Stamps: Holiday Hugs Winter Themed Holiday Card by Donna Mikasa (featuring Moroccan Circle embossing folder)

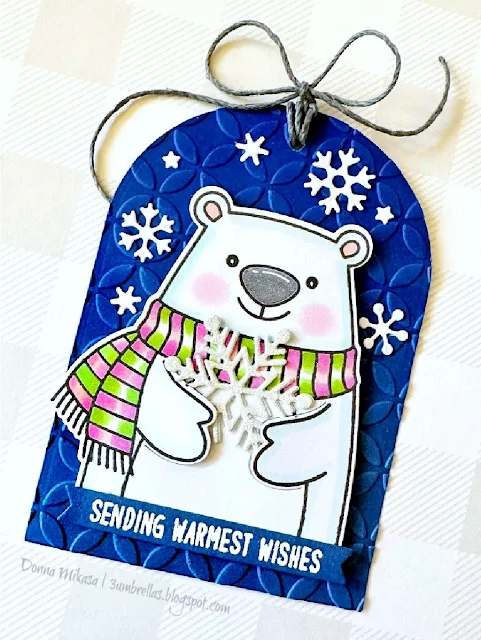
For my second project, I made a simple tag using Holiday Hugs. I made a polar bear holding a large snowflake, again using snowflakes from the Snowflake Circle Frame Die.

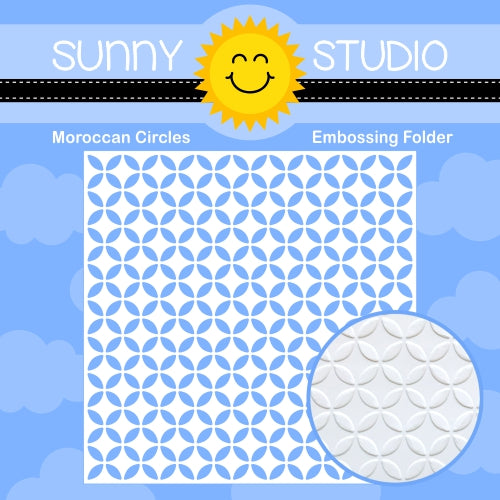
An arch shaped tag was cut from white card stock and ink blended with blue inks. To give the tag some texture, I ran it through the Moroccan Circles embossing folder.

Sunny Studio Stamps: Holiday Hugs Winter Themed Holiday Card by Donna Mikasa (featuring Moroccan Circle embossing folder)

The polar bear was colored and cut with the matching dies and adhered to the tag. I added more snowflakes and a simple sentiment from the same set.

I like that Sunny Studio Stamps can be mixed and matched with older sets so you can stretch their usage throughout the holiday.

Sunny Studio Supplies Used: 

Holiday Style Stamps
Shop at:
Sunny Studio
Moroccan Circles Embossing
Shop at:
Sunny Studio
Snowflake Circle Frame
Shop at:
Sunny Studio
Dashing Dachshund Stamps
Shop at:
Sunny Studio
Dashing Dachshund Dies
Shop at:
Sunny Studio
Holiday Hugs Stamps
Holiday Hugs Stamps
Shop at:
Sunny Studio
Holiday Hugs Dies
Holiday Hugs Dies
Shop at:
Sunny Studio

Friday, November 3, 2023

Woolen Mitten Die Focused Card with Tina

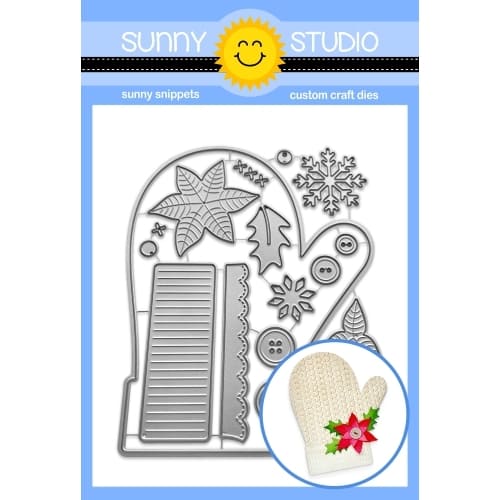
Hello crafty friends, Tina here featuring the gorgeous Woolen Mitten Die set! I am a huge fan of shaped cards and I love that this mitten is big enough to add lots of details to it. Such as the festive wreath I am creating today.

Sunny Studio Stamps: Woolen Mitten Holiday Card by Tina Henkens (featuring Winter Wreaths, Winter Greenery, Ribbon & Lace Border Dies)

I am kicking off this project by creating a white mitten card base by folding a sheet of white card stock in two and using the mitten die, making sure the top part stayed intact. Next, I cut another mitten from a beautiful snowflake paper (Joyful Holiday) and added some dimension by inking the edges with a blending brush and Distress Oxide Uncharted Mariner.

I did the same for the cuff of the mitten which I created with a polka dot paper (Joyful Holiday). A small white border (Ribbon & Lace Border dies) was added as extra embellishment. After gluing all the elements of the mitten to my shaped card base, I was ready to work on my wreath.

Sunny Studio Stamps: Woolen Mitten Holiday Card by Tina Henkens (featuring Winter Wreaths, Winter Greenery, Ribbon & Lace Border Dies)

The smallest wreath die from Winter Wreaths was the perfect size for my base. This immediately gives you the perfect circle shape to add the branches from Winter Greenery Dies. I stacked two layers of branches in the same teal blue color as my base. I also cut three extra branches from a shiny white card stock to give some contrast with the blue mitten.

I used the smallest Poinsettia leaf die from the Woolen Mitten set and cut it from red, pink and white card stock. This creates the most adorable little flowers with a small white gem from the Pure White Jewels as a center. I added the flowers to the wreath with some foam tape and glued the whole piece onto the mitten shape. Finally, I stamped a sentiment from Feeling Frosty to a small white strip using Versafine Onyx black ink and added it to the cuff of the mitten.

I am sure you will love this beautiful mitten die as much as I do!

Sunny Studio Supplies Used:

Feeling Frosty Stamps
Shop at:
Sunny Studio
Winter Greenery DIes
Shop at:
Sunny Studio
Winter Wreaths Stamps
Shop at:
Sunny Studio
Winter Wreaths Dies
Winter Wreaths Dies
Shop at:
Sunny Studio
Joyful Holiday Paper
Shop at:
Sunny Studio
Ribbon & Lace Dies
Ribbon & Lace Dies
Shop at:
Sunny Studio
Woolen Mitten Dies
Woolen Mitten Dies
Shop at:
Sunny Studio

Thursday, November 2, 2023

Love & Light Card with Marine

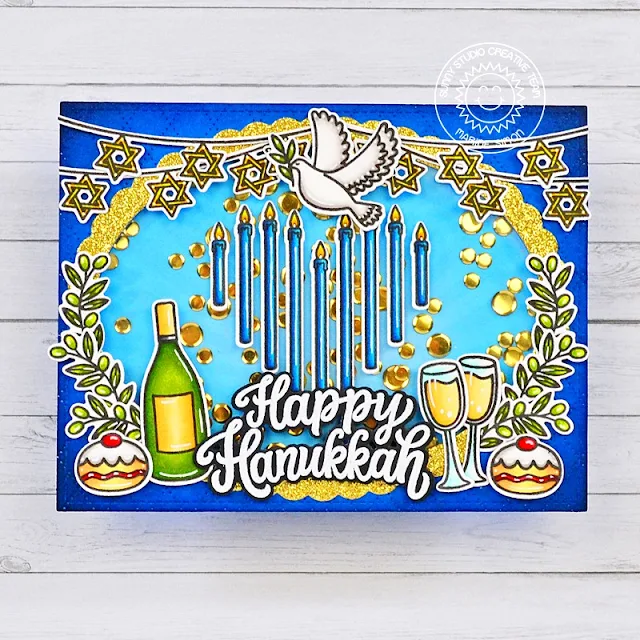
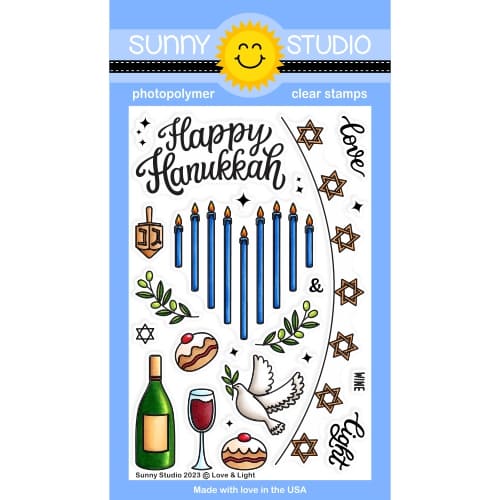
Hello crafty friends, Marine here, I'm very happy to be back on the blog with this bright Hanukkah card showcasing the beautiful Love & Light stamp set which includes the perfect images to make your own Hanukkah card or tags.

Sunny Studio Stamps: Love & Light Hanukkah Card by Marine Simon (featuring Scalloped Oval Mat Dies, Stitched Oval Dies, Dotted Diamond Dies)

I decided to go for a shaker card, and started off by cutting three different elements to build it:

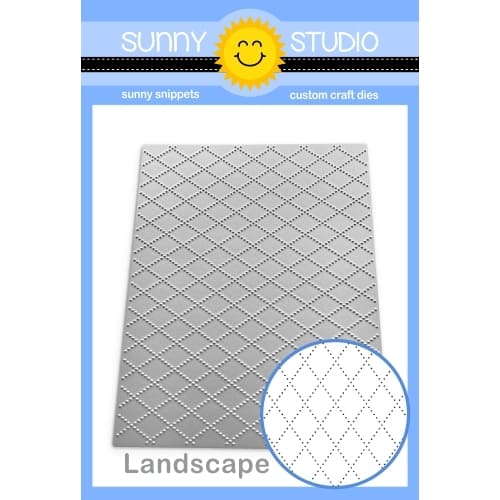
• an A2 sized Dotted Diamond Landscape blue panel
• an A2 sized Spring Sunburst blue panel
• an A2 sized acetate panel
• a gold glitter frame using the Stitched Oval 2 + Scalloped Oval Mat 1 largest dies

Sunny Studio Stamps: Love & Light Hanukkah Card by Marine Simon (featuring Scalloped Oval Mat Dies, Stitched Oval Dies, Dotted Diamond Dies)

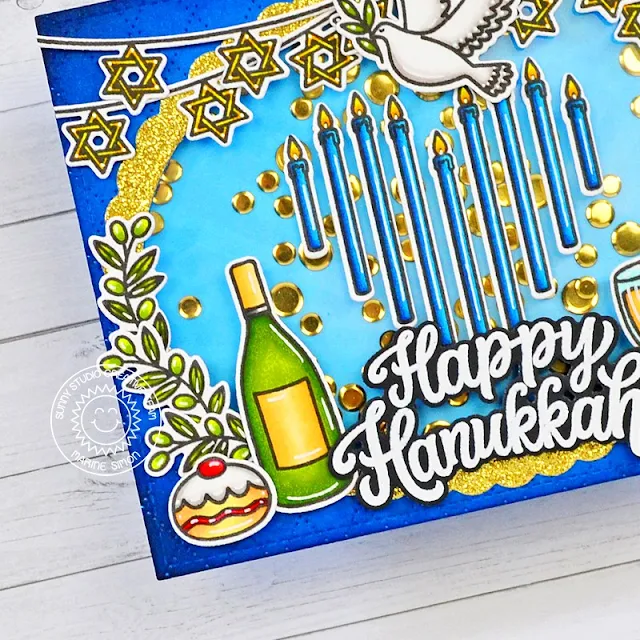
I added a little bit of prize ribbon + black soot distress inks on the edges of my Dotted Diamond panel, and used the largest Stitched Oval 2 die to cut an opening right in the middle of it. I attached the acetate panel at the back using double sided tape, and added foam strips all along the four edges of my panel, as well as around the oval opening. I poured a bunch of golden sequins inside the window, and then stuck my Spring Sunburst panel on the foam to totally close the shaker. And to decorate the oval window nicely, I attached my gold glitter frame using liquid glue.

Next I stamped all my images on 80lb Neenah solar white cardstock using an alcohol marker friendly black ink, cut them all using the matching dies, and colored everything using my Spectrum Noir Illustrator markers + Graph'it brush markers. I also white heat embossed my "Happy Hanukkah" greeting from Love & Light on black cardstock and cut it using the coordinating die.

Sunny Studio Stamps: Love & Light Hanukkah Card by Marine Simon (featuring Scalloped Oval Mat Dies, Stitched Oval Dies, Dotted Diamond Dies)

I attached everything on my shaker panel using 1mm foam squares and liquid glue, and finally added highlights and details using a white gel pen. And that's it! I hope that you like it. Here's another idea, as I'm writing this, you could create a wreath with the olive branches and put either the dove in the center, or the candelabrum, or even just the greeting, any of these would look amazing! 

Thanks so much for stopping by, and see you next week.

Sunny Studio Supplies Used:

Spring Sunburst 6x6 Paper
Shop at:
Sunny Studio
Scalloped Oval Mat 1 Dies
Shop at:
Sunny Studio
Stitched Oval 2 Dies
Shop at:
Sunny Studio
Dotted Diamond Landscape
Shop at:
Sunny Studio
Love & Light Stamps
Love & Light Stamps
Shop at:
Sunny Studio
Love & Light Dies
Love & Light Dies
Shop at:
Sunny Studio

Wednesday, November 1, 2023

Winter Wreaths Card with Gladys

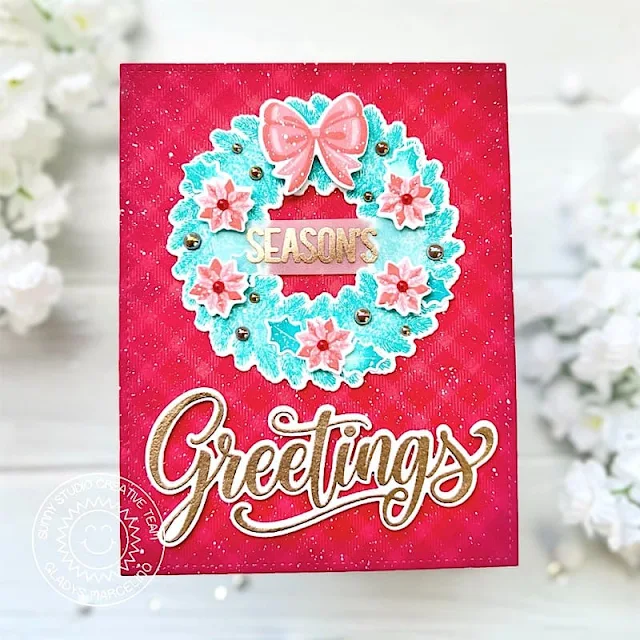
Hi crafty friends, Gladys here! I'm excited to be back on the blog today to share another holiday card featuring the beautiful Winter Wreaths stamp set. It's the busiest time of the year again and if you haven't started your holiday card making yet I hope this card will help inspire you!  

Sunny Studio Stamps: Winter Wreaths Holiday Card by Gladys Marcelino (featuring Season's Greetings)

To start, I stamped the wreath using Simon Says Stamps pawsitively saturated inks, but you can use any inks you prefer. I used a light color first then stamped it a second time using a darker color only on the outer and inner edge of the wreath to add contrast. If you don't want harsh lines, use a mini sponge dauber to smooth the ink before stamping it so that it has an even application. The bow and mini poinsettias are layering stamps which I love because it's very dimensional. I recommend using a stamping tool with layering stamps because it makes it so much easier to line things up. Once all my stamping was complete, I used the coordinating dies to cut them all out.

Sunny Studio Stamps: Winter Wreaths Holiday Card by Gladys Marcelino (featuring Season's Greetings)

Next, I used an A2 rectangle die to cut the red pattern paper from All Is Bright paper pack. I inked the edges with aged mahogony distress ink to add depth. To add more interest, I splattered white paint all over the panel and wreath. For the sentiment I used the Season's Greetings stamp set. I heat embossed it with gold embossing powder then used the coordinating die to cut the word Greetings. The word season's is heat embossed on vellum. 

To assemble the card, I centered the wreath on the top of the panel. I backed the poinsettia's and bow with double sided foam tape for dimension. Then adhered the Greetings sentiment on the bottom of the panel and the vellum centered in the opening of the wreath. For finishing touches I added red jewels on the center of the poinsettia's and a scatter of gold jewels all over the wreath. 

Thanks so much for joining me today, I'll be back for more inspiration. Have a wonderful day!

Sunny Studio Supplies Used:

Season's Greetings Stamps
Shop at:
Sunny Studio
Season's Greetings Dies
Shop at:
Sunny Studio
All Is Bright Paper
All Is Bright Paper
Shop at:
Sunny Studio
Winter Wreaths Stamps
Shop at:
Sunny Studio
Winter Wreaths Dies
Winter Wreaths Dies
Shop at:
Sunny Studio

Tuesday, October 31, 2023

Baking Spirits Bright Card with Isha

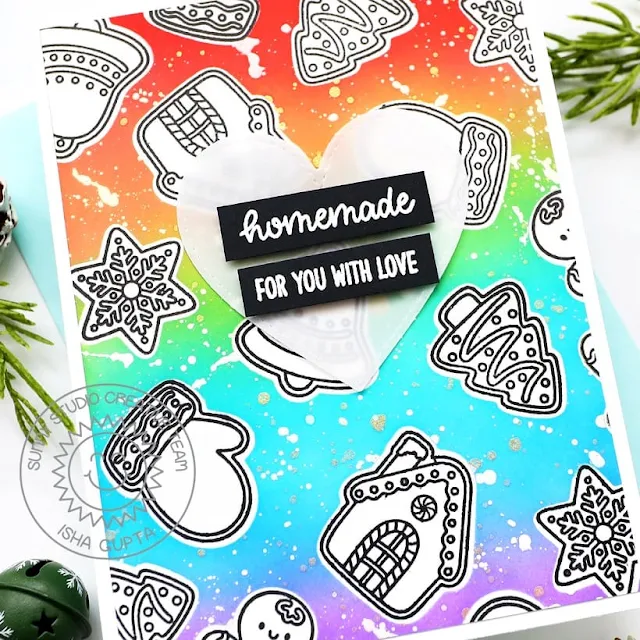
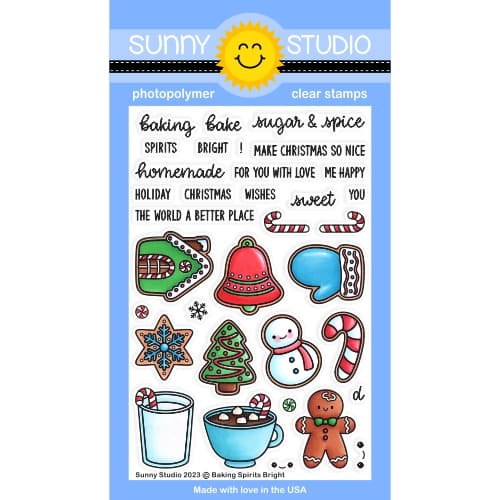
Hello everyone! Isha here today with a CAS card featuring the Baking Spirits Bright stamps and coordinating dies. The details of this artistic stamp immediately gave this idea and I am happy it came out exactly as I had imagined. 

Sunny Studio Stamps: Baking Spirits Bright Holiday Card by Isha Gupta (featuring Stitched Heart Dies)

To start I die-cut the images from masking paper using the coordinating dies. Adhere to a white card panel. Sponge distress inks (wilted violet, salty ocean, peacock feathers, mowed lawn, spiced marmalade and abandoned coral) to achieve rainbow effect. Flick gold and white splatters.

Sunny Studio Stamps: Baking Spirits Bright Holiday Card by Isha Gupta (featuring Stitched Heart Dies)

Remove the masks. Stamp the images using black ink. Die-cut the heart from vellum twice using the Stitched Heart 2 dies. Adhere the hearts together and adhere to the layer. Stamp the sentiment onto black cardstock using versamark ink. Sprinkle WOW! white embossing powder, heat set. Cut the stripes and adhere to the card using 3d foam tape. 

Thank you for dropping by! Have a nice day.

Sunny Studio Supplies Used:

Stitched Heart 2 Dies
Shop at:
Sunny Studio
Baking Spirits Bright Stamps
Shop at:
Sunny Studio
Baking Spirits Bright Dies
Shop at:
Sunny Studio