Hello and welcome to day 5 of our Holiday Sneak Peek Week! Each morning this week I am showcasing projects using our newest fall & winter collections which will be available to purchase tomorrow morning! Hooray!
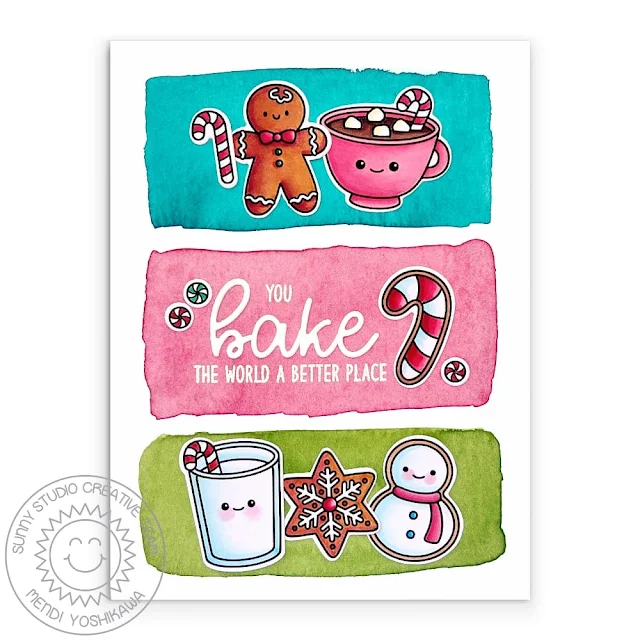
Card No. 1: Kicking things off, I have a card using our new Baking Spirits Bright Stamps which features 8 unique sugar cookies, 2 candy canes, a hot cocoa mug, a glass of milk, and a number of cute punny sentiments to match. I started my card by loosely coloring three frames using Daniel Smith watercolors on watercolor paper using Phthalo Turquoise, Quinacridone Rose, and Sap Green. When they were fully dry, I added a little powder before heat embossing my sentiment from the set, combined with the word "bake" which I die-cut using our Loopy Letters Dies. The rest of my card relies on the adorable images from the set which I arranged in each of the frames.
Card No. 2: For my next card showcasing the adorable new Baking Spirits Bright Stamps I paired the new gingerbread man cookie with the boy and girl gingerbread from our Christmas Cookies Stamps. I then used the house and tree cookies with the two candy canes to create a little scene on the right tucked behind a snowy powder sugar hillside cut using our Slimline Nature Border Dies, inking behind them with a little Tumbled Glass Distress ink so that my hill would stand out against my white cardstock background. I added the stitched edge to the top of my panel using our slimline Slimline Basic Border Dies. I then added a thin strip of candy cane print followed by the brown gingerbread print patterned paper to the top and bottom of my card from our All Is Bright Paper to tie my theme altogether.
Card No. 3: Next up is a bright and cheerful grid-style card featuring the Baking Spirits Bright Stamps. To form my grid, I ran our Window Trio Circle Dies through my die-cutting machine twice centering them on my 5.5" wide card panel. I then trimmed the top and bottom of my panel with a stitched edge using our Ribbon & Lace Border Dies. Trimming them close allowed me to have some leftover space to add a striped rainbow print to peek out from the top and bottom of that same All Is Bright Paper pack. I then used the coordinating tone-on-tone plaid prints from the set to pick up the individual colors from the stripes and to add more pops of color behind each of my circular openings. I finished my card by adding 5 of the adorable cookies and milk images to the framed openings and heat-embossed the "Sweet Christmas Wishes" greeting from the set to stack in the last opening.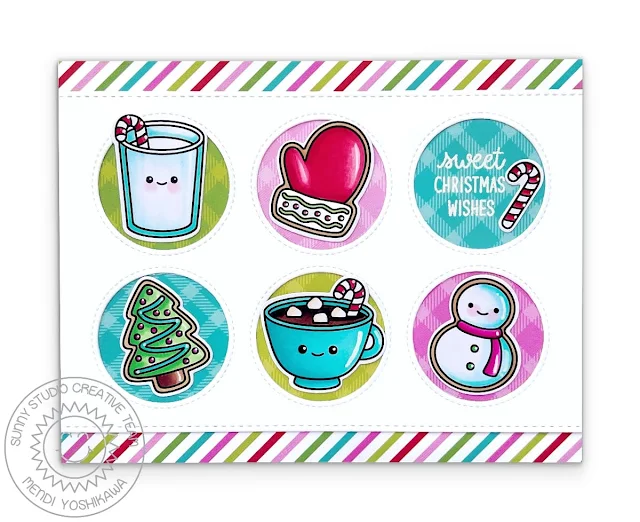
Card No. 4: When I was trying to think of some new ways to use these Baking Spirits Bright stamps, I thought it would be fun to recreate the look of a cookie sheet. To build my cookie sheet I used silver metallic cardstock with the Hero Arts Rounded Rectangle Infinity Dies, nesting two of them to create the lip of my sheet and then just the larger die by itself for the bottom. I then cut the handles for my cookie sheet using the tab die from our Notebook Tabs Dies. I mounted them to a red and white gingham patterned paper from our Joyful Holiday Paper pack to form my "tablecloth" and then added a heat-embossed sentiment from the set onto our new Brilliant Banner 2 Dies cut from red cardstock.
Card No. 5: Continuing with the theme of recreating the look of a table, this time I used Hero Arts Nesting Circle Infinity Dies to create the look of red holiday plates on a wooden table. To form my red plates, I started by cutting 1-3/4" circles from red cardstock and used the 1-1/4" circle die with an embossing mat to emboss the center of my saucer. I then took that same 1-1/4" circle to cut out a window from masking material and positioned the mask over where I had just embossed it to make it more exaggerated by inking up the center with a darker red ink color.
I embossed my wood texture background using our Woograin Embossing Folder with kraft cardstock. To give it a darker aged look I colored over the surface with a Vintage Photo Distress Crayon and then rubbed it in using a paper towel. I followed up by adding a little distress ink in the same color rubbed along the edges for extra definition. Lastly, I stamped the punny greeting from the set onto a small pennant strip from our Notebook Photo Corner Dies using Versafine Onyx Black Ink.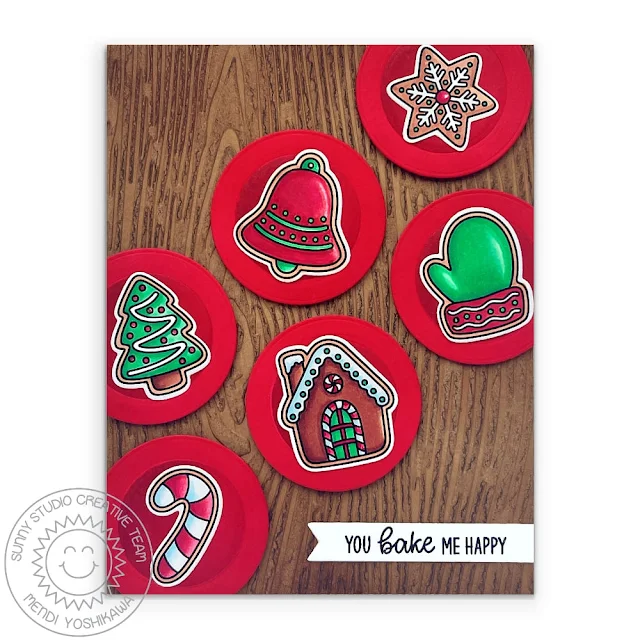
Card No. 6: Next up I have a sweet & simple card using the mitten, snowman, and snowflake cookies from our Baking Spirits Bright stamps which I lined up all in a row and colored in a matching blue and rosy red color palette. I inked up behind them with a light dusting of Worn Lipstick ink and then stamped my sentiment all in a row below them. Before I adhered them though, I ran my cardstock panel through my die-cutting machine to cut a lacy scalloped edge along the bottom using the die from our Slimline Pennant Dies. I couldn't resist the opportunity to then use the small peppermint candies from this set to add a dot to the center of each scallop. Lastly, I adhered a blue striped patterned paper to the bottom of my card from the Sleek Stripes Paper pack, inking up the top edge that goes under my scallop to make it a bit darker and blend better with the other stamped elements I had already colored with my Copics.

Card No. 8: Dashing Dachshund Card by Alma (previously blogged about HERE)

Card No. 9: Dashing Dachshund Card by Marine (previously blogged about HERE)

Card No. 10: Dashing Dachshund Card by Vanessa (previously blogged about HERE)

Card No. 11: Dashing Dachshund Card by Kavya (previously blogged about HERE)

Card No. 12: Dashing Dachshund Card by Rachel (previously blogged about HERE)

Here's a closer look at our new Baking Spirits Bright Stamps & Dies, and Dashing Dachshund Stamps & Dies used today (which will be available to purchase starting on August 25th):
 Christmas Cookies Stamps Shop at: Sunny Studio |
 Christmas Cookies Dies Shop at: Sunny Studio |
 Holiday Express Stamps Shop at: Sunny Studio |
 Holiday Express Dies Shop at: Sunny Studio |
|
 Tsukineko Jumbo Dauber Shop at: Sunny Studio |
 Versafine Onyx Black Ink Shop at: Sunny Studio |
 Window Trio- Circles Die Shop at: Sunny Studio |
 Loopy Letters Dies Shop at: Sunny Studio | |
 Seasonal Trees Stamps Shop at: Sunny Studio |
 Seaonal Trees Dies Shop at: Sunny Studio |
 Lots of Dots Embossing Shop at: Sunny Studio |
 Woodgrain Embossing Shop at: Sunny Studio | |
 Santa Claus Lane Stamps Shop at: Sunny Studio |
 Santa Claus Lane Dies Shop at: Sunny Studio |
 Scenic Route Stamps Shop at: Sunny Studio |
 Scenic Route Dies Shop at: Sunny Studio | |
 Snowflake Circle Frame Shop at: Sunny Studio |
 Slimline Basic Borders Shop at: Sunny Studio |
 Slimline Nature Borders Shop at: Sunny Studio |
 North Pole Stamps Shop at: Sunny Studio | |
 North Pole Dies Shop at: Sunny Studio |
 Winter Scenes Stamps Shop at: Sunny Studio |
 Winter Scenes Dies Shop at: Sunny Studio |
 Sleek Stripes Paper Shop at: Sunny Studio | |
 Slimline Pennant Dies Shop at: Sunny Studio |
 All Is Bright Paper Shop at: Sunny Studio |
 Charming City Stamps Shop at: Sunny Studio |
 Charming City Dies Shop at: Sunny Studio | |
 Paris Afternoon Stamps Shop at: Sunny Studio |
 Paris Afternoon Dies Shop at: Sunny Studio |
 Cozy Christmas Stamps Shop at: Sunny Studio |
 Cozy Christmas Dies Shop at: Sunny Studio | |
 Mini Mat & Tag 1 Dies Shop at: Sunny Studio |
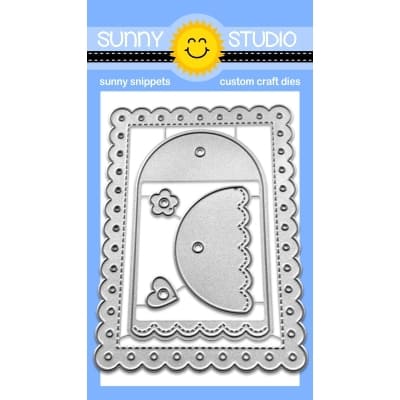 Mini Mat & Tag 2 Dies Shop at: Sunny Studio |
 Joyful Holiday Paper Shop at: Sunny Studio |
 Ribbon & Lace Dies Shop at: Sunny Studio | |
 Notebook Photo Corners Dies Shop at: Sunny Studio |
 Notebook Tabs Dies Shop at: Sunny Studio |
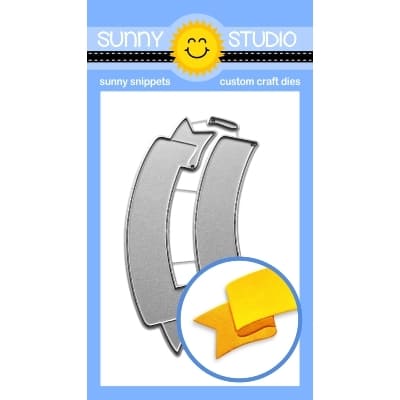 Brilliant Banner 2 Dies Shop at: Sunny Studio |
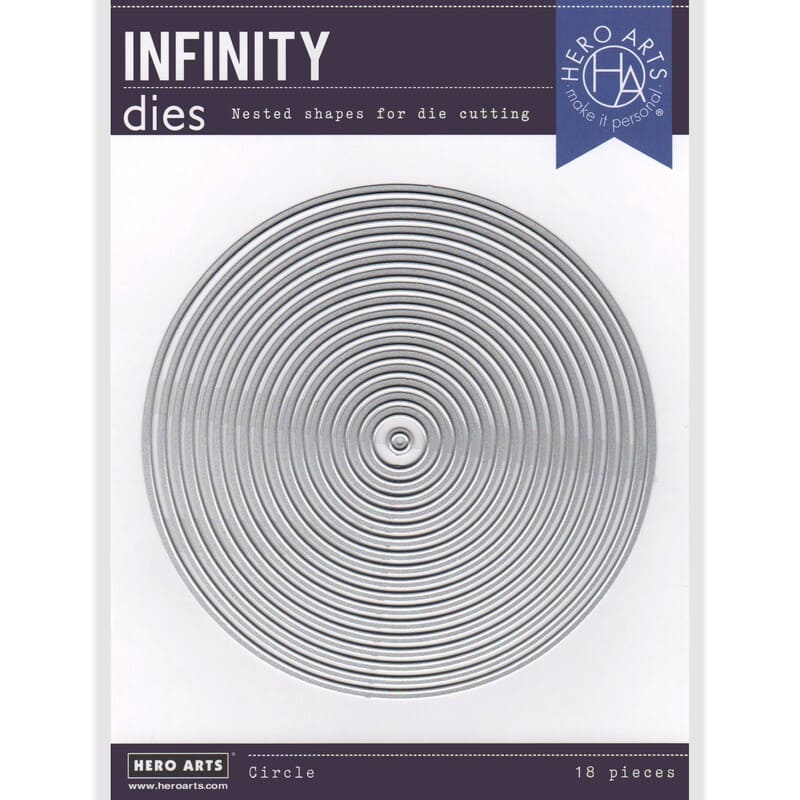 Hero Arts Nesting Circle Infinity Dies Shop at: Sunny Studio | |
 Memento Tuxedo Black Ink Pad Shop at: Sunny Studio |
 Hero Arts White Detail Shop at: Sunny Studio |
 VersaMark Watermark Ink Shop at: Sunny Studio |
 Ranger Glossy Accents Shop at: Sunny Studio |


