Hello Friends!
Catherine here, sharing a “flamazing” card using Summer
Greenery Dies and the cute flamingos from Fabulous
Flamingos Stamps.
To start, I die
cut a piece of White Cardstock with Frilly
Frames Stripes Dies. I then sprayed some Kirsch Flamingo Distress
Spray onto the frame. I thought the color would match perfectly with the
flamingoes in the card!
I flipped the
frame over and glued on a piece of acetate. I then added foam tape onto the
edges and poured Birthday
Cake Dot Sprinkles and Pastel
Rainbow Confetti into the frame. I removed the backing on the tape
and attached a piece of White Cardstock 4.25”x 5.5.”
I then die cut
the Summer
Greenery Dies and ink blended some greenery with Squeezed Lemonade,
Dried Marigold, and Salt Water Taffy Distress Oxide Ink. I ink blended other
greenery pieces with Tumbled Glass and Twisted Citron Distress Oxide Ink. I
splattered some pink and blue watercolor onto the greenery for interest.
I thought it
would be fun to add a drink bar for the flamingoes so I borrowed the bar from Tiki
Time Stamps and colored the bar with Copic Markers. I added a
“special cocktail” filled with confetti. To make the cocktail glass, I die cut three
circles using the smallest circle in Stitched
Circle Large Dies: one circle with White Cardstock, one circle with Acetate, and one circle with Double Sided Foam.
I ink blended
the White Cardstock circle with Tumbled Glass Distress Ink and then I cut all
the circles in half. For the cocktail glass, I glued the confetti from Pastel
Rainbow Confetti onto one of the blue half circles. I added and
glued on straws by cutting two thin strips of paper from Classic
Sunburst Paper.
For the outer
rim of the cocktail glass, I trimmed the other blue half into a thin curved
piece to fit the outer shape of the Acetate half circle. I did the same for the
Double Sided Foam half circle. I glued
the blue outer rim onto the front of the Acetate half circle. I then glued the
trimmed Double Sided Foam half circle onto the back of the acetate. I removed
the tape backing and attached it onto the other blue half with the confetti.
I used the
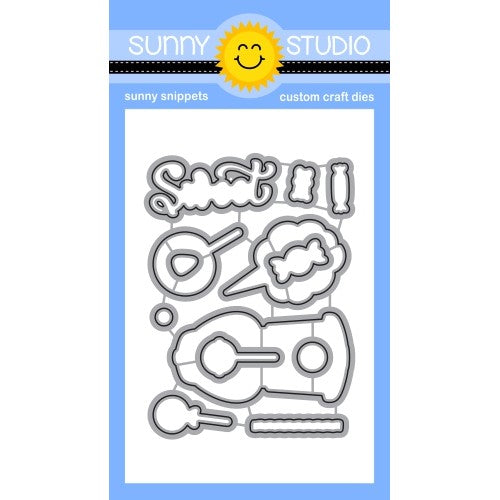
lollipop die from Candy Shoppe Dies
for cocktail glass stand. I die cut the
lollipop die with White Cardstock and ink blended with Tumbled Glass Distress
Ink. I then trimmed the piece and glued it onto the back of the glass.
I stamped and
die cut the flamingoes, watermelon, and pineapples from Fabulous
Flamingoes Stamps and Fabulous
Flamingos Dies and colored the pieces with Copic Markers. For the
sentiment, I ink blended a piece of White Cardstock with Kirsch Flamingo
Distress Oxide Ink. I die cut the piece with a pennant from Stitched
Rectangle Dies and white heat embossed “Happy Summer” from the same
set.
-----------------------------------------------
Hello Sunny friends!
It’s Bobbi Lemanski here sharing a handmade greeting using the new Summery Greenery dies by Sunny Studio Stamps. This brightly-colored card offers a trendy
color combination along with a quick and simple card layout. I’m using a fun
flower and a striped patterned paper for the background. These patterns are
from the Subtle Grey Tones paper pack. I love this
paper pack! The “Aloha” word is from the Island Getaway Stamp set.

To make this 5″ X 7″ card, I
started by adhering patterned papers to the card front. Since the
6″ X 6″ pattern papers do not cover the entire 7″ long card front, I added an
inch of 1/8″ strips of colored cardstock to the bottom of the front. I also
added a 5/8″ strip of striped patterned paper to the bottom, too. Both
patterns are from the same Subtle Grey paper pack.

I cut four 2-1/4″ diameter
circles out of green, pink, gold and teal cardstock. I cut a different leafy design from each circle cut. One of
the leaves is actually longer than the circle, cutting the circle in half.
That’s okay! I love when the leaves extend beyond the circle cut. How cute is
that?!

I attached the four circles to the
front, replacing the leafy design with a sage green leafy die cut for contrast.
Each circle got faux black stitches around the perimeter and some black dots in
the hole cutouts of the leaves. I used a fine-tip black marker to create the
stitches by hand. I like the black accents with these bright colors. It
“grounds” it a bit!
I added some Black Onyx Droplets to
the card for more high contrast. I also used my black marker to add smaller
dots of black to the front. Lastly, I stamped “aloha” in black in the center of
the circles to finish this card. This card could be used for many occasions,
including a simple “hi.”
Thanks for stopping by
today. If you want to see more ideas and inspiration from me, subscribe to my
blog, BobbiHartDesign.com. I’ll
send you updates on new posts! You can also find me on Instagram as @BobbiHartDesign and
on Facebook as BobbiHartDesign.
Sunny Studio Supplies Used:


