Hello Sunny Studio Friends! It's Juliana here and today I'm sharing an
interactive shaker card I created using the Feeling Frosty Stamp Set.
To get started, I stamped and colored several of the snow
people from the Feeling Frosty Stamp Set. I then die cut them using the Feeling Frosty coordinating dies. I always end up coloring and stamping more
images than I end up using on my cards! Can anyone relate to that? I then just
sit them to the side and save them for future projects.
Now to create the shaker part of the card. Here, I took the Layered
Snowflake Frame Die and used the inner die to cut a piece of white
cardstock. This die is super intricate and I highly recommend using a metal
shim to get a clean cut with your manual die cutting machine. After I had the
frame die cut, I trimmed the outer edges to create a square. I then used this
as the frame for the shaker part of the card. Turning the frame over, I adhered
a piece of acetate to the back side and then added double sided adhesive foam
strips to the edge of the frame to create the box. I filled this with a mix of
clear seed beads and the adorable Blue
Snowflake Confetti.
To complete the shaker box, I cut a piece of blue patterned
paper from the Very
Merry 6x6 Paper Pad the just smaller than the shaker frame. This will be
the back of the shaker piece. I then die cut some snowy hills from white
cardstock using the Woodland
Borders Die. I adhered this at the bottom of the piece of blue paper and
then added the cute snow people from the Frosty Friends to complete the scene. The box was then completed by adhering this piece to the
backside of the shaker box.
Once the shaker box was complete, I adhered it to a strip of
blue paper from the Very
Merry 6x6 Paper Pad and then mounted this onto a piece of red paper from
the same paper pad.
Thanks so much for stopping by today! I hope you enjoyed learning how I created
this shaker card using the Feeling Frosty Stamp Set.
------------------------------------------
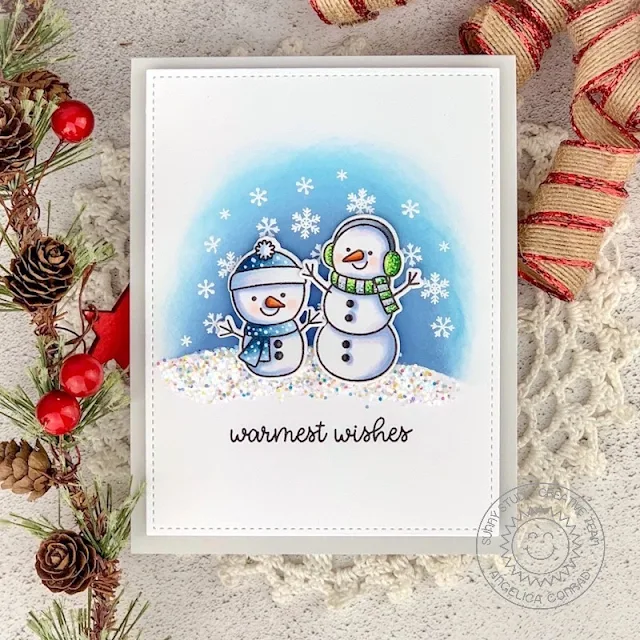
I used the Frilly Frames Retro Petals stitched
rectangle to die-cut white card stock. I ripped masking paper into the shape of
a small hill, and attached it to the panel. I blended Chipped Sapphire, Stormy
Sky, and Tumbled Glass Distress oxide inks over the mask to make the sky. After
the inks were dry, I stamped and white heat-embossed snowflakes from the stamp
set. I used my MISTI to line the sentiment up evenly, and stamped it with black
ink. I added a heavy coat of Ranger Multi Media Matte onto the hill, and poured
a generous amount of chunky glitter over the adhesive.
While the adhesive was
drying, I stamped and colored the snowmen. I used Copic Markers to color them,
shading the snowmen with the following colors: B00, BV00, BV000, Colorless Blender. After
I die-cut them with the coordinating dies, I
attached them to the panel with thin foam squares. I added the panel to a card
base with foam adhesive to finish the card.
Giving these two frosty friends a clean and simple background
really lets them shine, and adding small touches like the glitter snow gives
the card fun texture. I hope I have help inspired new ideas for this stamp set.
Thanks so much for stopping by!
Sunny Studio Supplies Used:


