Card No. 1: I will admit that I immediately turned to Pinterest to jumpstart my creative juices for many of my cards today and I will do my best to give credit to each as I go along. ;) For my first card I was inspired by THIS wonderful ombre card. I inked up my mylar heart balloons from our new Bold Balloons set in four separate color combos (linked below), popping up one on the middle right with foam tape for a little extra dimension. I then used a paper piercer to poke a hole in each balloon to string black thread through. I finished my card by heat embossing my sentiment with white embossing powder using a sentiment from our Sending My Love stamps.

To add a little interest to my center white panel I used the small zig-zag edge from our new Ric Rac border dies--They are quickly becoming a new favorite of mine. ;) I finished off my balloon bouquet with a bow from our Holiday Style stamp set in the same colors used for my darkest balloon.
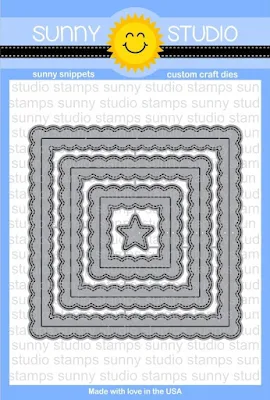
Card No. 3: Up next is a card set perfect for gift giving (inspired by this card set HERE) that uses the star balloon from our new Bold Balloons set, together with the banner from our Sunny Borders set and a sentiment from Heartfelt Wishes. For my background, I die-cut white ric rac border and adhered them to white cardstock to give them subtle texture that almost appears that they have been embossed. I finished them off with a white scalloped frame from our new Fancy Frame Square dies shared yesterday.
Card No. 4: For this next card I was inspired by a card shared HERE that has the colors of the balloons match the sentiment down below. Our Bold Balloons set comes with two different pieces of layering curling ribbon that add a really fun touch!
For the bottom edge of my card, I die-cut the edge with the ricrac border die and then I inked up a piece of white cardstock with a jumbo dauber, blending together Festive Berries, Carved Pumpkin, Mustard Seed, Mowed Lawn, and Salty Ocean. I then took the trio of confetti images from the set and repeatedly stamped it to create a continuous pattern in those same colors.
Card No. 6: Up next is a clean and simple card that was inspired by this card HERE. I created an overall white-on-white pattern like the inspiration card using a plain die-cut of the balloon with no stamping and then stamped a single red balloon using the Birthday balloon stamp set. I then tied it with a red twine bow, heat-embossed a simple sentiment in white using our Heartfelt Wishes set, and popped it up with foam tape. To add a bit more interest and color to my card I added a little border of red polka-dot paper along the bottom and a straight stitch with my sewing machine. This would be a great card for mass-producing in different colors too! :)
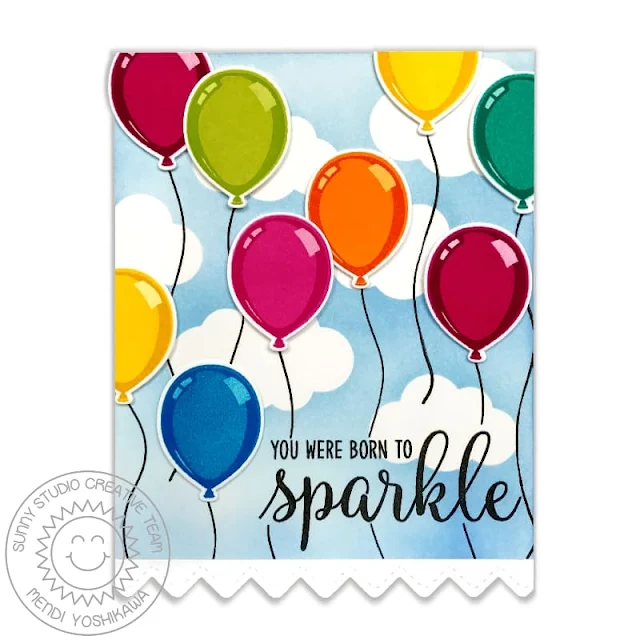
Card No. 7: I wanted to create a card that truly showed off all that this small stamp can do by stamping it in a rainbow of fun colors. I masked off the clouds for my background using the cloud dies from our Rain or Shine and Sunny Sentiments sets, before inking up my background with Colorbox Sky Dye Ink.
I stamped my sentiment in the bottom left-hand corner and masked it off before moving on. I then arranged by balloons loosely where I wanted them to go without adhering them and gently moved them aside as I took turns stamping the strings using a couple different stamps from the set that I adhered to my acrylic block in a wavy pattern. When I was done, I added my balloons with foam tape onto my card panel and trimmed off approximately 1/2" from the length of my card front to allow room for my stitched zig-zag edge using the new Ric Rac Border dies.
Card No. 8: For my last card I wanted to show how you can achieve a completely different look by using only the solid image from the Birthday Balloon set. I was inspired by Laura Bassen's beautiful card HERE. Instead of using a stencil like she did, I used my Mini MISTI to stamp the balloon image first in a light color and then to stamp it a second (and sometimes a third time) in a darker ink color that I applied to my stamp with a foam dauber. It gave it a really nice and soft shadow to one side of each balloon.
When I was done, I stamped my sentiment in VersaFine Black Onyx ink and then masked it off to stamp and heat emboss my balloon strings with white embossing powder. My strings weren't showing up quite as well as I would have liked so when I was certain my black ink was good and dry, I sponged on some Tumbled Glass distress ink over the top. You could also reverse the order and start by inking up the bottom with the distress ink to begin with. As a final step, I added a strip of black and white polka-dot paper and rounded the corners with my We R Memory Keepers Corner Chomper.
Stamping Trick: Before I go, I wanted to share a little secret I learned about stamping balloon strings. I was really struggling to get them to stand up in a straight line and adhere them to my clear block until I realized I could use a clear grid ruler or T-style ruler to push them up against before adhering them to my block. It worked like a charm and once I discovered it, it saved me a ton of frustration and heartache. ;)
I frequently am asked which ink colors I used for my layered images. While I think there are so many great options out there that can provide good results, these are the colors I used today for my stamped images (in the order shared from lightest to darkest)...
Pale Pink Heart Balloon (ombre card)
Stamps of Life Bubblegum
Hero Arts Cotton Candy
Hero Arts Pale Tomato
Dark Pink Heart Balloon (ombre card)
Hero Arts Cotton Candy
Hero Arts Pale Tomato
Stamps of Life Strawberry
Red Heart Balloon (ombre card)
Hero Arts Cotton Candy
Stamps of Life Strawberry
Colorbox Candy Red
Dark Red Heart Balloon (ombre card)
Hero Arts Pale Tomato
Colorbox Candy Red
Stamps of Life Cranberry
Pale Pink Heart Balloon (love card)
Stamps of Life Bubblegum
Stamps of Life Candy
Colorbox Pinkolicious
Hot Pink Heart Balloon & Bow (love card)
Stamps of Life Candy
Colorbox Pinkolicious
Colorbox Raspberry
Red Star
Hero Arts Pale Tomato
Colorbox Candy Red
Stamps of Life Cranberry
Orange Star
Papertrey Ink Summer Sunrise
Stamps of Life Tangerine
Colorbox Coral
Yellow Star
Stamps of Life Lemonade
Stamps of Life Banana
Colorbox Dandelion
Green Star
Colorbox Tree Frog
Colorbox Grasshopper
Colorbox Golf Course
Blue Star
Stamps of Life Sky
Colorbox Moody Blue
Colorbox Atlantic Blue
Lavender Star
Stamps of Life Pixie
Colorbox Lilac
Colorbox Frosted Plum
Magenta Balloon (Born To Sparkle card)
Colorbox Candy
Stamps of Life Raspberry
Colorbox Burgundy
Blue Balloon (Born To Sparkle card)
Colorbox Poolside
Colorbox Bahama
Colorbox Moody Blue
Teal Balloon (Born To Sparkle card)
Stamps of Life Seaglass
Stamps of Life Ocean
Colorbox Jade
Hot Pink Balloon (Born To Sparkle card)
Stamps of Life Candy
Colorbox Pinkolicious
Colorbox Raspberry
Lime Green Balloon (Born To Sparkle card)
Stamps of Life Kiwi
Colorbox Tree Frog
Hero Arts Grass Chalk Ink
Purple Balloon (last card)
Stamps of Life Grape
Colorbox Grape Slushy
Colorbox Imperial
*All other balloons, used colors shared above for star balloons.
I'm so excited you've joined me for today's sneak peek and I'd love to give a $25 gift code to one lucky winner. Make sure to keep checking back all this week for more peeks & prizes for up to five chances to win. The contests run through Saturday at Midnight PST with winners announced here on Sunday, January 14th. :)
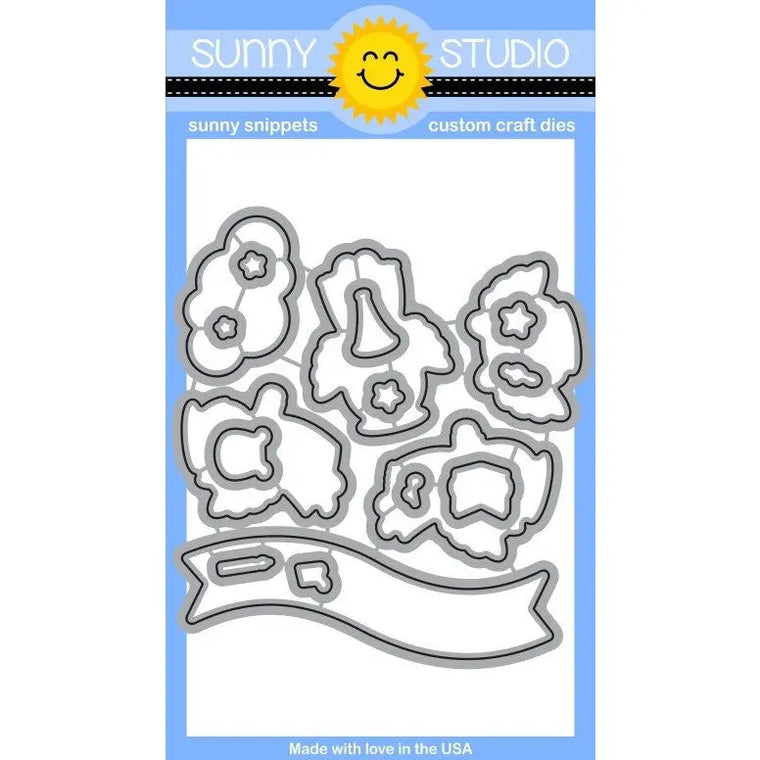
a Rafflecopter giveaway Here's a full look at the new Ric Rac Border Dies, 4x6 Bold Balloons Stamps & Dies, the 3x4 Birthday Balloons Stamps & Die featured today.
Other Sunny Studio Supplies Used:
 Heartfelt Wishes Stamps Shop at: Sunny Studio |
 Holiday Style Dies Shop at: Sunny Studio |
 Holiday Style Stamps Shop at: Sunny Studio |
 Sending My Love Stamps Shop at: Sunny Studio |
||
 Sunny Borders Dies Shop at: Sunny Studio |
 Sunny Borders Stamps Shop at: Sunny Studio |
 Sunny Sentiments Dies Shop at: Sunny Studio |
 Colorbox Archival Dye Ink- Grape Slushy Shop at: Sunny Studio |
||
 Rain or Shine Dies Shop at: Sunny Studio |
 Tsukineko Jumbo Dauber Shop at: Sunny Studio |
 Versafine Onyx Black Ink Shop at: Sunny Studio |
 VersaMark Watermark Ink Shop at: Sunny Studio |


