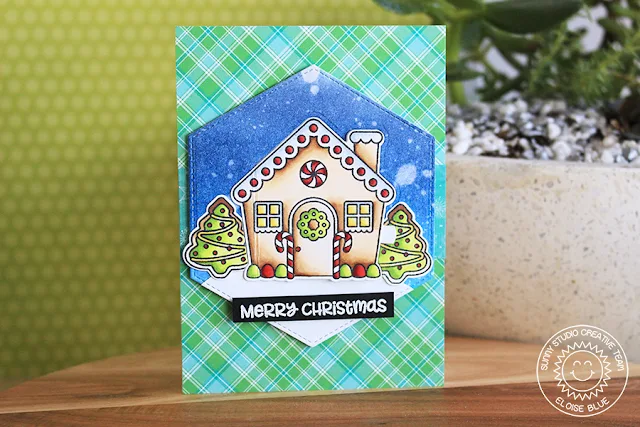
To begin my card today, I first stamped, coloured and die cut all my images out. I coloured them with Copic markers in traditional Christmas colours since I really love using traditional colours. I then used a stitched hexagon die to cut out a large hexagon out of some white cardstock and a piece of watercolour paper and then used a smaller hexagon die to cut out some kraft cardstock. I used Distress Inks to colour the larger hexagon piece and then cut a small hill from the other large hexagon and adhered them together. I then took a bricks stencil and some brown Distress Inks and ink blended over the smaller kraft hexagon. Now that all my layers were ready, I could start putting my card together.
I used the house die from the Jolly Gingerbread Coordinating die set and cut out the house partially from the blue hexagon. I lined up my plates and left a little not covered by the plates on the left hand side. I did this, since I only wanted whatever was under the plates and on the right hand side of the house to cut. I ran this through my Big Shot Machine and then used a craft knife to cut a straight line down. I then repeated this set on the card base also. I created a side fold card and did the same steps.
I then took my die cut house over to my scoring tool and scored a straight line so that it could be opened like a door on the front of my card. I then used two of the trees that I cut, positioned them over the open house die cut on my hexagon panel and used some washi tape to hold it down over the two trees, then ran it through my die cutting machine. I did this because I wanted them to have the shape of the die cut, so I could squish them up next to the already cut house die in my hexagon panel so it would all lay flush.
Now time to adhere. I adhered a piece of acetate onto the back on my hexagon panel and then I used some score tape along the scored piece of my house and adhered it down into place. I used runner adhesive to also adhere down my trees on either side - butting them up against the house. I also cut a small strip of cardstock to adhere behind my house, so it could be easily lifted up and it could reveal the inside of the card. Once the front was adhered, I took the bricks hexagon piece, adhered my gingerbread and accessories and adhered it into the inside of my card.
To finish up I white heat embossed the 'Merry Christmas' and 'from our home to yours' sentiments on black strips of cardstock and adhered them to the outside and inside of the card.
Thanks so much for stopping by today, I hope you enjoyed the interactive aspect of the card to see the gingerbread inside, it's super fun and cute!
Sunny Studio Supplies Used:
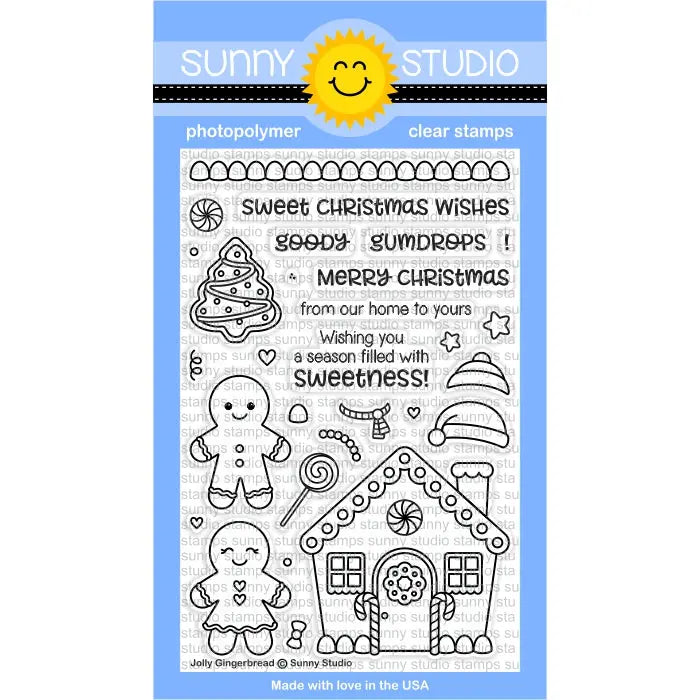
 Jolly Gingerbread Stamps Shop at: Sunny Studio |
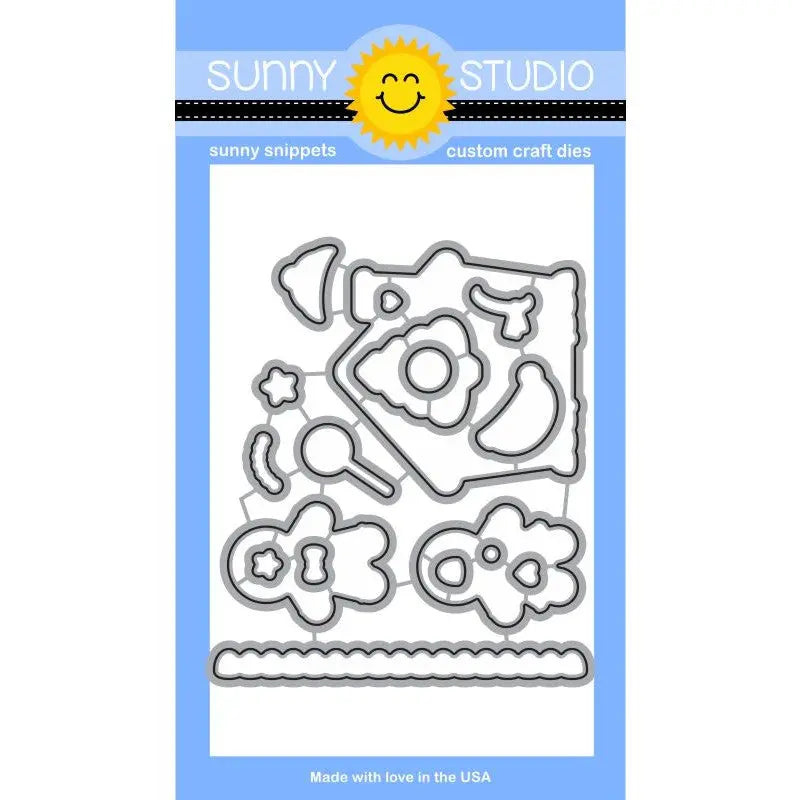
 Jolly Gingerbread Dies Shop at: Sunny Studio |


Absolutely delightful!
ReplyDeleteThis is an awesome card, absolutely brilliant !!
ReplyDelete