Friday, October 4, 2024

Autumn Garland Card with Nicky

Happy Friday friends, this is Nicky with you today on the Sunny Studio Stamps Blog and I have a new Fall themed card to share with you, showcasing the Autumn Garland set. Please continue reading for all the details.

Sunny Studio Stamps: Autumn Garland Card with Nicky Meeks

This is an A2 card and I first created my card base and then I also created a panel of sturdy white cardstock with dimensions of 4 inches x 5 1/4 inches. I used Distress Oxide Ink in Speckled Egg to ink blend a soft focal point which I distressed a little by dotting in some interest with a metallic gel pen, a white gel pen and a Copic marker.

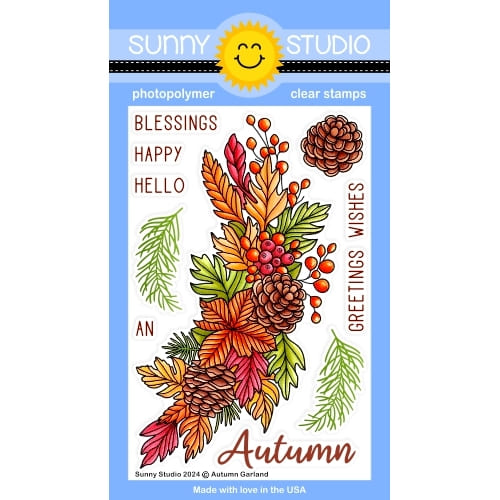
I backed this panel with white craft foam and applied it to the card base. I stamped the Autumn Garland image and coloured using the following Copic marker combinations:

Cones - E49, E44, E43
Leaves - E49, E44, YR27, E13
Group of Leaves (right of centre) - YG67, R05, R22, R20, R00
Green Leaves - YG67, YG95
Fir Sprigs- BG75, E42
Berries - R59, R37, R29

Sunny Studio Stamps: Autumn Garland Card with Nicky Meeks

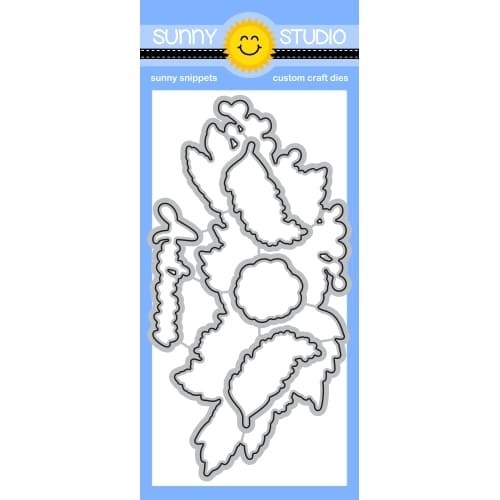
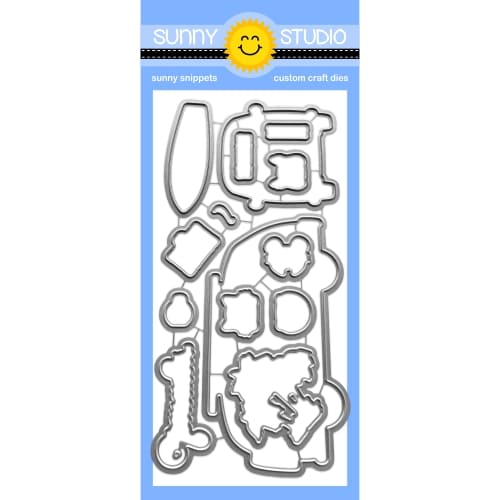
I die cut the image using the Autumn Garland Die, I backed the image with dimensional foam tape and applied it to the ink blended background panel.

The sentiments from Autumn Garland were stamped with Versamark Ink and heat embossed using Ranger's Copper Embossing Powder. The word "Autumn" was die cut using its coordinating die and then both words applied with dimensional foam tape, nestled under the garland.

I highlighted a few points using a white gel pen and then a few rose gold sequins were adhered here and there for final accents.

Thank you for stopping by today and I'll be back next Friday with something new to share.  Happy crafting!

Sunny Studio Supplies Used:
 

Autumn Garland Stamps
Shop at:
Sunny Studio
Autumn Garland Dies
Autumn Garland Dies
Shop at:
Sunny Studio

Thursday, October 3, 2024

Brilliant Banner 4 Die Focused Card with Marine

Hello crafty friends, Marine here with this new slimline autumn card featuring the mouse family again! This time the whole family is having fun at the pumpkin festival, and once again, I used many images from different sets (listed down below), as well as the Brilliant Banner 4 which goes perfectly with the hot air balloon from Balloon Rides, to create this lovely card.

Sunny Studio Stamps: Brilliant Banner Die Focused Card with Marine Simon (featuring Balloon Rides, Happy Harvest, Turkey Day)

I started off by cutting an 8,5 x 3,5 inches Strathmore bristol smooth panel that I stenciled to create a very simple background. On the upper half, I created clouds using a cloud stencil from my stash along with salvaged patina and peacock feathers oxide inks. And on the bottom half, I created grassy hills using a hill stencil from my stash along with mowed lawn and rustic wilderness oxide inks.

Next I stamped my images on 80lb Neenah solar white cardstock using an alcohol marker friendly black ink. I cut them all using the coordinating dies, and colored everything using my Ohuhu markers and my Graph'it brush markers.

Sunny Studio Stamps: Brilliant Banner Die Focused Card with Marine Simon (featuring Balloon Rides, Happy Harvest, Turkey Day)

Here is a detailed list of the stamp sets I used: • Happy Harvest - sunflowers, mushrooms • Turkey Day - pie, cup, slice of pie, leaves • Seasonal Trees - birds • Merry Mice - large mice, scarves • Fall Friends - acorns, stump • Bountiful Autumn - large pumpkins • Fall Scenes - small pumpkins • Beach Bus - small mice • Balloon Rides - hot air balloon, banners, clouds • Christmas Critters - mouse (in the balloon)

Sunny Studio Stamps: Brilliant Banner Die Focused Card with Marine Simon (featuring Balloon Rides, Happy Harvest, Turkey Day)

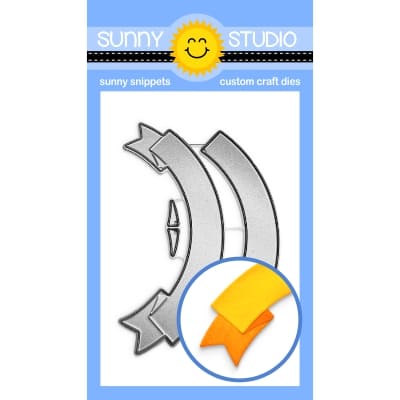
Once the coloring was done, I worked on my greeting using Brilliant Banner 4 dies. I cut the front piece and the back piece out of different shades of cardstock, white heat embossed "Autumn greetings" from Turkey Day on the front piece, attached that front piece to the back piece using 1mm foam squares, and then stuck everything, images and banner, to my slimline panel using 1mm and 2mm foam squares.

As always, to finish my card I added highlights and details to the images using a white gel pen, and that's it! I hope that you liked this new episode of the mouse family adventures. Thanks so much for stopping by, and see you next week!

Sunny Studio Supplies Used:

Christmas Critters Stamps
Shop at:
Sunny Studio
Christmas Critters DIes
Shop at:
Sunny Studio
Fall Friends Stamps
Fall Friends Stamps
Shop at:
Sunny Studio
Fall Friends Dies
Fall Friends Dies
Shop at:
Sunny Studio
Happy Harvest Stamps
Shop at:
Sunny Studio
Happy Harvest Dies
Happy Harvest Dies
Shop at:
Sunny Studio
Seasonal Trees Stamps
Shop at:
Sunny Studio
Seaonal Trees Dies
Seaonal Trees Dies
Shop at:
Sunny Studio
Merry Mice Stamps
Merry Mice Stamps
Shop at:
Sunny Studio
Merry Mice Dies
Merry Mice Dies
Shop at:
Sunny Studio
Bountiful Autumn Stamps
Shop at:
Sunny Studio
Bountiful Autumn Dies
Shop at:
Sunny Studio
Balloon Rides Stamps
Shop at:
Sunny Studio
Fall Scenes Stamps
Fall Scenes Stamps
Shop at:
Sunny Studio
Fall Scenes Dies
Fall Scenes Dies
Shop at:
Sunny Studio
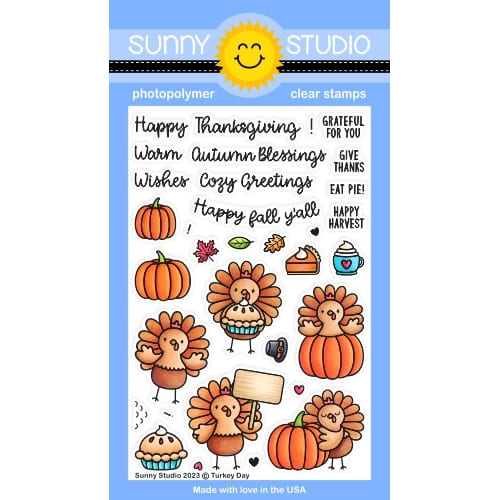
Turkey Day Stamps
Turkey Day Stamps
Shop at:
Sunny Studio
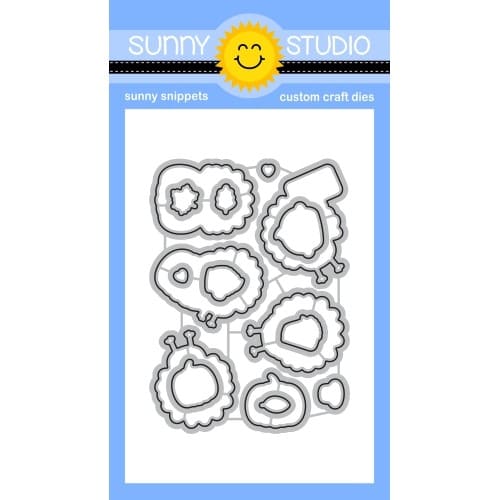
Turkey Day Dies
Turkey Day Dies
Shop at:
Sunny Studio
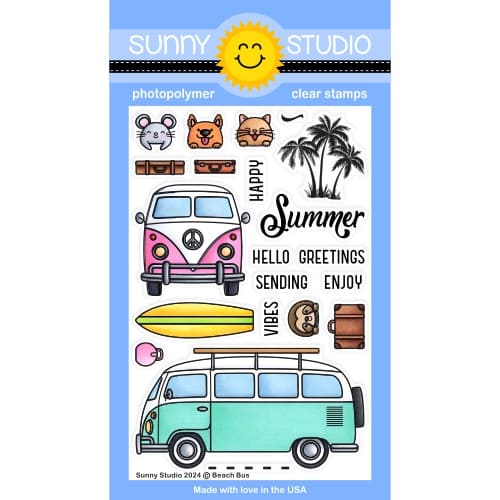
Beach Bus Stamps
Beach Bus Stamps
Shop at:
Sunny Studio
Beach Bus Dies
Beach Bus Dies
Shop at:
Sunny Studio
Brilliant Banner 4 Dies
Shop at:
Sunny Studio

Wednesday, October 2, 2024

Wood Barrel Die Focused Card with Tina

Hello crafters, it’s Tina and today I am creating a colorful Fall themed card using the beautiful Wood Barrel Die. I wanted to use some non-traditional hues and I knew that idea would match perfectly with the fun layering dies from Pumpkin Patch. I love that you get three different shaped and sized pumpkins with this set.

Sunny Studio Stamps: Wood Barrel Die Focused Card with Tina Henkens (featuring Pumpkin Patch Dies, Scalloped Square Dies, Stitched Square Dies, Dotted Diamond Dies, Mini Grass Border Dies, Wishes Word Die)

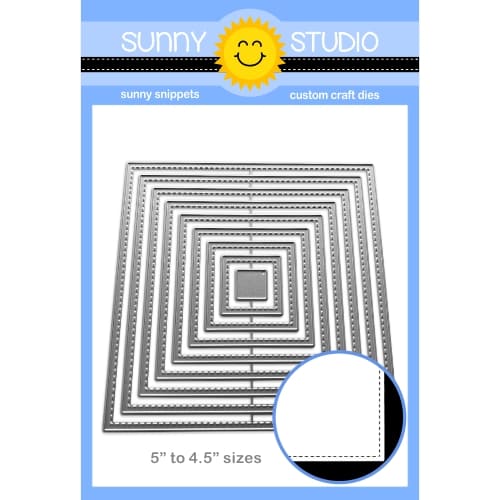
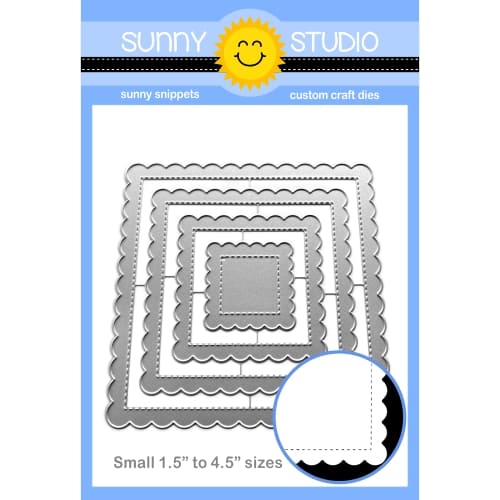
Starting with a white square card base, I added a layer of dark pink by ink blending the edge of a white panel cut with the largest of the Scallopped Square 1 Small DiesNext, I created another white panel slightly smaller with one of the Stitched Square Dies which was embellished by using the Dotted Diamond Portrait die.

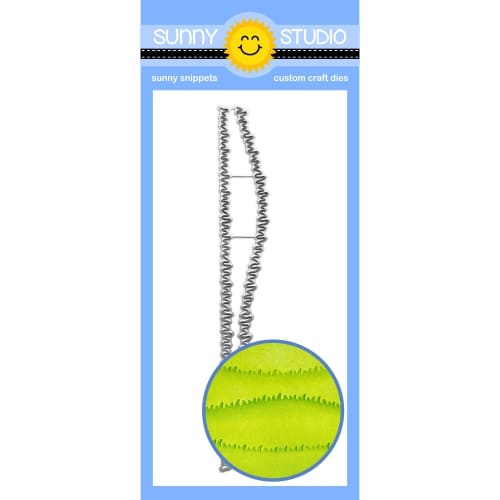
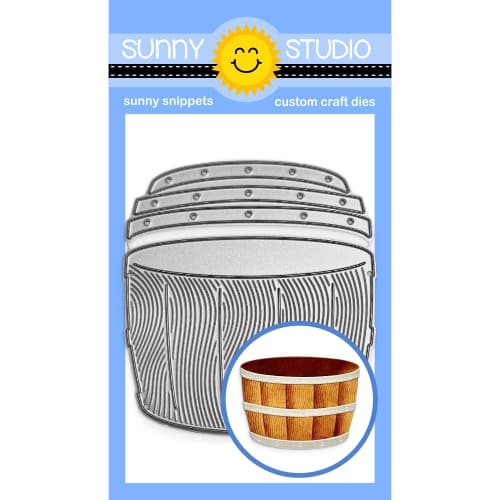
After creating all the layers of the pumpkins, the leaves (Pumpkin Patch), two grass borders (Mini Grass Border) and barrel (Wood Barrel Die), I put all the pieces on a grip mat and started blending with several ink color from my stash, I went with yellow, pink and teal blue shades.

Now it was time to put the card together! I first added the grass borders to the white panel. I added foam tape to the lower one so I could tuck the barrel between the two borders. Next, I started playing with the positioning of all the pumpkins and leaves. I like to use repositionable tape for this!

Sunny Studio Stamps: Wood Barrel Die Focused Card with Tina Henkens (featuring Pumpkin Patch Dies, Scalloped Square Dies, Stitched Square Dies, Dotted Diamond Dies, Mini Grass Border Dies, Wishes Word Die)

For this bold Fall scene, I selected a combined sentiment consisting of the big Wishes Word Die and the smaller ‘Autumn’ banner (Fall Kiddos).

I love finishing a card with some embellishments and today I chose some sparkling ones from the beautiful Iridescent Jewels. Thank you for joining me and I am looking forward to seeing your gorgeous creations with this fun rustic barrel die! Happy crafting!

Sunny Studio Supplies Used:

Wishes Word Die
Wishes Word Die
Shop at:
Sunny Studio
Fall Kiddos Stamps
Fall Kiddos Stamps
Shop at:
Sunny Studio
Pumpkin Patch Dies
Pumpkin Patch Dies
Shop at:
Sunny Studio
Dotted Diamond Portrait
Shop at:
Sunny Studio
Mini Grass Border Dies
Shop at:
Sunny Studio
Stitched Square Dies
Shop at:
Sunny Studio
Scalloped Square 1 Small Die
Shop at:
Sunny Studio
Wood Barrel Dies
Wood Barrel Dies
Shop at:
Sunny Studio

Tuesday, October 1, 2024

Autumn Garland Card with Alma

Hi, this is Alma, and I'm back on the Sunny Studio Stamps blog. Today I want to share a card with you using the amazing and dreamy new stamp set Autumn Garland Stamps.

Sunny Studio Stamps: Autumn Garland Card by Alma (featuring Nutty For You Dies, Squirrel Friends)

First of alI  I stamped and colored the stamps, then I die-cut it with the Nutty for You Dies.

After that, I adhered the top of the acorn with foam tape to create a 3D effect. I blended the background with the "Distress Oxides" in the colors "prize ribbon" and "chipped sapphire" and added white water splatters. 

Sunny Studio Stamps: Autumn Garland Card by Alma (featuring Nutty For You Dies, Squirrel Friends)

As a highlight, I colored the Squirrel Friends Stamps and placed them as the focal point on the card.

Wishing you all a lovely Tuesday!

Sunny Studio Supplies Used: 

Nutty For You Dies
Nutty For You Dies
Shop at:
Sunny Studio
Squirrel Friends Stamps
Shop at:
Sunny Studio
Squirrel Friends Dies
Shop at:
Sunny Studio
Autumn Garland Stamps
Shop at:
Sunny Studio

Monday, September 30, 2024

Distinctive Door Die Focused Card with Leanne

Hi! Leanne here and I'm sharing a spooky cute Halloween card today. I have used the Distinctive Door dies to create a haunted house front porch scene. 

Sunny Studio Stamps: Distinctive Door Die Focused Halloween Card by Leanne West (featuring Too Cute To Spook)

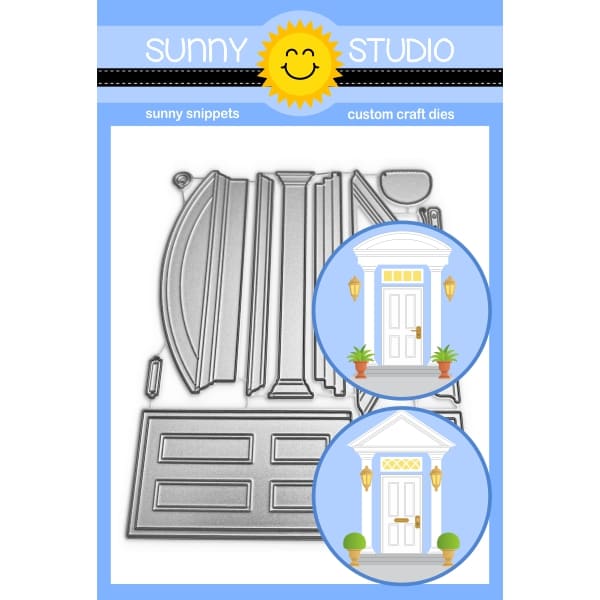
This card is A2 size. I started with a black card stock panel and added a light grey panel trimmed a bit smaller. I scored lines 1/2" inch apart on the grey panel to give it the look of siding. I die cut the Distinctive Door pieces from dark grey card stock. Before assembling, I blended on some Black Soot Distress Oxide ink onto all the porch pieces. When I adhered some of the porch pieces, I intentionally made them a little crooked. I thought this reinforced the whole haunted house vibe. 

Copic colors used: orange - YR21, YR12, YR16; purple - V22, V25, V99; green - G43, G46; black - N4, N6; brown E40, E41, E43; rosy cheeks - R20

Sunny Studio Stamps: Distinctive Door Die Focused Halloween Card by Leanne West (featuring Too Cute To Spook)

Once I had my haunted front porch assembled, I added some of the adorable images from the Too Cute to Spook stamp set. I Copic colored the images and then used the companion Too Cute to Spook dies to cut them out. To finish this scene, I added webs to the top corners and stamped the trick or trick sentiment directly onto the door. 

Sunny Studio Supplies Used:

Too Cute To Spook Stamps
Shop at:
Sunny Studio
Too Cute To Spook Dies
Shop at:
Sunny Studio
Distinctive Door Dies
Shop at:
Sunny Studio