Tuesday, February 27, 2024

Wicker Basket Die Focused Card with Isha

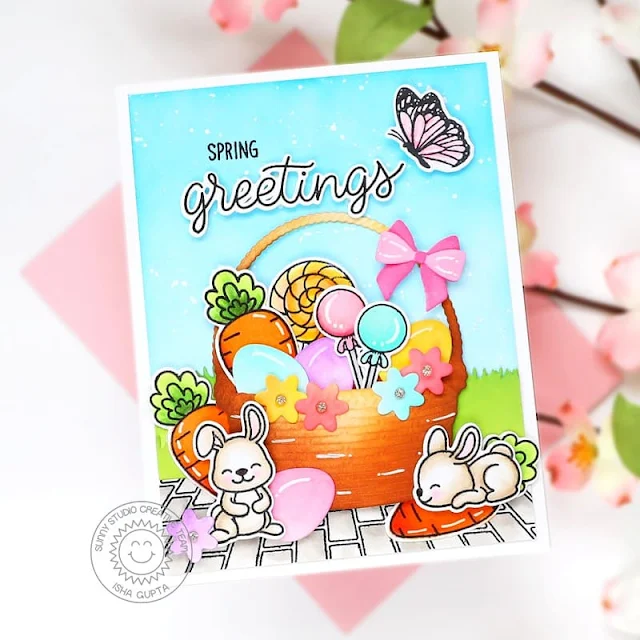
Hello everyone, Isha here with a fun and happy spring greeting card featuring the beautiful Wicker Basket die. I like that it was so easy to incorporate lots of older products with this die.

Sunny Studio Stamps: Wicker Basket Die Focused Spring Card by Isha Gupta (featuring Sprawling Surfaces, Mini Grass Border Dies, Candy Shoppe, Bunnyville)

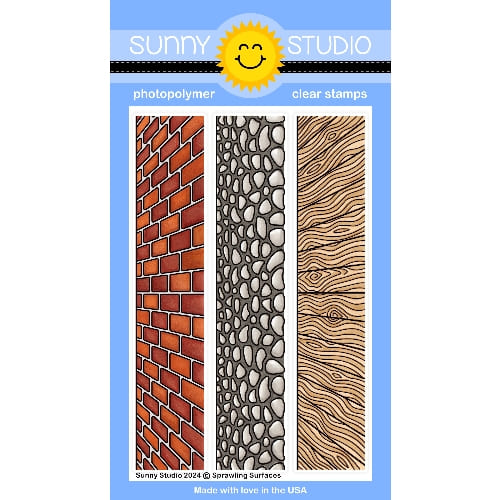
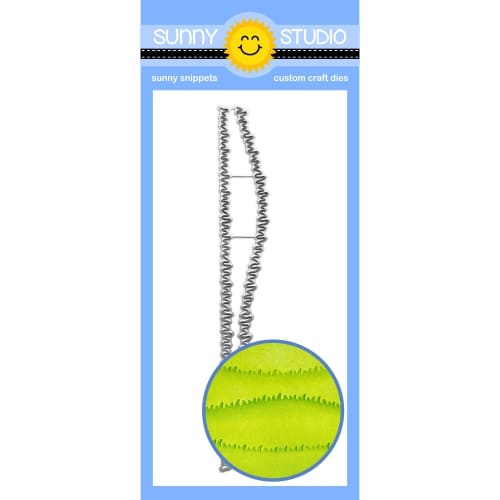
I started by sponging salty ocean distress oxide ink to create the background. Next I stamped the tiled floor from the Sprawling Surfaces stamp set, color using copic markers. Cut a strip and adhere to the panel. Next I die-cut two of the Mini Grass Border dies, sponged them with twisted citron and mowed lawn ink and adhere behind the tile floor. 

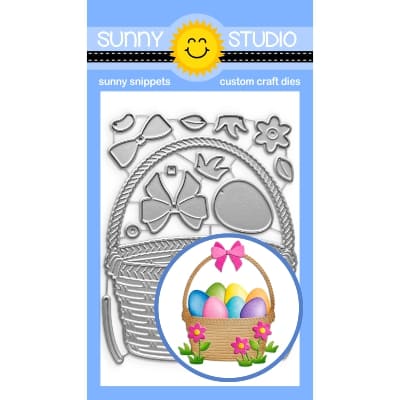
Die-cut the images from the Wicker Basket die, sponge various ink to add color. I then stamped some images to fill in the basket and to create the scene, color using copic markers and die-cut using the coordinating dies.

Sunny Studio Stamps: Wicker Basket Die Focused Spring Card by Isha Gupta (featuring Sprawling Surfaces, Mini Grass Border Dies, Candy Shoppe, Bunnyville)

Carrots and Bunnies - Bunnyville stamp and dies
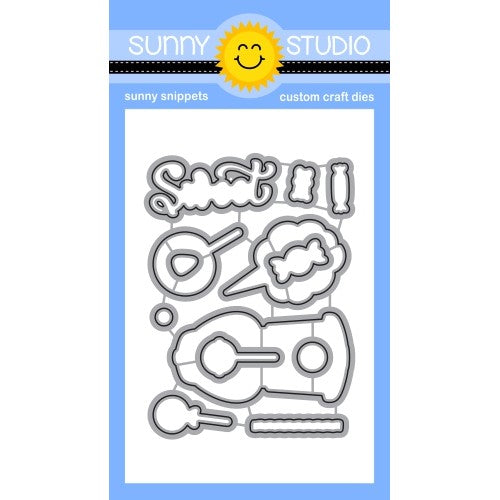
Candies - Candy Shoppe stamps and dies
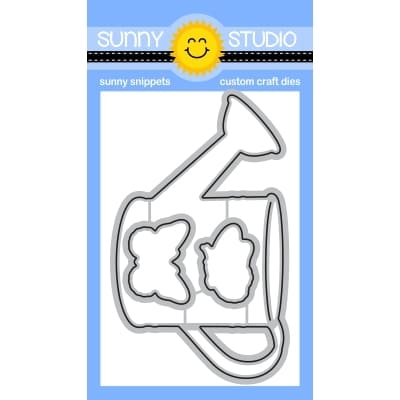
Butterfly - Watering Can Stamp and dies
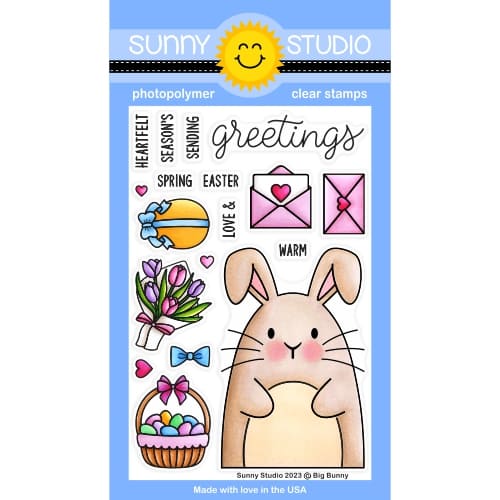
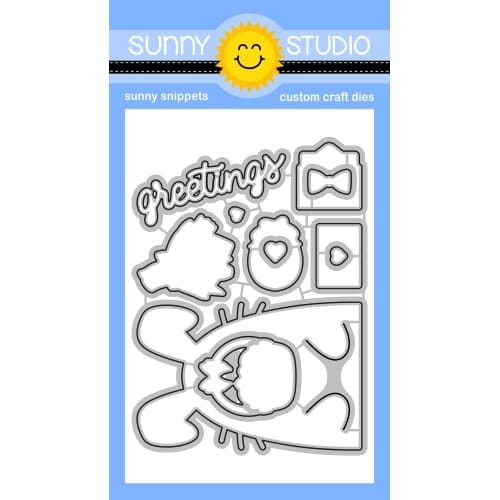
Sentiments - Big Bunny stamps and dies

Assemble everything to create the scene. To finish I added some gems to the flower center.

Thanks for dropping by and have a nice day!

Sunny Studio Supplies Used:

Candy Shoppe Stamps
Candy Shoppe Stamps
Shop at:
Sunny Studio
Candy Shoppe Dies
Candy Shoppe Dies
Shop at:
Sunny Studio
Bunnyville Stamps
Bunnyville Stamps
Shop at:
Sunny Studio
Bunnyville Dies
Bunnyville Dies
Shop at:
Sunny Studio
Watering Can Stamps
Watering Can Stamps
Shop at:
Sunny Studio
Watering Can Dies
Watering Can Dies
Shop at:
Sunny Studio
Big Bunny Stamps
Big Bunny Stamps
Shop at:
Sunny Studio
Big Bunny Dies
Big Bunny Dies
Shop at:
Sunny Studio
Sprawling Surfaces Stamps
Shop at:
Sunny Studio
Wicker Basket Dies
Wicker Basket Dies
Shop at:
Sunny Studio
Mini Grass Border Dies
Shop at:
Sunny Studio

Monday, February 26, 2024

Mini Grass Border Die Focused Card with Leanne

Hi there! Leanne here and I have another Easter card to share. This fun, colorful scene takes me back to when my kids were little and they would get so excited to hunt for Easter eggs in the yard. It was such a happy sight with all those colorful eggs popping out of the bright green grass. 

Sunny Studio Stamps: Mini Grass Border Die Focused Easter Card by Leanne West (featuring Chubby Bunny, Spring Greetings)

I created this whimsical Easter scene with the Mini Grass Border dies and images from the Chubby Bunny stamp set. I started with an A2 size card base and added some color for the sky with Tumbled Glass Distress Ink. Next I die cut four layers of the mini grass border to add to the scene. I die cut these from white card stock and then colored them with a blend of Mowed Lawn and Cracked Pistachio Distress inks. I also generously spattered the grass to give it a very speckled look.  

Copic colors: C01, C03, BG01, BG02, BG45, RV52, RV55, RV10, RV02, RV04, V12, V15, V17, YG01, YG03, YG05, Y11, Y15, E25, E27

Sunny Studio Stamps: Mini Grass Border Die Focused Easter Card by Leanne West (featuring Chubby Bunny, Spring Greetings)

Next I added all the Copic colored images.  The bunnies, chicks, and eggs are from Chubby Bunny. The Tulip images are from Spring Greetings. When I adhered the grass borders, I left the top edge free so I could tuck the images just slightly underneath. That's what so great about this new grass border version. You can tuck little images behind it without them being too covered up. To finish off this card I stamped the Easter Greeting sentiment which is included in the Big Bunny set

Sunny Studio Supplies Used:

Chubby Bunny Stamps
Chubby Bunny Stamps
Shop at:
Sunny Studio
Chubby Bunny Dies
Chubby Bunny Dies
Shop at:
Sunny Studio
Spring Greetings Stamps
Shop at:
Sunny Studio
Spring Greetings Dies
Shop at:
Sunny Studio
Big Bunny Stamps
Big Bunny Stamps
Shop at:
Sunny Studio
Big Bunny Dies
Big Bunny Dies
Shop at:
Sunny Studio
Mini Grass Border Dies
Shop at:
Sunny Studio

Sunday, February 25, 2024

Spring Garden Die Focused Card with Rachel

Hello crafty friends! It's Rachel here with a clean and simple card featuring the beautiful Spring Garden Dies. I kept my card super simple by using a single watering can with flowers as my focus. 

Sunny Studio Stamps: Spring Garden Die Focused Card by Rachel Alvarado (featuring Fancy Frame Dies)

To start my card, I first created my A2 sized card base from a piece of white card stock. I then layered it with a 4" x 5.25" piece of blue floral patterned paper from the Spring Fling Paper Pad. Next, I stamped my large sentiment from the Big Bunny Stamp Set with some Memento Tuxedo Black Ink.

To create my focal point, I then added a scalloped circle to the top center portion of my card that I had die cut from a piece of white card stock using the second largest of the Fancy Frames Circle Dies. Lastly, I die cut the pieces for my watering can and added some dimension to the blue base of the can with some Pinkfresh Storm Ink

Sunny Studio Stamps: Spring Garden Die Focused Card by Rachel Alvarado (featuring Fancy Frame Dies)

I then used a variety of colored card stock to die cut the rest of my pieces and adhered all of it to my card base with some 3D foam adhesive squares to give my die cuts a pop of dimension. Lastly, I added some white accents using a size 10 white Gelly Roll pen.

Thanks so much for taking the time to stop by! I hope you enjoyed my card today! If you want more card making inspiration, feel free to check out my Instagram feed.

Sunny Studio Supplies Used:

Fancy Frames-Circle Dies
Shop at:
Sunny Studio
Spring Fling Paper
Spring Fling Paper
Shop at:
Sunny Studio
Big Bunny Stamps
Big Bunny Stamps
Shop at:
Sunny Studio
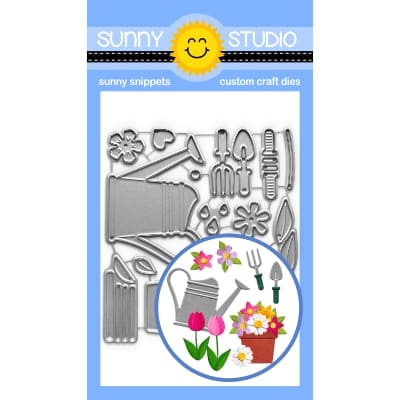
Spring Garden Dies
Spring Garden Dies
Shop at:
Sunny Studio

Saturday, February 24, 2024

Beautiful Bluebells Card with Cathy

Hey friends! Cathy here today sharing a thank you card featuring the Beautiful Bluebells Stamps. The gorgeous details in these stamps can’t be overstated!

Sunny Studio Stamps: Beautiful Bluebells Thank You Card by Cathy Chapdelaine (featuring Big Bold Greetings, Stitched Semi-Circle Dies, Spring Greenery Dies, Frilly Frame Dies)

I kept the design of this A2 card fairly simple to showcase these beautiful flowers. I started by die-cutting a paper from the Spring Fever Paper using the frame portion of the Frilly Frames Quatrefoil Dies and adhering it to a white card front. Next, I die-cut 2 pieces of white cardstock using the largest Stitched Rectangles Die. I die-cut one of them using the quatrefoil portion of the Frilly Frames Quatrefoil Dies and adhered it to the solid stitched rectangle. I then adhered the combined piece to the card front.

To provide a base for the flowers, I die-cut a piece of white cardstock using the second largest Stitched Semi-Circle Dies and inked it lightly just short of the edges with Milled Lavender and Shaded Lilac Distress inks. I adhered it 3/4" from the top of the card.

I stamped the bluebells in various shades of purple ink and a dusty blue ink (Simon Says Stamp Lilac, Amethyst and Orchid, Memento Elderberry and Hero Arts Dusty Blue. Stems in Simon Says Stamp Celery and Limelicious) and die-cut them using the coordinating dies. I adhered them to the Stitched Semi-Circle die-cut beginning with the tallest flowers at the top and working down to the base of the semi-circle. (I reserved one bud to adhere overlapping the leaf)

Sunny Studio Stamps: Beautiful Bluebells Thank You Card by Cathy Chapdelaine (featuring Big Bold Greetings, Stitched Semi-Circle Dies, Spring Greenery Dies, Frilly Frame Dies)

Next, I die-cut a piece of white cardstock using a Spring Greenery Die and inked it with Twisted Citron/Mowed Lawn Distress inks. I adhered this below the bouquet and then overlapped/adhered one last flower bud.

To finish, I stamped the sentiment from the Big Bold Greetings Stamps using Simon Says Stamp Orchid ink and die-cut it using the coordinating dies. I adhered it with foam dimensional tape.

I just love how this turned out and I hope you enjoyed! Thanks for stopping by today! For more inspiration, please visit my blog www.inkredibleadventures.com and you can also find me on Instagram as @cathy.chapdelaine.

Sunny Studio Supplies Used:

Stitched Rectangle Dies
Shop at:
Sunny Studio
Stitched Semi-Circle Dies
Shop at:
Sunny Studio
Frilly Frames Quatrefoil
Shop at:
Sunny Studio
Spring Greenery Dies
Shop at:
Sunny Studio
Big Bold Greetings Stamps
Shop at:
Sunny Studio
Big Bold Greetings Dies
Shop at:
Sunny Studio
Spring Fever Paper
Spring Fever Paper
Shop at:
Sunny Studio
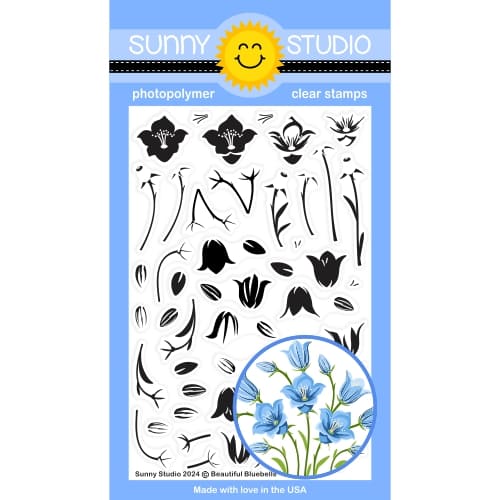
Beautiful Bluebells Stamps
Shop at:
Sunny Studio
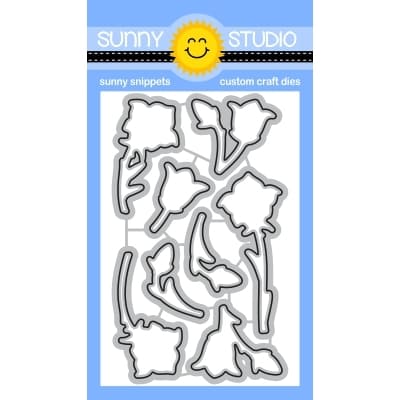
Beautiful Bluebells Dies
Shop at:
Sunny Studio

Friday, February 23, 2024

Puddle Jumpers Card with Nicky

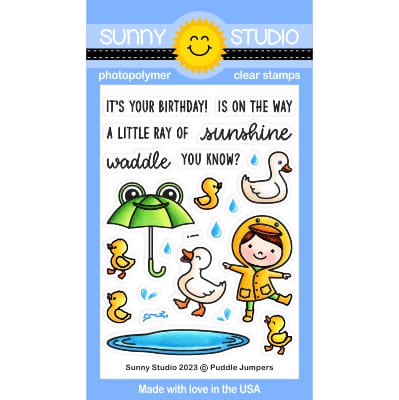
Hello! This is Nicky with you today and I'm sharing the details for this new card featuring the cute Puddle Jumpers stamp set.

Sunny Studio Stamps: Puddle Jumpers Card by Nicky Meeks (featuring Stitched Rectangle Dies, Fancy Frame Oval Dies, Rain Showers)

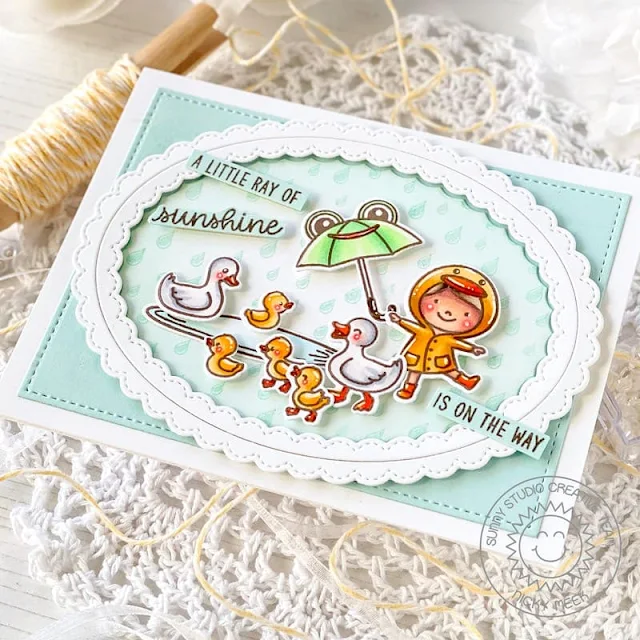
I started by using the Stitched Rectangle Die to create a panel of light blue cardstock. I glued this to a white A2 panel and then to my card base. I die cut a white panel of cardstock using the Fancy Frames Ovals Die. I backed the frames with dimensional foam tape and adhered it to the card base.

Next, I used the Rain Showers and toning blue ink to stamp the rain drops background on the inside cut that was left after creating the frames. I then came in with a small blending brush and the same ink and ink blended around the edges to form a soft focal point. This was then recessed and glued within the frame.

Sunny Studio Stamps: Puddle Jumpers Card by Nicky Meeks (featuring Stitched Rectangle Dies, Fancy Frame Oval Dies, Rain Showers)

I stamped the Puddle Jumpers images using Memento Ink in Rich Cocoa and I coloured the images with the following Copic marker combinations:

Yellow - Y17, YR31
Orange - YR09, YR04
Skin - E04, E11, E21, E00
Blush - R22, R20, R00
White - C3, C1, C0
Green - YG41, YG11, G40

Sunny Studio Stamps: Puddle Jumpers Card by Nicky Meeks (featuring Stitched Rectangle Dies, Fancy Frame Oval Dies, Rain Showers)

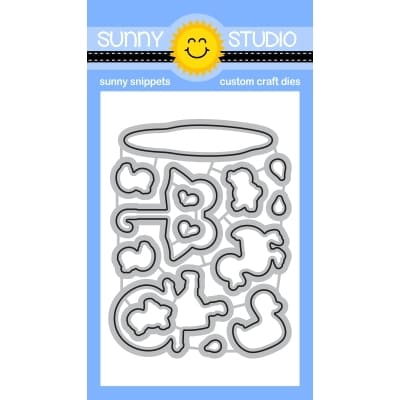
Images were die cut using the coordinating dies, arranged and adhered with foam tape and I highlighted with a white gel pen. Finally I stamped the sentiments on little strips of the pale blue cardstock and used foam tape to apply them at playful angles.

I appreciate you coming to the blog today and hope you like this card.  I will be back next Friday with something brand new to share.

Sunny Studio Supplies Used:

Stitched Rectangle Dies
Shop at:
Sunny Studio
Rain Showers Stamps
Rain Showers Stamps
Shop at:
Sunny Studio
Fancy Frames- Ovals
Fancy Frames- Ovals
Shop at:
Sunny Studio
Puddle Jumpers Stamps
Shop at:
Sunny Studio
Puddle Jumpers Dies
Puddle Jumpers Dies
Shop at:
Sunny Studio