Saturday, December 9, 2023

Sunny Saturday Share: Holiday Themed Customer Cards


Hey everyone, how are you all doing this weekend? I'm so excited to be popping in today with a Sunny Saturday Share. There have been so many amazing cards popping up on Instagram that have made my jaw drop so I couldn't wait to share them with all of you! 


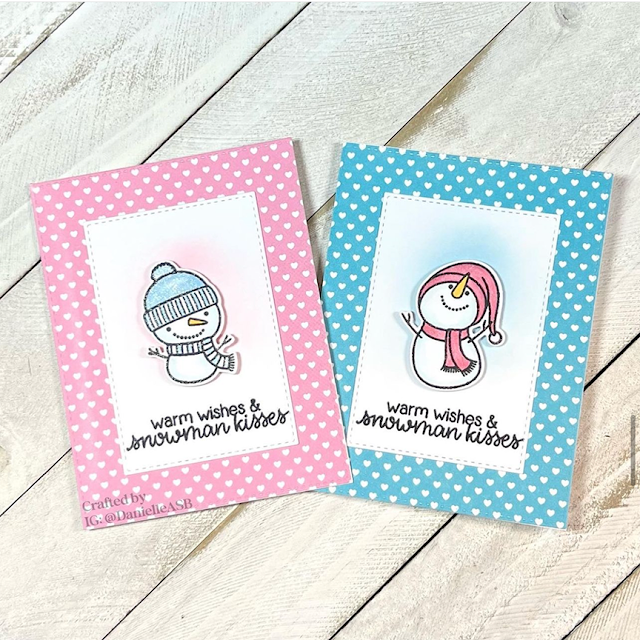
Sunny Studio Stamps: Snowman Kisses Holiday Themed Customer Card by Danielle


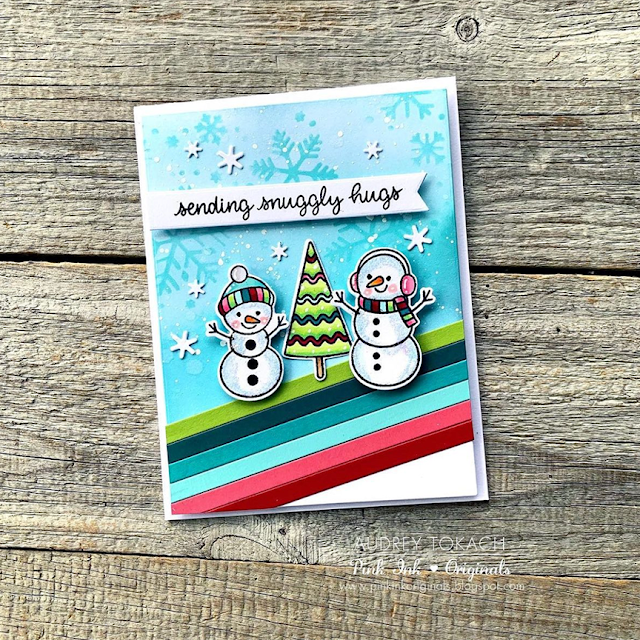
Sunny Studio Stamps: Feeling Frosty Holiday Themed Customer Card by Audrey Tokach


Sunny Studio Stamps: Penguin Party and Scenic Route Holiday Themed Customer Card by Danielle Dunlop


Sunny Studio Stamps: Holiday Hugs Christmas Themed Customer Card by Marieke


Sunny Studio Stamps: Snowman Kisses Holiday Themed Customer Card by Tina Magnusson


Sunny Studio Stamps: Snowman Kisses, Snow One Like You, and Winter Scenes Holiday Themed Customer Card by Rachel


Sunny Studio Stamps: Hedgy Holidays Holiday Themed Customer Card by Jacinda


Sunny Studio Stamps: Merry Mice Holiday Themed Customer Card by Caren Bartholomew


Sunny Studio Stamps: Holiday Hugs Christmas Themed Customer Card by Amanda Wilcox


Sunny Studio Stamps: Merry Mice Holiday Themed Customer Card by Rachel

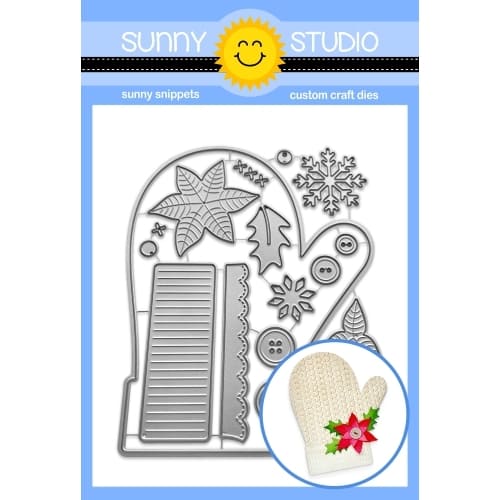
Woolen Mitten card by Carole Strawn


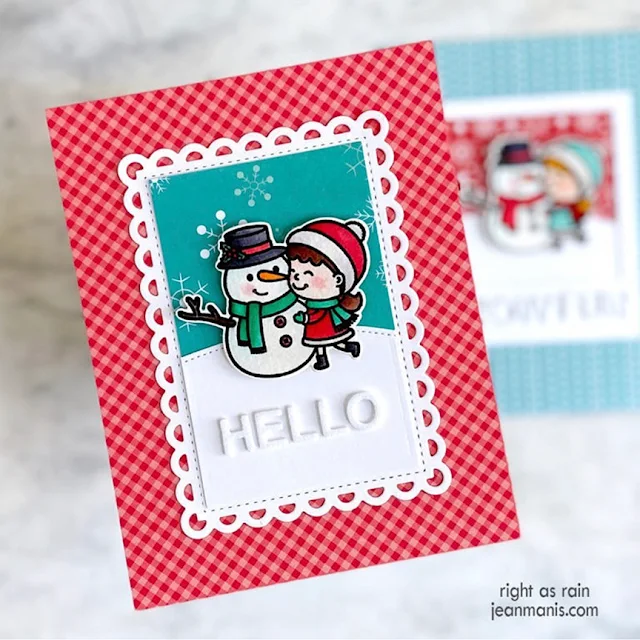
Sunny Studio Stamps: Snow One Like You Holiday Themed Customer Card by Lynn


Sunny Studio Stamps: Fintastic Friends and Penguin Party Holiday Themed Customer Card by Danielle Dunlop

Thank you for sharing all these fabulous ideas with us! I hope you will continue to share your gorgeous projects with us--It always makes my day to see them. You can tag us on instagram with the hashtag #sunnystudiostamps or share your projects with us in our flickr group or on our facebook page. ☺


Sunny Studio Supplies Used:

Feeling Frosty Stamps
Shop at:
Sunny Studio
Feeling Frosty Dies
Feeling Frosty Dies
Shop at:
Sunny Studio
Merry Mice Stamps
Merry Mice Stamps
Shop at:
Sunny Studio
Merry Mice Dies
Merry Mice Dies
Shop at:
Sunny Studio
Scenic Route Stamps
Scenic Route Stamps
Shop at:
Sunny Studio
Scenic Route Dies
Scenic Route Dies
Shop at:
Sunny Studio
Hedgey Holidays Stamps
Shop at:
Sunny Studio
Hedgey Holidays Dies
Shop at:
Sunny Studio
Winter Scenes Stamps
Shop at:
Sunny Studio
Winter Scenes Dies
Winter Scenes Dies
Shop at:
Sunny Studio
All Is Bright Paper
All Is Bright Paper
Shop at:
Sunny Studio
Cozy Christmas Stamps
Shop at:
Sunny Studio
Cozy Christmas Dies
Cozy Christmas Dies
Shop at:
Sunny Studio
Penguin Party Stamps
Shop at:
Sunny Studio
Penguin Party Dies
Penguin Party Dies
Shop at:
Sunny Studio
Reindeer Games Stamps
Shop at:
Sunny Studio
Reindeer Games Dies
Reindeer Games Dies
Shop at:
Sunny Studio
Snowman Kisses Stamps
Shop at:
Sunny Studio
Snowman Kisses Dies
Snowman Kisses Dies
Shop at:
Sunny Studio
Snow One Like You Stamps
Shop at:
Sunny Studio
Snow One Like You Dies
Shop at:
Sunny Studio
Mini Mat & Tag 3 Dies
Shop at:
Sunny Studio
Woolen Mitten Dies
Woolen Mitten Dies
Shop at:
Sunny Studio
Holiday Hugs Stamps
Holiday Hugs Stamps
Shop at:
Sunny Studio
Holiday Hugs Dies
Holiday Hugs Dies
Shop at:
Sunny Studio

Friday, December 8, 2023

Holiday Hugs Card with Tina

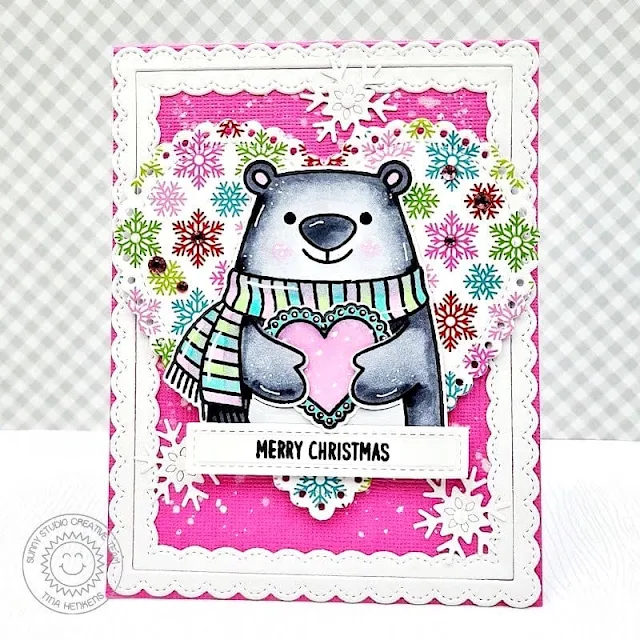
Hello crafty friends, it’s Tina and today I am showcasing the cutest bear ever from the sweet Holiday Hugs stamp and die set! When you use the dies, the bear can hold several items!

Sunny Studio Stamps: Holiday Hugs Christmas Card by Tina Henkens (featuring Snowflake Circle Frame Dies, Scalloped Heart Dies, Fancy Frame Dies)

For my base panel I die cut a piece of pink paper from my stash. To get a snowy look, I added splatters with a paintbrush and some watered-down white paint. I framed it with a white border created with the two outer pieces from the Fancy Frame Rectangle dies.

The cute bear had to be the focal point of this card and I thought it would be fun to add him to a heart shape. For this heart I used a holiday paper from All Is Bright and the largest die in the Scalloped Heart set. I mounted this piece with foam tape to the pink panel.

Sunny Studio Stamps: Holiday Hugs Christmas Card by Tina Henkens (featuring Snowflake Circle Frame Dies, Scalloped Heart Dies, Fancy Frame Dies)

Next, I stamped and die cut the cute bear and heart from the Holiday Hugs stamp and did some Copic coloring. I used a grey marker to add some shading. After placing the heart into the bears paws, I mounted him to my card with dimensional tape. Love how cute that looks!!

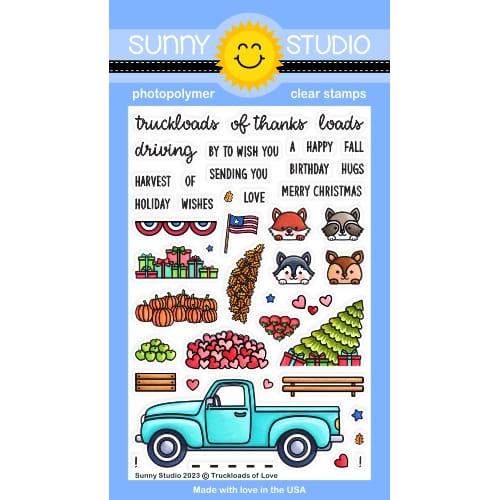
I selected a sentiment from Truckloads Of Love and stamped it onto a white strip using my much loved Versafine Onyx Black ink. A few snowflakes from the Snowflake Circle Frame Die were added as embellishments. As a finishing touch, I sprinkled a few Pastel Jewels around the bear.

I am planning to make much more cards with this adorable bear and I am looking forward to seeing your creations! Thank you for joining me and happy crafting.

Sunny Studio Supplies Used:

Fancy Frames- Rectangles
Shop at:
Sunny Studio
Snowflake Circle Frame
Shop at:
Sunny Studio
All Is Bright Paper
All Is Bright Paper
Shop at:
Sunny Studio
Scalloped Heart Dies
Shop at:
Sunny Studio
Holiday Hugs Stamps
Holiday Hugs Stamps
Shop at:
Sunny Studio
Holiday Hugs Dies
Holiday Hugs Dies
Shop at:
Sunny Studio
Truckloads of Love Stamps
Shop at:
Sunny Studio

Thursday, December 7, 2023

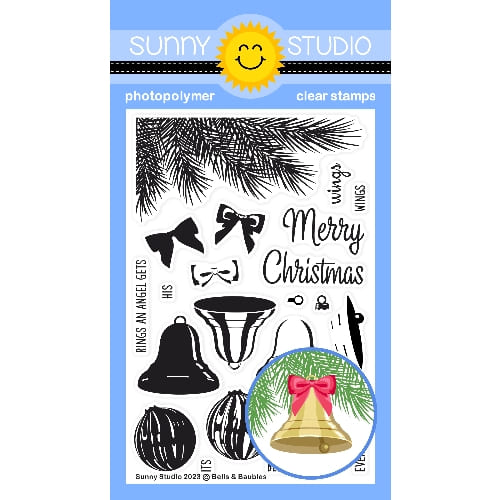
Bells & Baubles Shaker Ornament with Marine

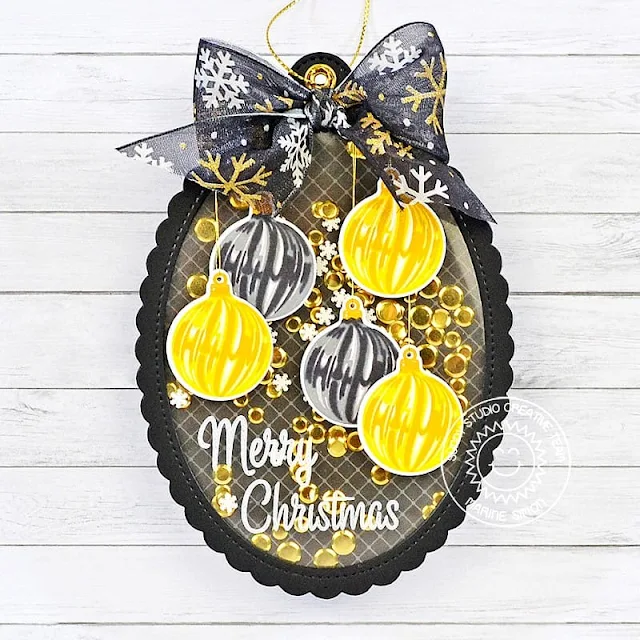
Hello crafty friends, Marine here, I'm so happy to be back on the blog with this shaker ornament showcasing Bells & Baubles. As you can see, I kind of went out of my comfort zone with this gold and black color palette, I'm more of a let-throw-all-the-colors-on-one-single-card kind of girl, but I was actually inspired by my friend and fellow crafter Bobbi Lemanski who recently shared a beautiful set of black + gold + white tags, and I thought it would be a fun challenge for me.

Sunny Studio Stamps: Bells & Baubles Shaker Christmas Ornament by Marine Simon (featuring Scalloped Oval Mat Dies, Stitched Oval Dies)

So I started off by stamping five baubles on 80lb Neenah solar white cardstock using Lawn Fawn premium dye inks. I stamped each image twice to get a nice impression, and then used the coordinating dies to cut everything. Here are the color combinations I picked:

 golden baubles: butter + sunflower + no. 2 pencil

 black baubles: manatee + hippo + black licorice

 toppers: no. 2 pencil

I cut a scalloped oval frame out of black cardstock using the largest die from Scalloped Oval Mat 1 and the largest die from Stitched Oval 2. I also cut an acetate panel using the largest die from Scalloped Oval Mat 1 again, and attached that acetate panel at the back of my black scalloped frame using liquid glue. I stamped my "Merry Christmas" greeting from Bells & Baubles at the bottom of the acetate panel using white stazon ink.

Sunny Studio Stamps: Bells & Baubles Shaker Christmas Ornament by Marine Simon (featuring Scalloped Oval Mat Dies, Stitched Oval Dies)

I attached the baubles directly on the acetate using 1mm foam squares, and added golden threads that I secured and stuck at the top back of the frame using thin pieces of tape. I added foam strips at the back of my frame, all along the oval shape, and poured my shaker material inside the acetate window: golden sequins from my stash, and White Snowflake Confetti.

Next I created the handle for my ornament. I cut two black pieces using the smallest die from Stitched Arch, and attached both elements back to back using liquid glue. I also cut two gold mirror eyelets using a die from Sliding Window, attached one of them on the front of my handle, and the second at the back.

Sunny Studio Stamps: Bells & Baubles Shaker Christmas Ornament by Marine Simon (featuring Scalloped Oval Mat Dies, Stitched Oval Dies)

Using the largest die from Scalloped Oval Mat 1 again, I cut a panel out of a Classic Sunburst black paper, and attached my handle piece at the top back using liquid glue. I cut another scalloped panel out of black cardstock that I glued at the back of the other, and then stuck that panel to the foam strips to totally close my shaker ornament.

To finish my ornament, I added golden thread on the handle, tied a bow using ribbon from my stash and attached it at the top of the frame using liquid glue. And that's it! I had a really good time making this ornament, and I think it would look amazing with traditional colors like red + green + gold, or even with wintery colors like teal + blue + silver. 

Thanks so much for stopping by, and see you next week!

Sunny Studio Supplies Used:

Sliding Window Dies
Sliding Window Dies
Shop at:
Sunny Studio
Stitched Arch Dies
Stitched Arch Dies
Shop at:
Sunny Studio
Classic Sunburst Paper
Shop at:
Sunny Studio
Scalloped Oval Mat 1 Dies
Shop at:
Sunny Studio
Stitched Oval 2 Dies
Shop at:
Sunny Studio
Bells & Baubles Stamps
Shop at:
Sunny Studio
Bells & Baubles Dies
Shop at:
Sunny Studio

Wednesday, December 6, 2023

Baking Spirits Bright Card with Gladys

Hello crafty friends, Gladys here! I'm excited to be back on the blog today to share a fun box card with the Baking Spirits Bright stamp set. I have been loving the gingerbread products this year so I decided to create a gingerbread scene so let's get started. 

Sunny Studio Stamps: Baking Spirits Bright Christmas Card by Gladys Marcelino (featuring Jolly Gingerbread)

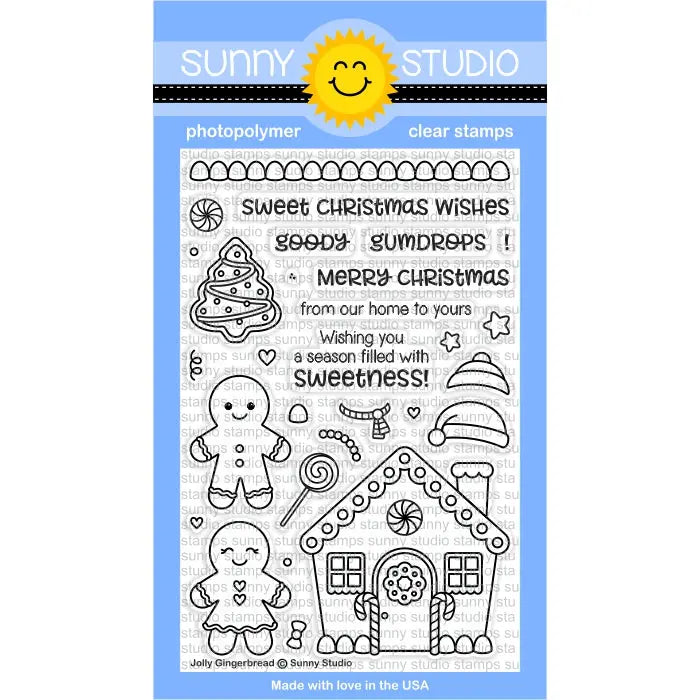
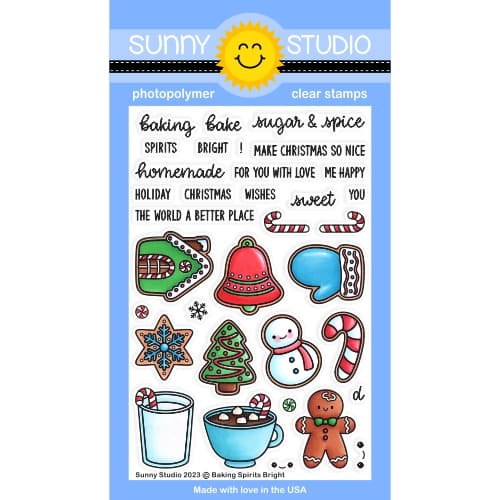
First, I stamped the candy canes, boy gingerbread and tree from Baking Spirits Bright. I also found an older set called Jolly Gingerbread for the gingerbread house, mom/dad gingerbread, and gumdrops. I was happy to create a gingerbread family with these two sets. I colored them with Copic markers then used my Scan and Cut to cut them all out. 

Sunny Studio Stamps: Baking Spirits Bright Christmas Card by Gladys Marcelino (featuring Jolly Gingerbread)

Next, I used the My Favorite Things box card dienamics to cut all the elements for the box card. I chose a red cardstock for the base and gingham pattern paper from Joyful Holiday for the panels. I also used the MFT snow drifts dienamics to ground some of the images. 

Sunny Studio Stamps: Baking Spirits Bright Christmas Card by Gladys Marcelino (featuring Jolly Gingerbread)

Once I was happy with the placements of all the images, I adhered them with strong adhesive tape. For the sentiment I white heat embossed on black cardstock and trim it down. Finally I added diamond stickles for lots of sparkle.

Thanks so much for stopping by. Have a wonderful day everyone!

Sunny Studio Supplies Used:

Jolly Gingerbread Stamps
Shop at:
Sunny Studio

Joyful Holiday Paper
Shop at:
Sunny Studio
Baking Spirits Bright Stamps
Shop at:
Sunny Studio

Tuesday, December 5, 2023

Truckloads of Love Card with Isha

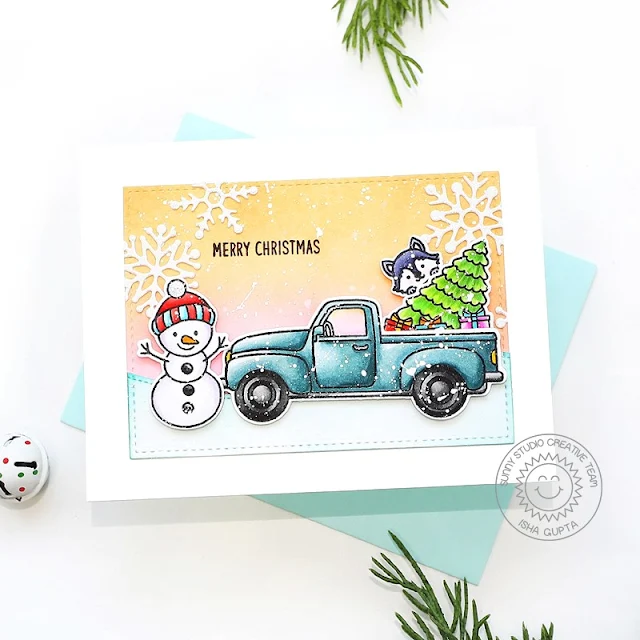
Hello everyone! Isha here with a fun winter scene featuring the Truckloads of Love stamps and coordinating dies. I love happy and cheerful colors for my winter cards hence the color combo.

Sunny Studio Stamps: Truckloads Of Fun Winter Themed Christmas Card by Isha Gupta (featuring Feeling Frosty, Lacy Snowflakes, Stitched Rectangle Dies, Slimline DIes)

Die-cut a white panel using the Stitched Rectangle dies. Sponge picked raspberry, spiced marmalade distress oxide inks to create the sky. Next I die-cut the snow bank using the Slimline Nature Border dies. Sponge evergreen bough oxide ink. Adhere to the panel.

Stamp the images from the Truckloads of Love, color using copic markers and die-cut using the coordinating dies. Stamp the snowman from Feeling Frosty stamp, color and die-cut using the coordinating dies

Sunny Studio Stamps: Truckloads Of Fun Winter Themed Christmas Card by Isha Gupta (featuring Feeling Frosty, Lacy Snowflakes, Stitched Rectangle Dies, Slimline DIes)

Flick white paint to the panel. Die-cut the snowflakes from the Lacy Snowflakes dies, using glitter cardstock. Adhere the panel to a white cardstock. Adhere the images. Stamp the sentiment to finish the card. Thank you for dropping by and have a nice day!

Sunny Studio Supplies Used:

Stitched Rectangle Dies
Shop at:
Sunny Studio
Lacy Snowflakes Die
Lacy Snowflakes Die
Shop at:
Sunny Studio
Feeling Frosty Stamps
Shop at:
Sunny Studio
Feeling Frosty Dies
Feeling Frosty Dies
Shop at:
Sunny Studio
Slimline Nature Borders
Shop at:
Sunny Studio
Truckloads of Love Stamps
Shop at:
Sunny Studio
Truckloads of Love Dies
Shop at:
Sunny Studio