Tuesday, October 10, 2023

Dashing Dachshund Card with Isha

Hello everyone! Isha here with another festive theme card featuring the adorable Dashing Dachshund stamp and dies. This card can be mass produced and the ombre sponging and sentiment takes it up a level.

Sunny Studio Stamps: Dashing Dachshund Winter Holiday Card by Isha Gupta (featuring Stitched Semi-Circle Dies, Holiday Greetings, Slimline Dies)

I started by die-cutting the semi circle from the Stitched Semi-Circle die. Sponge clouds using a cloud mask I made from the Slimline Nature Border dies. I used salty ocean distress ink for this. Now apply more salty ocean, blueprint sketch and chipped sapphire distress oxide inks to create the depth. Stamp the smaller of the snowflakes from the set. Flick some ink and white paint splatters.

Sunny Studio Stamps: Dashing Dachshund Winter Holiday Card by Isha Gupta (featuring Stitched Semi-Circle Dies, Holiday Greetings, Slimline Dies)

Stamp the bigger snowflake. Stamp the images, color using copic markers and die-cut using coordinating dies. Add glitter to parts of the images. Stamp the sentiment from the Holiday Greetings stamp set using various blue inks for an ombrè look. Die-cut using the coordinating dies. Die-cut the sentiment 3 more times using red card and stack them behind the sentiment. Adhere pattern paper from the Joyful Holiday paper pack to a white card base. Assemble the card. 

Thank you for dropping by and have a nice day.

Sunny Studio Supplies Used:

Stitched Semi-Circle Dies
Shop at:
Sunny Studio
Slimline Nature Borders
Shop at:
Sunny Studio
Holiday Greetings Stamps
Shop at:
Sunny Studio
Holiday Greetings Dies
Shop at:
Sunny Studio
Joyful Holiday Paper
Shop at:
Sunny Studio
Dashing Dachshund Stamps
Shop at:
Sunny Studio
Dashing Dachshund Dies
Shop at:
Sunny Studio

Monday, October 9, 2023

Love & Light Hanukkah Card with Bobbi

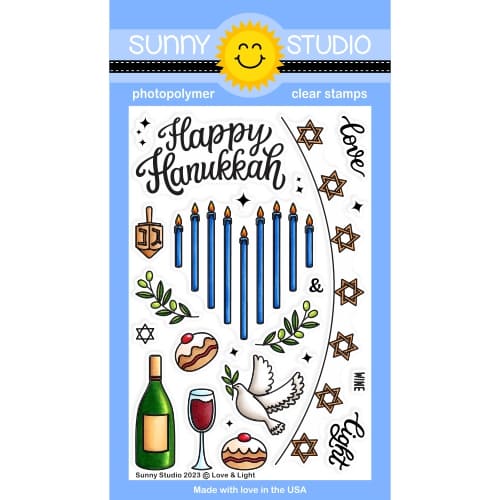
Hello everyone, Bobbi here! Today, I’m sharing a card that features the Love & Light stamps and diesThere are many beautiful images in this set to help celebrate Hanukkah. For this card, I’m also using the inverse cut out of the Stitched Arch die for the background of this card.

Sunny Studio Stamps: Love & Light Hanukkah Card by Bobbi Lemanski (featuring Stitched Arch Dies)

To make this 5″ X 7″ card, I stamped and die cut the images from the Love & Light stamp set. I used Copic Sketch markers to color them. Here’s a list of the Copic colors I used to color the images:


  • Greens: YG67, YG63, YG03
  • Reds: R89, R46, R22
  • Browns: E55, E53, E43
  • Blues: B39, B05
  • Yellows: YR24, YR08
Sunny Studio Stamps: Love & Light Hanukkah Card by Bobbi Lemanski (featuring Stitched Arch Dies)

I cut the arch die from a white rectangle and attached the inverse cut to a blue A7 card base. 
(I’ll save the white arch cut for another card.) I added the symbolic images in and around the arch. I used foam tabs behind some of the elements to create some dimension. Simple shading on the bottom grounds the lower images.

Thanks for stopping by today. If you want to see more ideas and inspiration from me, subscribe to my blog, BobbiHartDesign.com. I’ll send you updates on new posts! You can also find me on Instagram as @BobbiHartDesign and on Facebook as BobbiHartDesign.

Sunny Studio Supplies Used:

Stitched Arch Dies
Stitched Arch Dies
Shop at:
Sunny Studio
Love & Light Stamps
Love & Light Stamps
Shop at:
Sunny Studio
Love & Light Dies
Love & Light Dies
Shop at:
Sunny Studio

Sunday, October 8, 2023

Pretty Poinsettia Card with Rachel

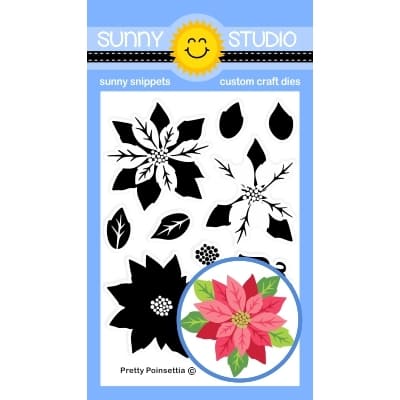
Hello crafty friends! It's Rachel here, and I have a Christmas shaker card to share with you today featuring the beautiful Pretty Poinsettia layering clear stamps set. I combined this set with the gorgeous Frilly Frames Quatrefoil Die Set to add both texture and interest to my background. The nice thing about this card is that it's super easy to re-create because there is only stamping, die cutting, and gluing involved and no coloring.

Sunny Studio Stamps: Pretty Poinsettia Christmas Card by Rachel Alvarado (featuring Winter Greenery, Frilly Frame Dies)

To start, I first stamped out three separate poinsettias using some Pinkfresh Studio Ink. The colors I used (in this order) were Passion Fruit, Candy Apple, and Espresso. I like using a dark brown ink when layering stamps with red ink, because I feel like the color really helps the image to pop and still appears as a dark red instead of a brown. I only used three of the layering stamps when creating my poinsettias. Following this, I used the Pretty Poinsettia Die Set to cut them out. Next, I die cut some holly leaves using the holly die that comes in the new Woolen Mitten Dies. There are also holly dies in the Winter Greenery Die Set (which I also used for the red foliage).

Sunny Studio Stamps: Pretty Poinsettia Christmas Card by Rachel Alvarado (featuring Winter Greenery, Frilly Frame Dies)

I set aside my florals to work on my background and adhered the back of my cutout to a 4.25" x 5.5" piece of clear acetate with liquid adhesive. Next, I attached some 1/4" wide foam adhesive tape to the back frame of my frilly quatrefoil cutout and then added some shimmery shaker embellishments to the inside of this piece. I then adhered a 4.25" x 5.5" piece of light gray card stock over the back of my card to hold in my embellishments. Once my shaker base was finished, I then heat embossed my sentiment on a 1.5" x 5.75" piece of clear heavy-duty vellum with some Liquid Platinum Fine Detail Embossing Powder. I wrapped this strip around the middle of my card and attached the folded tabs to the back of my panel prior to adhering my card to a top-folding A2 sized card base. Lastly, I added my florals to the front of my card with either 3D foam adhesive tape or liquid adhesive depending on which pieces I wanted to add dimension or not.

Thanks so much for taking the time to stop by today! If you liked this card and want more card making inspiration, please feel free to check out my INSTAGRAM FEED.

Wishing you all a lovely day!

Sunny Studio Supplies Used:

Frilly Frames Quatrefoil
Shop at:
Sunny Studio
Winter Greenery DIes
Shop at:
Sunny Studio
Pretty Poinsettia Stamps
Shop at:
Sunny Studio
Pretty Poinsettia Dies
Shop at:
Sunny Studio

Saturday, October 7, 2023

Guest Designer Spotlight: Holiday Cards with Dana Kirby

Hello crafty friends! It's Dana Kirby here today and I am so excited to be a guest on the Sunny Studio blog. I created a Christmas card and gift card holder to share with you all. So let's get started.

Sunny Studio Stamps: Bells & Baubles Holiday Card by Dana Kirby

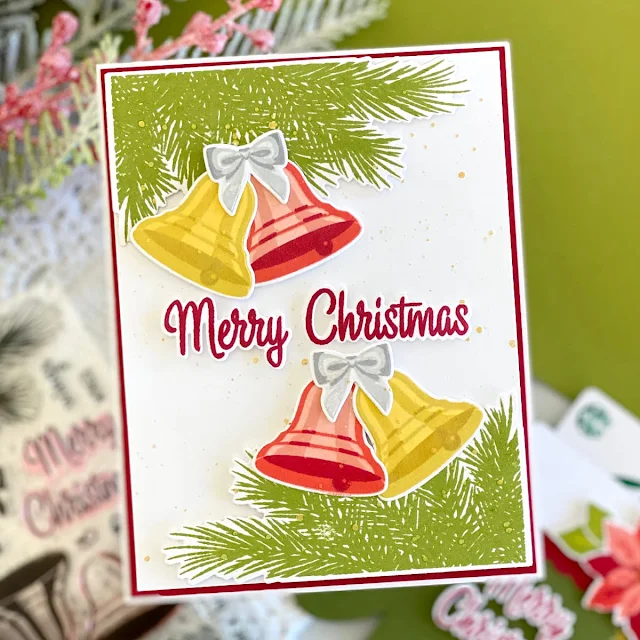
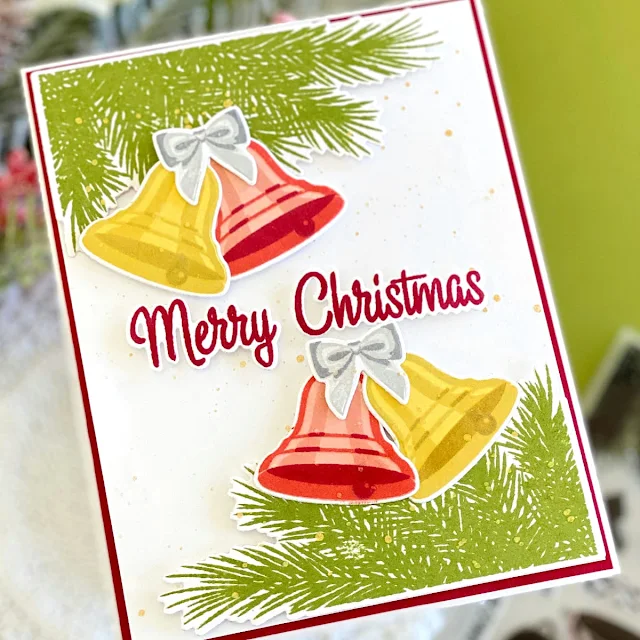
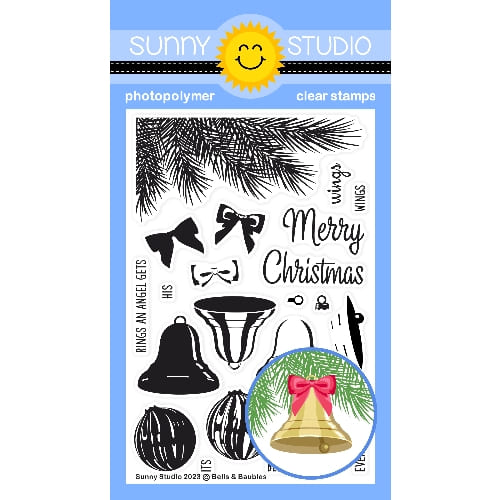
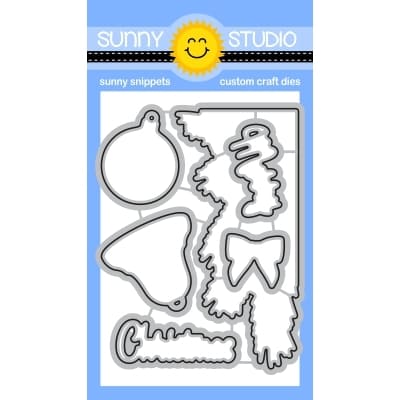
For my card, I used the Bells & Baubles stamp and coordinating dies. I started my card by die cutting my images first. I then used my Misti and did all of my stamping. I love the detail on these layered images, so pretty!

Sunny Studio Stamps: Bells & Baubles Holiday Card by Dana Kirby

Next, I attached my stamped images to my card panel with foam adhesive to give my card some dimension. I then added a few gold splatters with watercolor paint for a little extra detail.

Sunny Studio Stamps: Bells & Baubles Holiday Card by Dana Kirby

Lastly, I again used the Bells & Baubles stamp and coordinating dies for my sentiment. I just love the "classic" Christmas images included in this set!

Sunny Studio Stamps: Woolen Mittens Gift Card Holder by Dana Kirby (featuring Petite Poinsettias)

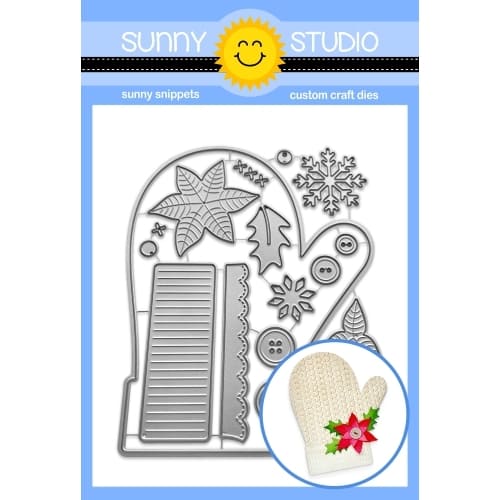
For my gift card holder, I used the Woolen Mittens die set. This is a fun set of dies that create the most adorable mitten!! I die cut the mitten two times and then applied a strong adhesive around the edges to create a pocket. A gift card slides in and out of the opening perfectly. 

Sunny Studio Stamps: Woolen Mittens Gift Card Holder by Dana Kirby (featuring Petite Poinsettias)

Now the fun part, decorating your mitten! The Woolen Mittens die set includes all sorts of fun details to decorate your mitten. So many possibilities! I decided to use the cuff and the scalloped edge to decorate the top of my mitten. I then used the Pretty Poinsettia stamp and coordinating dies to create my floral accent. 

Sunny Studio Stamps: Woolen Mittens Gift Card Holder by Dana Kirby (featuring Petite Poinsettias)

Lastly, I used the Bells & Baubles set for my sentiment. I love that you can use the mitten for a gift card holder, but I also think it will make the most adorable gift tags!

Thanks for joining me today! I hope you enjoyed my card and gift card holder and that I inspired you to create one of your own.

Sunny Studio Supplies Used:

Petite Poinsettias Stamps
Shop at:
Sunny Studio
Petite Poinsettias Dies
Shop at:
Sunny Studio
Woolen Mitten Dies
Woolen Mitten Dies
Shop at:
Sunny Studio
Bells & Baubles Stamps
Shop at:
Sunny Studio
Bells & Baubles Dies
Shop at:
Sunny Studio

Friday, October 6, 2023

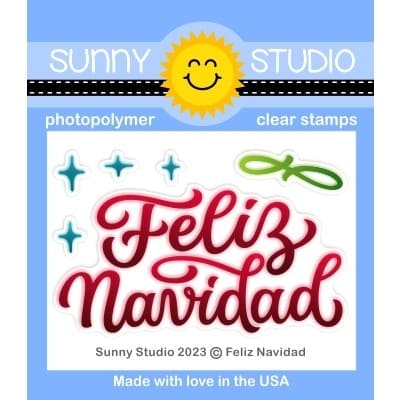
Feliz Navidad Card with Tina

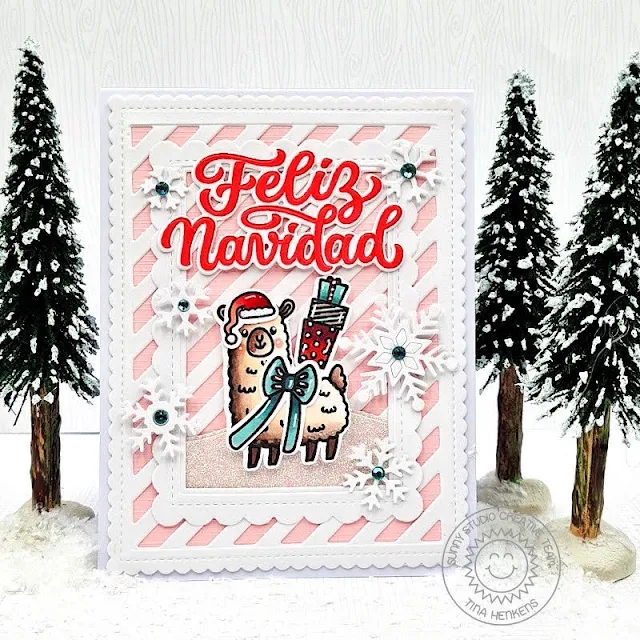
Hello crafty friends, Tina here and today I am featuring the festive Feliz Navidad stamp and die set. I combined this sentiment with the adorable Lovable Llama set to create a sweet Christmas card!

Sunny Studio Stamps: Feliz Navidad Holiday Card by Tiny Henkens (featuring Mini Mat & Tag Dies, Circle Snowflake Frame Dies, Lovable Llama, Frilly Frame Dies)

My white striped background was created with both of the dies from the Frilly Frames Stripes set.  I wanted to keep the color palette light and pastel by adding a soft pink panel and a glittery snowbank. As an extra design element, I included a smaller white border (Mini Mat & Tag 1 and an infinity rectangle die).

Next, I stamped and die cut the sweet llama with the bow and presents (Lovable Llama set). All the coloring was done with Copic markers. Since this is a Christmas card, I also added a cute Santa hat from Reindeer Games. The Feliz Navidad sentiment was stamped with a red ink from my stash. This color really makes the words stand out!

Sunny Studio Stamps: Feliz Navidad Holiday Card by Tiny Henkens (featuring Mini Mat & Tag Dies, Circle Snowflake Frame Dies, Lovable Llama, Frilly Frame Dies)

I adhered the striped panel to a white card base and added the images and sentiment with foam tape. Next, I created a bunch of snowflakes (Snowflake Circle Frame die), I love that the die cuts multiple sizes at the same time. I layered two of each snowflake for extra dimension and scattered them around the small frame. Lastly, I added a teal gem to the center of each flake (Pastel Jewel Mix).

And that finishes my card for today! Thank you so much for visiting the blog and happy crafting!

Sunny Studio Supplies Used:

Frilly Frames Stripes Die
Shop at:
Sunny Studio
Snowflake Circle Frame
Shop at:
Sunny Studio
Lovable Llama Stamps
Shop at:
Sunny Studio
Lovable Llama Dies
Lovable Llama Dies
Shop at:
Sunny Studio
Reindeer Games Stamps
Shop at:
Sunny Studio
Reindeer Games Dies
Reindeer Games Dies
Shop at:
Sunny Studio
Mini Mat & Tag 1 Dies
Shop at:
Sunny Studio
Feliz Navidad Stamps
Shop at:
Sunny Studio
Feliz Navidad Die
Feliz Navidad Die
Shop at:
Sunny Studio