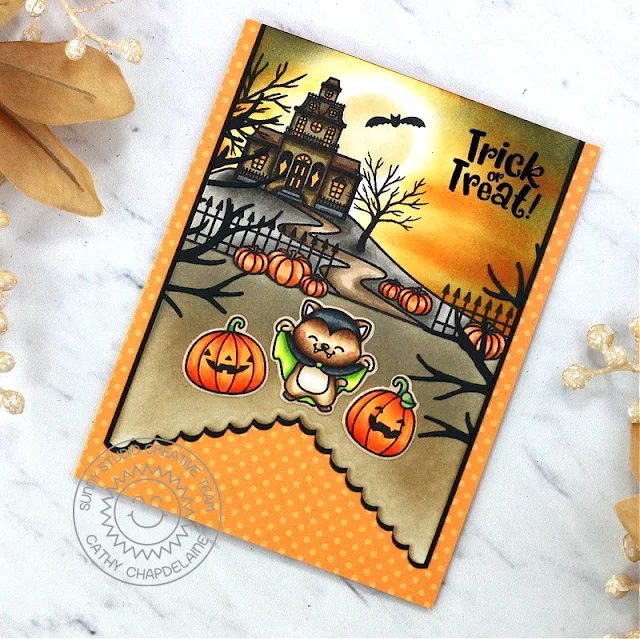
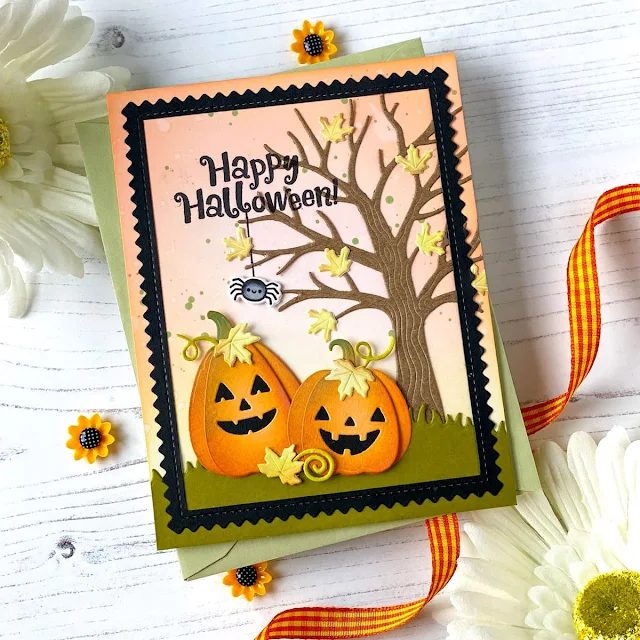
Hey friends! Cathy here sharing a card today featuring the spooktacular haunted mansion from the Fall Scenes stamp set paired with a little cutie from the Too Cute to Spook stamps.
To finish, I colored the stamped images with Copics and die-cut the Too Cute to Spook images using the coordinating dies. I heat embossed a sentiment from the Too Cute to Spook stamps and adhered a portion of the Autumn Tree die-cut from black cardstock to the left and right sides of the cardstock panel. I cut a piece of paper from the Critter Country paper pack 4 1/4" x 5 1/2" and adhered it to an A2 card base. I then matted the cardstock panel on the black cardstock and adhered it to the card front.
I hope you enjoyed and thanks for stopping by today! For more inspiration, please visit my blog www.inkredibleadventures.com and you can also find me on Instagram as @cathy.chapdelaine.
----------------------------------------------------
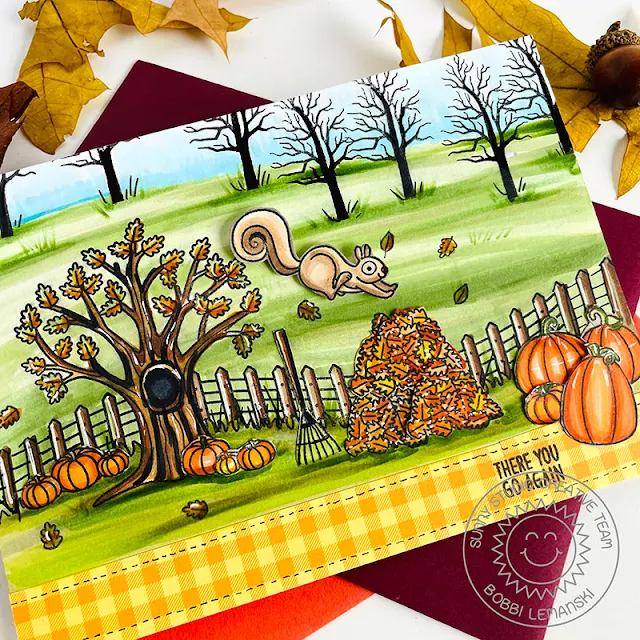
Hello Sunny friends. It’s Bobbi here with a fall scene card featuring some of the new fall sets just released by Sunny Studio Stamps.
Today, I’m using the following products:
Fall Scenes stamps and coordinating dies
Squirrel Friends stamps and coordinating dies
Too Cute to Spook stamps and coordinating dies
To make this 5″ X 7″ size card, I started by stamping the fence and tree setting from the Fall Scenes stamps. Note: Because my card is 7″ wide, I did add in more fencing on both sides to extend the fence line on the card front panel. Next, I created a background landscape using Copic markers in various greens and blues. I used a lot of different greens. Simply explore what you like. I tend to gravitate to yellow-greens for meadows, but since this is a fall scene, I brought in some grayish greens, too. Using the bare silhouette tree from the Too Cute to Spook stamps, I added trees in the background by the sky. This creates some depth in the scene.
I stamped the foreground items including: 5 leaf piles, various small pumpkins, and a rake. I also added some larger pumpkins from the Too Cute to Spook stamp set and the flying squirrel is from the Squirrel Friends stamps. Adding the larger pumpkins in the very front provides more scene dimension. All of the images were adhered in place. I popped up the flying squirrel using foam tabs to make him look like he is in the air.
Lastly, I added some designer paper to the bottom of this scene and added faux stitching by hand and a stamped phrase from the Words of Gratitude Stamp set.
Inside, I finished the sentiment thought with another one. This card is ready to send!
Thanks
for stopping by today. If you want to see more ideas and inspiration from me,
subscribe to my blog, BobbiHartDesign.com. I’ll
send you updates on new posts! You can also find me on Instagram as @BobbiHartDesign and on Facebook as BobbiHartDesign.
Bobbi Hartmann Lemanski, Bobbi Hart♥ Design, Adding h♥art into every design.
Sunny Studio Supplies Used:
 Fishtail Banner II Dies Shop at: Sunny Studio |
 Words of Gratitude Stamps Shop at: Sunny Studio |
 Stitched Circle Small Dies Shop at: Sunny Studio |
 Fall Scenes Stamps Shop at: Sunny Studio |
 Fall Scenes Dies Shop at: Sunny Studio |
 Squirrel Friends Stamps Shop at: Sunny Studio |
 Squirrel Friends Dies Shop at: Sunny Studio |
 Too Cute To Spook Stamps Shop at: Sunny Studio |
 Too Cute To Spook Dies Shop at: Sunny Studio | |
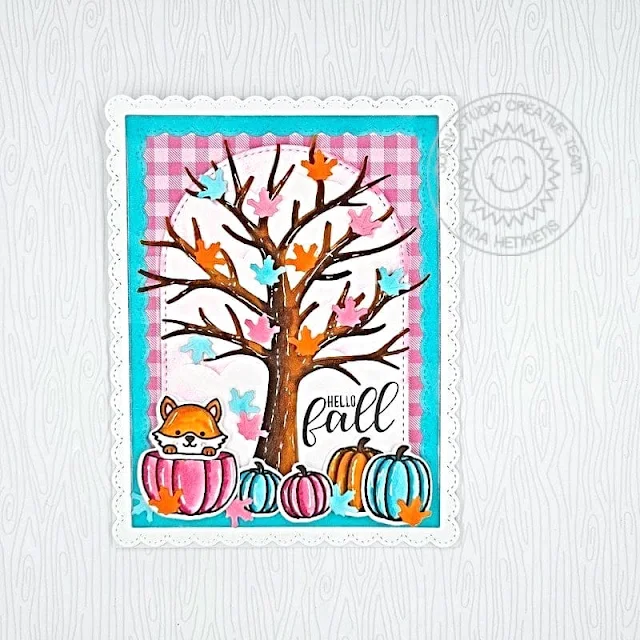
 Autumn Tree Die Shop at: Sunny Studio |
 Critter Country Paper Shop at: Sunny Studio |


