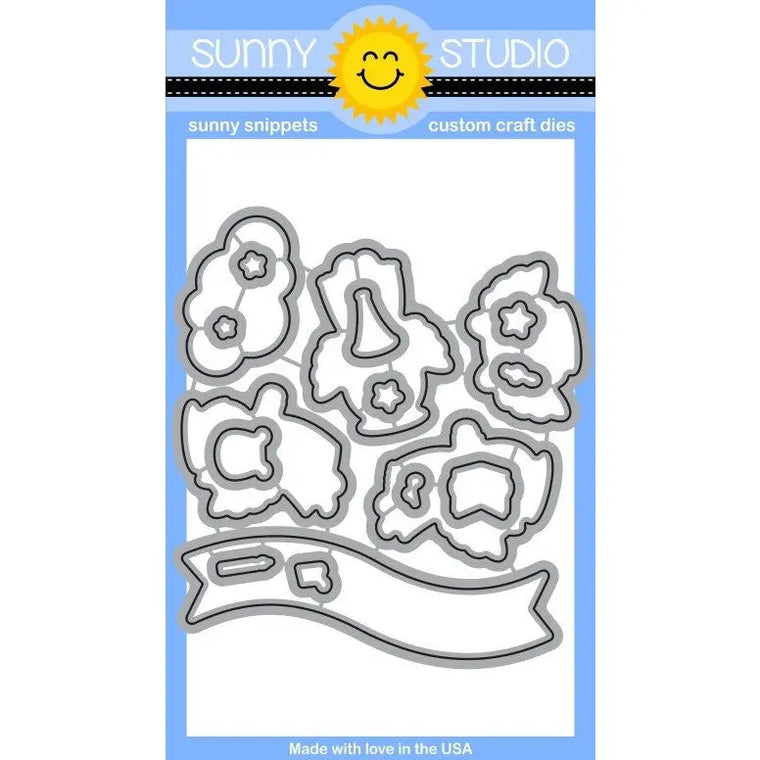
I started with stamping, coloring and die cutting piggy images,
then stamped the sentiments in the speech bubble and die cut it out. Next, I
stamped, die cut and colored the large Christmas tree (from Seasonal Trees stamps)
and few presents, ornaments and candy canes (from Santa Claus Lane stamps).
For the background I inked Spiced Marmalade and Worn Lipstick Distress inks, then spritzed the panel with water. I die cut snowy hills with Woodland Border Dies and inked them lightly with the same Distress ink colors. I adhered the hills to the background, then added the images and the sentiment speech bubble.
For the background I inked Spiced Marmalade and Worn Lipstick Distress inks, then spritzed the panel with water. I die cut snowy hills with Woodland Border Dies and inked them lightly with the same Distress ink colors. I adhered the hills to the background, then added the images and the sentiment speech bubble.
I backed the panel with a teal panel, added white scalloped
panel (which I die cut with Frilly Frames Polka Dot dies),
then added another teal layering panel. I adhered the finished scene to the
card base and added highlights with white gel pen!
Aren’t these holiday piglets just too cute for words? I just adore their sweet, happy faces! Thank you so much for stopping by today friends! I’ll see you next week!
Aren’t these holiday piglets just too cute for words? I just adore their sweet, happy faces! Thank you so much for stopping by today friends! I’ll see you next week!
----------------------------------------------
Just
look at these happy little festive piggies!! They make me giggle soo soo much!
Ha! First of all I cut out a piece of this snowy day landscape background paper
included in the new Very Merry 6x6 paper and cut out a
coordinated card base out of white cardstock. I kept this card a little taller
and slimmer to fit my stack of piggies at its best.
I
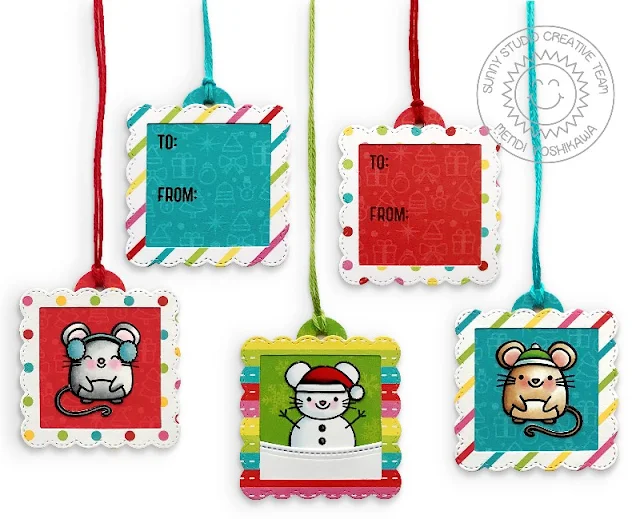
stamped, colored and die cut all the images from these sets: Hogs & Kisses + coordinated dies, Santa Claus Lane + coordinated dies, Merry Mice + coordinated dies. Then I added some foiled
details onto the front of my card, just 2 little stripes at the sides to create
a pretty frame for my little scene, glued down my main panel and added all the
images with foam tape. I stamped my sentiment on the snow at the bottom and
added some white Nuvo Drops embellishments to the scene.
Finally I added some more details to all the images with a white gel pen and my Wink of Stella clear brush. Hope you like my card, thank you so much for stopping by today!
Finally I added some more details to all the images with a white gel pen and my Wink of Stella clear brush. Hope you like my card, thank you so much for stopping by today!
Sunny Studio Supplies Used:
 Woodland Borders Dies Shop at: Sunny Studio |
 Frilly Frames Polka-Dot Shop at: Sunny Studio |
 Seasonal Trees Stamps Shop at: Sunny Studio |
 Seaonal Trees Dies Shop at: Sunny Studio |
 Very Merry 6x6 Paper Shop at: Sunny Studio |
 Santa Claus Lane Stamps Shop at: Sunny Studio |
 Santa Claus Lane Dies Shop at: Sunny Studio |
 Merry Mice Stamps Shop at: Sunny Studio |
 Merry Mice Dies Shop at: Sunny Studio | |
 Hogs & Kisses Stamps Shop at: Sunny Studio |
 Hogs & Kisses Dies Shop at: Sunny Studio |


