Hi crafty friends, Sara here! Today I am so happy and grateful to be here again, guesting for Sunny Studio Stamps! And today I have two cards featuring some of the recent released fall products. So, let's dive into the first one!
Fall is around the corner and as soon as I saw the newest Autumn Garland Stamp set I fell in love and I knew I would have created a card with some unconventional fall colors. If you know me, you might know I am a big fan of the huge Sunny Studio critters and this bear included in the Holiday Hugs Stamp was the perfect match to this garland. So I firstly stamped the garland, the big bear and the small pinecone he is keeping using a dark brown copic friendly ink (Memento Espresso Truffle) and I started coloring everything with the copics listed below. I went for a desaturated palette, and I absolutely E08 loved the result.
- Bear: E44 – E43 – E42 – E40 – RV34 – R20
- Pinecone: E59 – E57 – E35 – E31
- Orange combo:– E97 – YR21
- Purple combo: RV69 – RV66 – V01
- Olive green combo: BG96 – YG95 – YG93
- Teal combo: BG78 – BG18 – BG72
- Berries: R89 – R56 – R35 – R43
I then die cut the images using Autumn Garland Dies and Holiday Hugs Dies and I moved into the background. I wanted a soft look and I decided to use the Buffalo Plaid Diagonal Die as a hot foil plate. This background die was perfect to get a light impression of foiling, I used a shining gold on white cardstock (every die can be used with the hot foil system, the look is really soft because the "lines" are really thin). I also white heat embossed the autumn word that comes from the Autumn Garland Stamp set on some teal cardstock and I completed the sentiment with a purple "greetings". I arranged the colored images and the sentiment on the background.
To complete the card, I matted the foiled panel (which is slightly smaller than 4,25"x5,5") with a purple coordinated cardstock and then with a 6"x4,75" white panel too. And here's the finished result!
My second and last inspiration for today is more "spooky" and features the Happy Howl-o-ween Stamp set.
This is an almost one layer card and I know it looks more "intimidating" because there is an hand drawn background. But I can assure you it is not soo hard to do. I firstly stamped the four Halloween dogs using some Judikins Masking Paper: I started with the two in the foreground and then moved into the back.
Then I colored everything with the copics listed below.
- Pumpkin: E08 – YR68 – E97 – YR15 – YR12 – YR21 | T7 – T4 – YR68 – Y13
- Dogs: T10 – T9 – T7 – T6 – T5 – E43 – E41
- Background: T10 – T8 – T7 – T5 – T4 – T3 – T2 – T1 – T0
For the background I firstly colored the sky, leaving a white hole as the moon. I then added layers of branches to create the wood.
I then trimmed the panel to 4"x5,25" and I decided to matt it with a 4, 5"x5,75" white panel in order to create a white frame around. For the sentiment, I die cut the word BOO with the Chloe Alphabet Dies (I die cut it twice from orange glitter cardstock and a black die cut with a small offset). I then added the white stripe with the orange "Happy Howl-o-ween" stamped sentiment. And here's the finished result!
Thanks for stopping by! I really hope you will like my projects and you will be inspired to create something!
Sunny Studio Supplies Used:
 Chloe Alphabet Dies Shop at: Sunny Studio |
 Holiday Hugs Stamps Shop at: Sunny Studio |
 Holiday Hugs Dies Shop at: Sunny Studio |
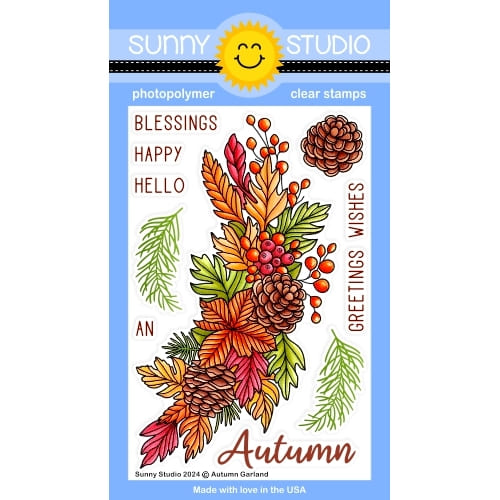 Autumn Garland Stamps Shop at: Sunny Studio |
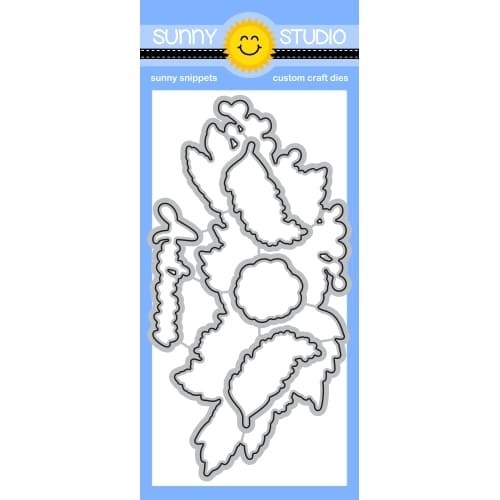 Autumn Garland Dies Shop at: Sunny Studio |
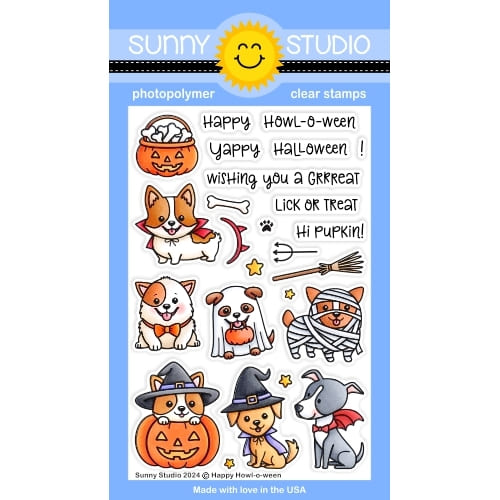 Happy Howl-o-ween Stamps Shop at: Sunny Studio |
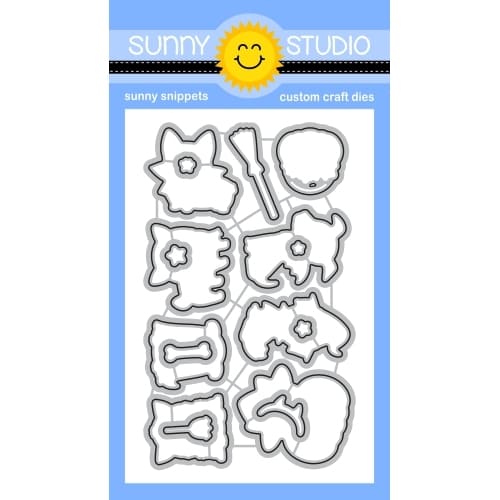 Happy Howl-o-ween Dies Shop at: Sunny Studio |
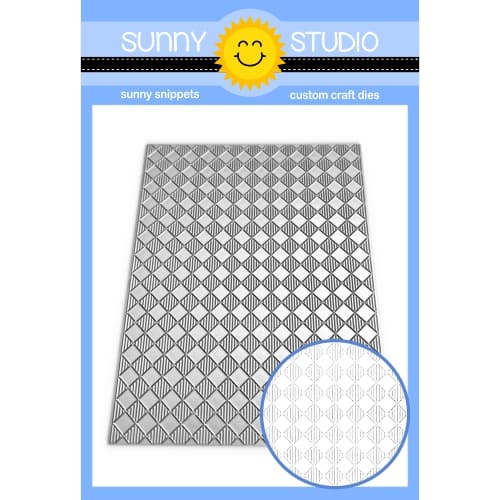 Buffalo Plaid Diagonal Die Shop at: Sunny Studio |


