Wednesday, May 15, 2024

Wild Cherry Die Focused Card with Tina

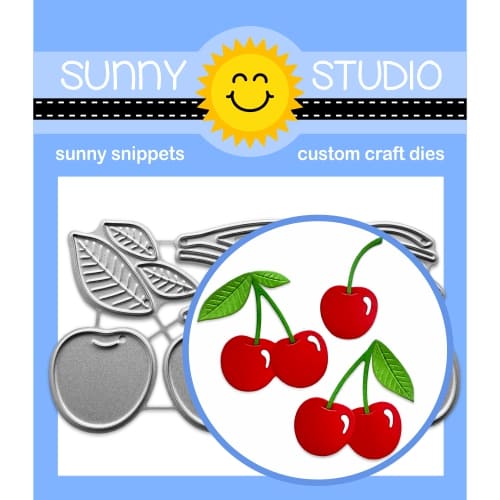
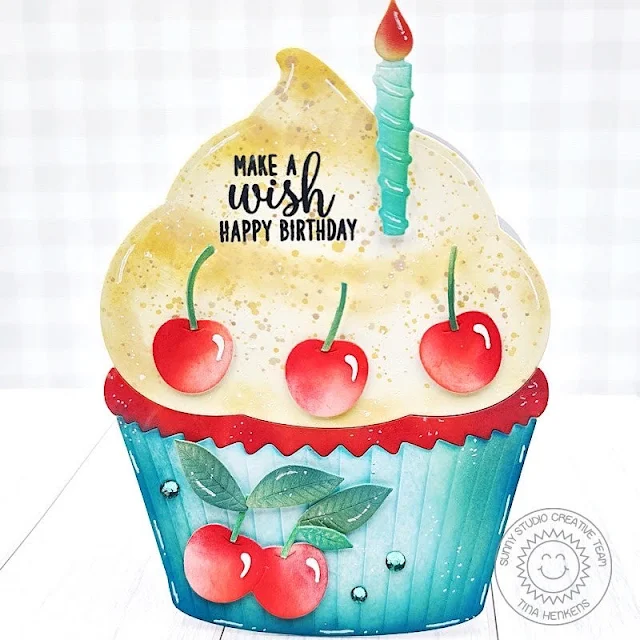
Hello crafters, it’s Tina and today I have a fun shaped card for you! As soon as I saw the Wild Cherry Dies I knew I wanted to add them to the giant Cupcake Shape die. And it turned out super cute!

Sunny Studio Stamps: Wild Cherry Birthday Card by Tina Henkens (featuring Cupcake Shape Dies)

This project is all die cutting and I used my blending brushes and Distress oxides in the colors Abandoned Coral, Lumberjack Plaid, Uncharted Mariner, Peacock Feathers, Salvaged Patina, Antique Linen and Fossilized Amber. It is so relaxing placing all the white die cuts on a grip mat and just enjoying the coloring process! Mixing shades immediately gives you tons of dimension and interest.

Sunny Studio Stamps: Wild Cherry Birthday Card by Tina Henkens (featuring Cupcake Shape Dies)

The large Cupcake Shape die cuts all the pieces separately which is perfect for ink blending. To assemble the cupcake, I traced the shape of the die onto a double folded piece of card stock and fussy cut this with my scissors. This provided my card base to adhere my colored pieces to.

I found the perfect sentiment combination using the sets Make A Wish and Floating By. A few teal jewels from the Pastel Jewel Mix were all this card needed.

Thank you for joining me and I am looking forward to seeing your gorgeous creations with these yummy cherries! Happy crafting!

Sunny Studio Supplies Used:

Cupcake Shape Dies
Cupcake Shape Dies
Shop at:
Sunny Studio
Make A Wish Stamps
Make A Wish Stamps
Shop at:
Sunny Studio
Floating By Stamps
Floating By Stamps
Shop at:
Sunny Studio
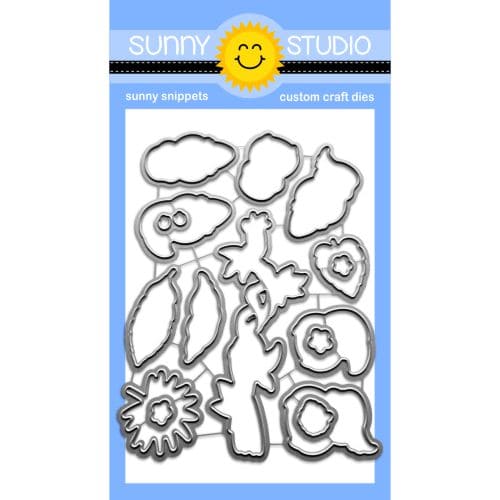
Wild Cherry Dies
Wild Cherry Dies
Shop at:
Sunny Studio

Tuesday, May 14, 2024

Tropical Birds Card with Isha

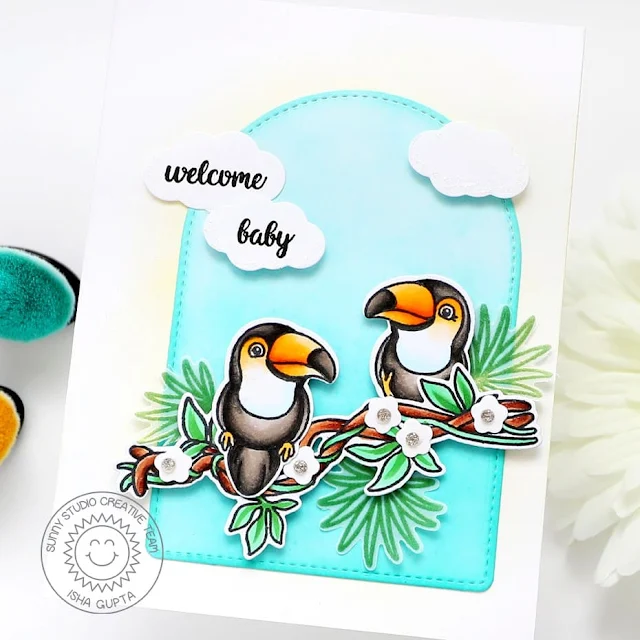
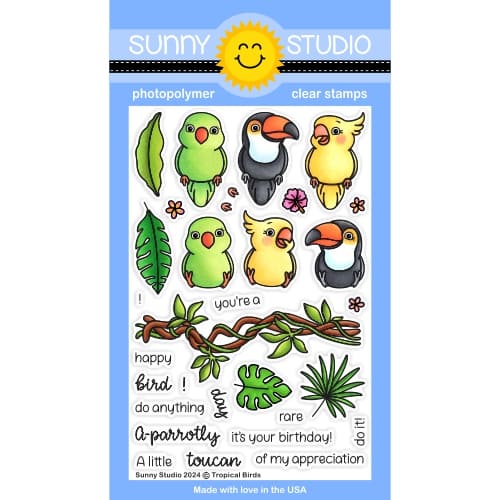
Hello everyone! Isha here with a clean and simple baby card featuring the Tropical Birds stamp and coordinating dies. The birdies in this set are so versatile.

Sunny Studio Stamps: Tropical Birds Baby Themed Card by Isha Gupta (featuring Stitched Arch Dies)

I started by die-cutting an arch using the Stitched Arch dies. Sponge peacock feathers and salvaged patina distress oxide inks. Stamp the images from the Tropical Birds stamp set, color using copic markers and die-cut using the coordinating dies.

Stamp the leaves onto vellum using versamark ink, sprinkle green embossing powder and heat set. Die-cut some white flowers and add to the branch.

Sunny Studio Stamps: Tropical Birds Baby Themed Card by Isha Gupta (featuring Stitched Arch Dies)

Take a white card base, sponge yellow ink around where we will have the arch. Adhere the arch to a white card, adhere the images to create the scene. Stamp the sentiment from the Baby Elephants stamp set onto the die-cut the clouds from the coordinating dies. Add some nuvo glitter to the bottom of the clouds. Adhere to the card. To finish, add some glitter drops to the center of the flowers.

Thank you for dropping by and have a nice day!

Sunny Studio Supplies Used:

Stitched Arch Dies
Stitched Arch Dies
Shop at:
Sunny Studio
Baby Elephants Stamps
Shop at:
Sunny Studio
Baby Elephants Dies
Baby Elephants Dies
Shop at:
Sunny Studio
Tropical Birds Stamps
Shop at:
Sunny Studio
Tropical Birds Dies
Tropical Birds Dies
Shop at:
Sunny Studio

Monday, May 13, 2024

Stitched Square Die Focused Cards with Leanne

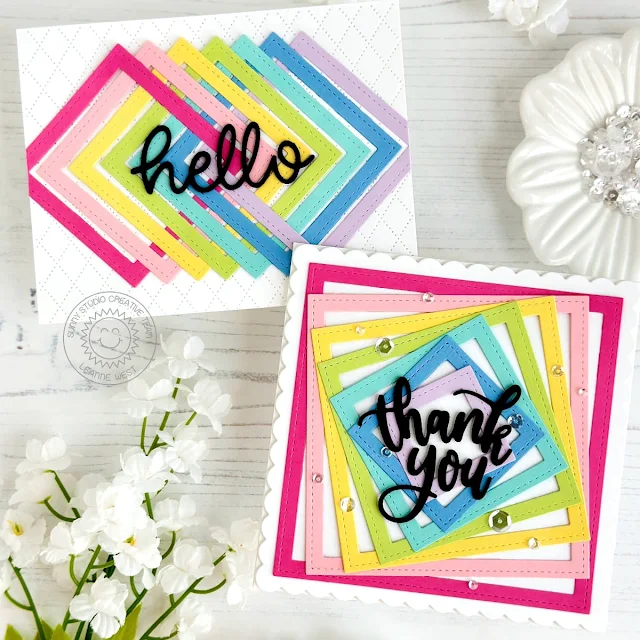
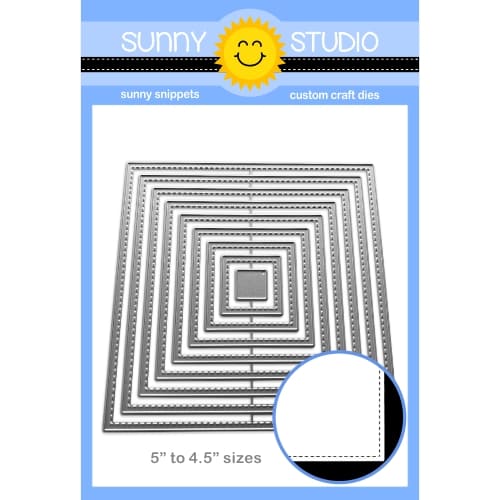
Hello everyone! Leanne here and today I'm sharing some creative ways to use the new Stitched Square Dies. This 9-piece die set is intended to help you create perfectly square mats with stitched detail for your cards. However, when all the dies are nested and run through a die-cut machine, you get square frames. 

Sunny Studio Stamps: Stitched Square Die Focused Cards by Leanne West (featuring Dotted Diamond Dies, Hello Word Dies)

I picked out several colors of card stock and then nested all the dies to get a bunch of different-sized frames. I've made a couple of cards to show how I used these frames in fun ways.

Sunny Studio Stamps: Stitched Square Die Focused Cards by Leanne West (featuring Dotted Diamond Dies, Hello Word Dies)

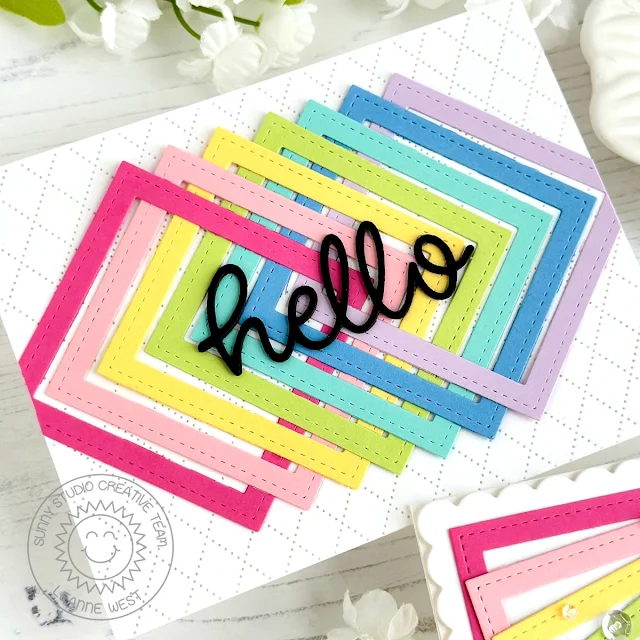
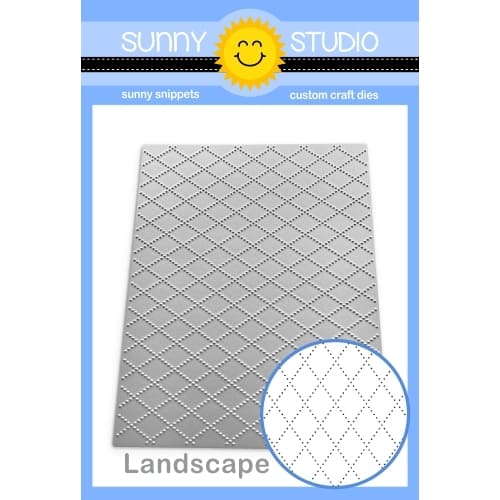
The first card is A2 size. I added some background texture with Dotted Diamond Landscape die. Next, I took the 2.5-inch frames in all the colors and overlapped them across the width of the background panel. I had to cut each frame apart in one spot to connect them all together like a chain. The cut part gets hidden when all the frames are adhered in place. I added a simple Hello Word die-cut to finish off this card. 

Sunny Studio Stamps: Stitched Square Die Focused Cards by Leanne West (featuring Dotted Diamond Dies, Hello Word Dies)

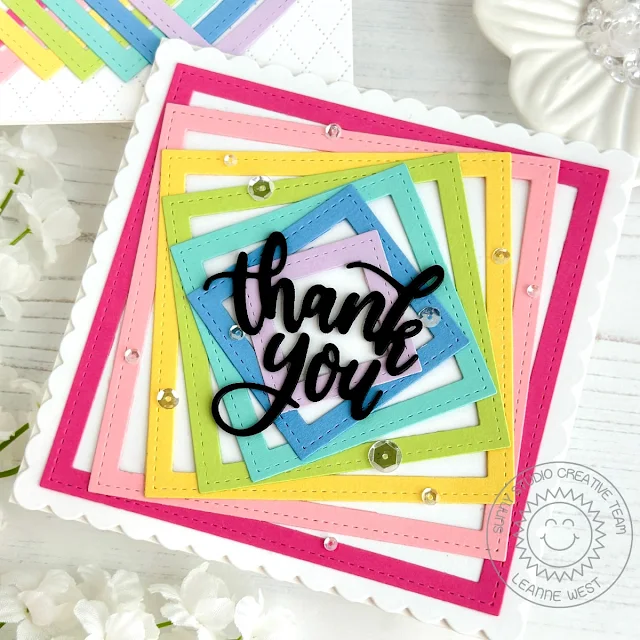
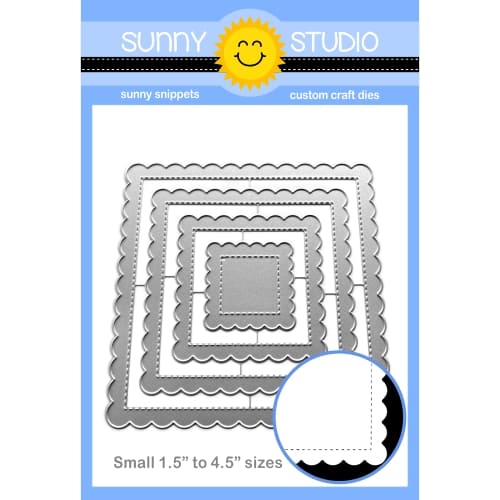
My next card started with a 5-inch square card base. I then added a Scalloped Square mat created with the largest die in the Scalloped Square 1 Large die set. Next, I adhered a rainbow of frames going from largest to smallest. Starting with the light pink frame, I angled each frame slightly up from the last. This creates a spiral effect with the frames. To finish, I added the "thank you" using the Slimline Scalloped Frame dies and some clear sequins. 

Sunny Studio Supplies Used:

Hello Word Die
Hello Word Die
Shop at:
Sunny Studio
Slimline Scalloped Frame
Shop at:
Sunny Studio
Dotted Diamond Landscape
Shop at:
Sunny Studio
Stitched Square Dies
Shop at:
Sunny Studio
Scalloped Square 1 Small Die
Shop at:
Sunny Studio

Sunday, May 12, 2024

Fresh Lemon Die Focused Card with Cathy

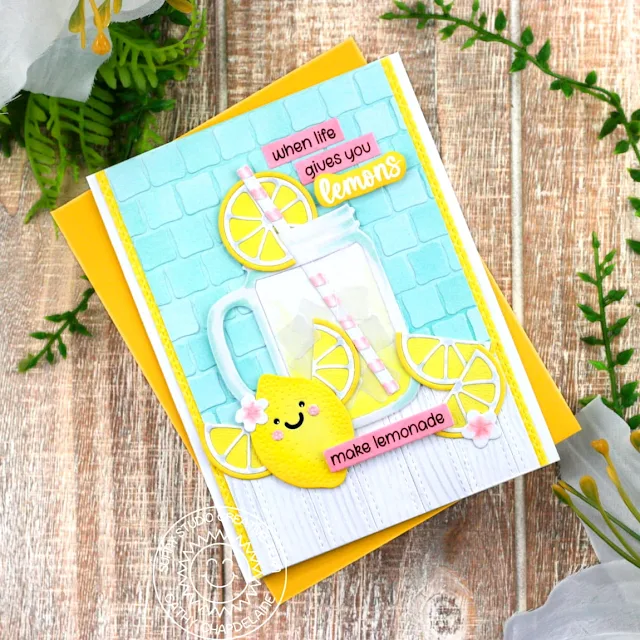
Hey friends! Cathy here today with an uplifting card for you featuring the Fresh Lemon Dies. I had so much fun making this and I can’t get enough of the cute smiley faces you can add to these lemons!

Sunny Studio Stamps: Fresh Lemon Card by Cathy Chapdelaine (featuring Punny Fruit Greetings, Summer Jar Mug Dies, Ribbon & Lace Border Dies, Stitched Rectangles Dies)

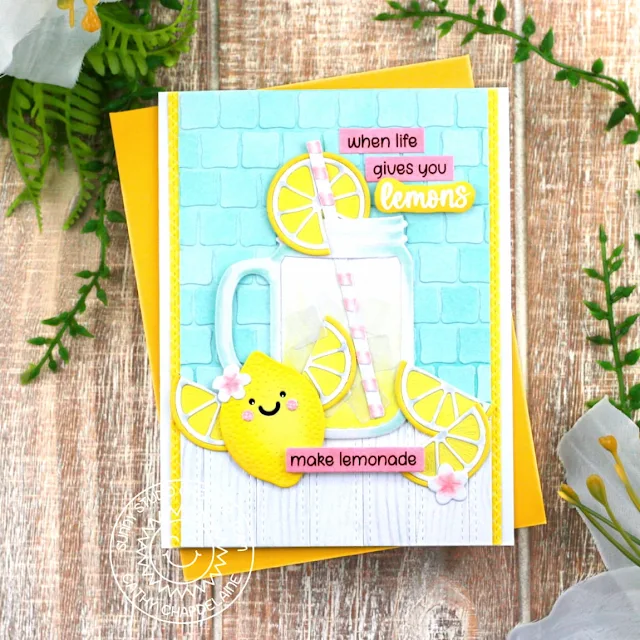
I started with the background panel by cutting a piece of white cardstock 4" x 5 1/2" and inking it lightly with Simon Says Stamp Seafoam ink. For a little texture (and because I thought it looked like a glass tile backsplash) I inked a second piece of white cardstock with the Seafoam ink and die-cut it multiple times using the ice cube dies from the Summer Jar Mug Dies. I adhered them to the background piece in rows covering the top 4" of the panel.

For a countertop look, I embossed a 2” x 5” piece of white cardstock using the Woodgrain Embossing Folder and inked it lightly with Lost Shadow Distress ink. I then die-cut this piece 6 times using the small die from the Stitched Rectangles Dies. I cut a piece of white cardstock 1 1/2" x 3 3/4" and adhered the woodgrain pieces to it trimming any excess from the edges. I then adhered this piece to the bottom of the background panel.

Next, I die-cut 2 strips of yellow paper from the Gingham Pastels Paper using the ribbon die from the Ribbon & Lace Border Dies. I overlapped/adhered the background panel to the ribbon strips on the left and right sides so just a stitched edge is visible and adhered the combined piece to the center of an A2 card front.

Sunny Studio Stamps: Fresh Lemon Card by Cathy Chapdelaine (featuring Punny Fruit Greetings, Summer Jar Mug Dies, Ribbon & Lace Border Dies, Stitched Rectangles Dies)

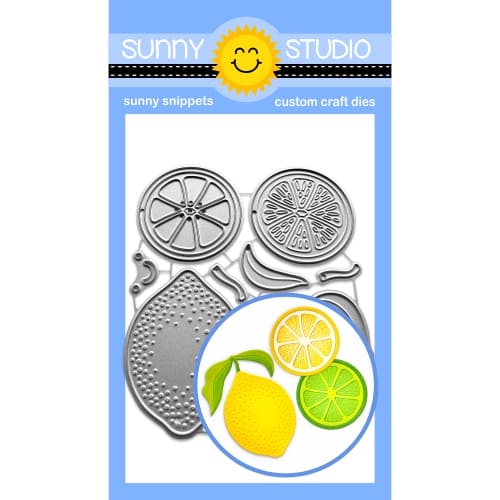
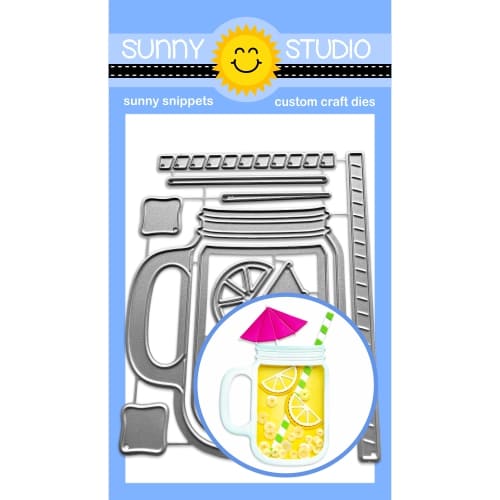
I die-cut the mug and straw from the Summer Jar Mug Dies from white cardstock and added some Copic colored details. I die-cut the ice cubes from vellum. I inked the lemon and slices from the Fresh Lemon Dies using Simon Says Stamp Lemonade and Sunbeam inks and added some gray Copic details to the white portions of the slices.

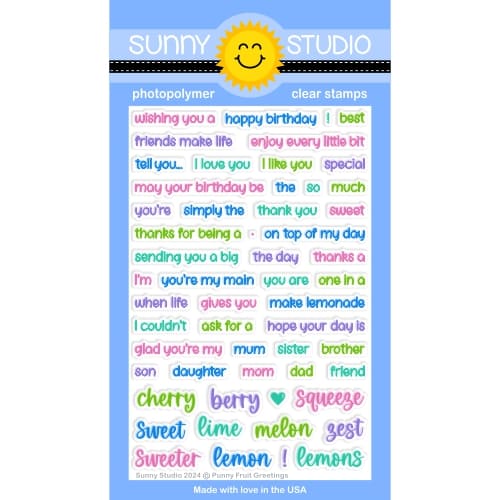
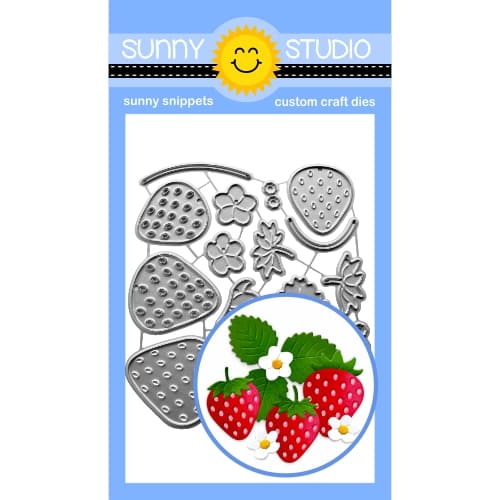
To finish, I die-cut 2 flowers and flower centers from white cardstock using the Strawberry Patch Dies and colored them with Copics. I added the flower centers as blush to my lemon. I stamped sentiments from the Punny Fruit Greetings Stamps on strips of pink cardstock and heat embossed the “lemons” sentiment with white embossing powder on white cardstock. I then inked over the sentiment with Lemonade and Sunbeam inks and fussy cut around it. I adhered the “lemons” and “make lemonade” sentiments with foam dimensional tape.

I hope you enjoyed and thanks for stopping by today! For more inspiration, please visit my blog www.inkredibleadventures.com and you can also find me on Instagram as @cathy.chapdelaine.

Sunny Studio Supplies Used:

Stitched Rectangle Dies
Shop at:
Sunny Studio
Gingham Pastels 6x6 Paper
Shop at:
Sunny Studio
Woodgrain Embossing
Woodgrain Embossing
Shop at:
Sunny Studio
Ribbon & Lace Dies
Ribbon & Lace Dies
Shop at:
Sunny Studio
Punny Fruit Greetings
Shop at:
Sunny Studio
Strawberry Patch Dies
Shop at:
Sunny Studio
Fresh Lemon Dies
Fresh Lemon Dies
Shop at:
Sunny Studio
Summer Jar Mug Dies
Summer Jar Mug Dies
Shop at:
Sunny Studio

Saturday, May 11, 2024

Guest Designer Spotlight: Card with Ashlee Bellinger

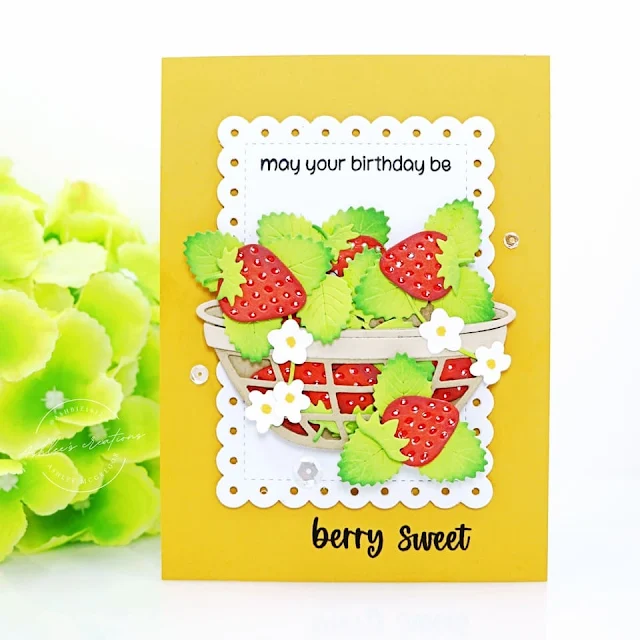
Hey there Sunny Studio friends. It's Ashlee here with a new guest post for the lovely Sunny Studio Stamps. I have had a blast creating with a bunch of the new fruity-inspired products so today I am sharing two fruity cards using these stamps and dies.

Sunny Studio Stamps: Strawberry Patch Fruit Themed Cards by Ashlee Bellinger (featuring Punny Fruit Greetings, Mini Mat & Tag Dies, Build-A-Bowl Dies)

Strawberry Patch dies
Fresh Lemon dies
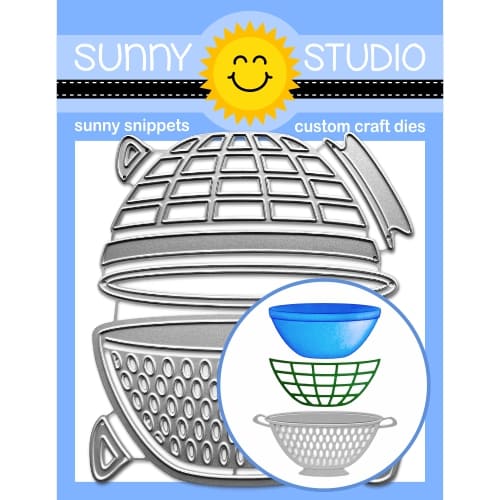
Build-A-Bowl dies
Punny Fruit Greetings stamps
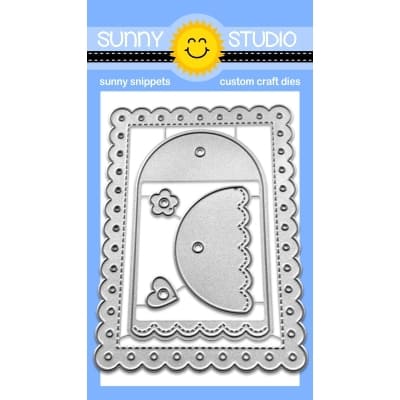
Mini Mat & Tag 2 dies

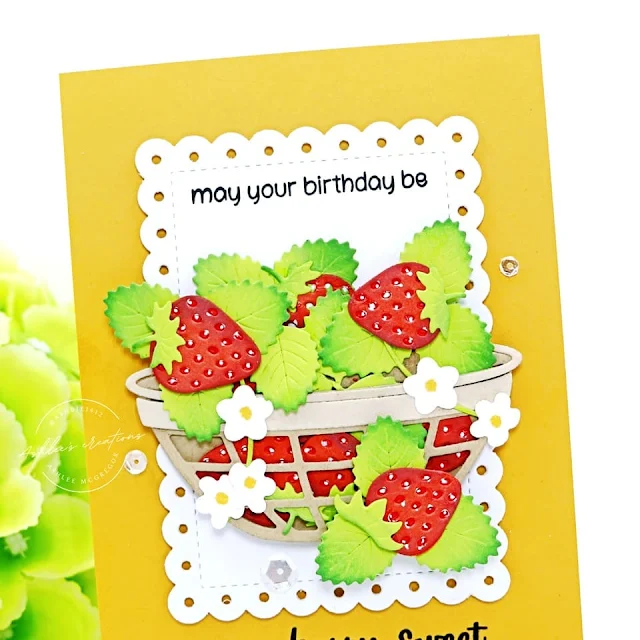
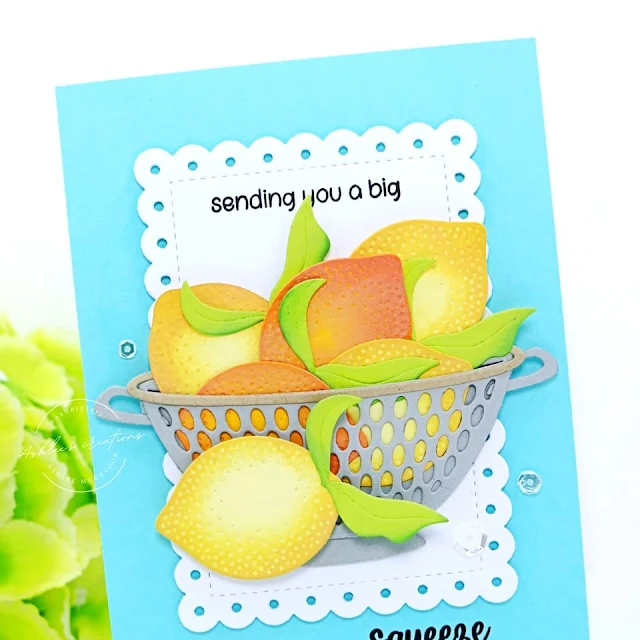
To create these cards I made them both using the same layout but with different colours of cardstocks and bowls. 

I chose my cardstock base colour and then added a white die cut piece using the rectangle die from the tag die set before adhering it to the card base using foam tape which is how I started to add my dimension.

Sunny Studio Stamps: Strawberry Patch Fruit Themed Cards by Ashlee Bellinger (featuring Punny Fruit Greetings, Mini Mat & Tag Dies, Build-A-Bowl Dies)

I stamped the sentiments from the Punny fruit greetings set by stamping the first part of the sentiment onto the white rectangle cut and then the second part of it directly onto the lower part of the card base!

Once that was done I die-cut all the pieces I needed to create a lovely strawberry bowl. Using a white gel pen I added little seed dots to the strawberries. Aren't they just adorable?

Sunny Studio Stamps: Fresh Lemon Fruit Themed Cards by Ashlee Bellinger (featuring Punny Fruit Greetings, Mini Mat & Tag Dies, Build-A-Bowl Dies)

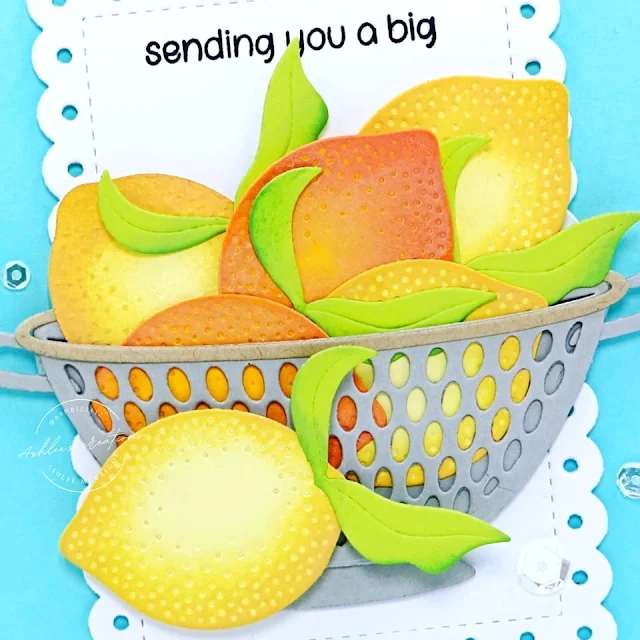
For this second card, I chose a blue card stock base and added a lovely bowl of Lemons that are ready to squeeze.

Sunny Studio Stamps: Fresh Lemon Fruit Themed Cards by Ashlee Bellinger (featuring Punny Fruit Greetings, Mini Mat & Tag Dies, Build-A-Bowl Dies)

Aren't these new die cuts just so cool, I love how fun they are and fruity bowls look so good, right?! There are so many variations of bowls you could make to go with the punny fruit greetings!

Sunny Studio Stamps: Fresh Lemon Fruit Themed Cards by Ashlee Bellinger (featuring Punny Fruit Greetings, Mini Mat & Tag Dies, Build-A-Bowl Dies)

To complete both of the cards I finished them off with a touch of pretty sequins adhered with glue dots. 

Thank you so much for checking out my guest post today, I hope I have inspired you to create some fruit-inspired cards. I had lots of fun creating them and I'm sure I will be making lots more cards using them.

Happy crafting! Hugs!

Sunny Studio Supplies Used:

Mini Mat & Tag 2 Dies
Shop at:
Sunny Studio
Punny Fruit Greetings
Shop at:
Sunny Studio
Strawberry Patch Dies
Shop at:
Sunny Studio
Fresh Lemon Dies
Fresh Lemon Dies
Shop at:
Sunny Studio
Build-A-Bowl Dies
Build-A-Bowl Dies
Shop at:
Sunny Studio