Thursday, November 2, 2023

Love & Light Card with Marine

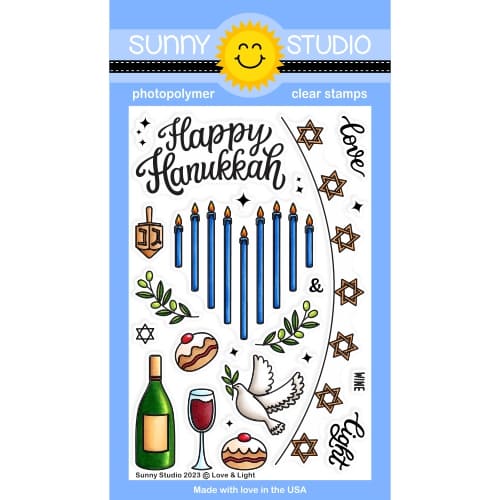
Hello crafty friends, Marine here, I'm very happy to be back on the blog with this bright Hanukkah card showcasing the beautiful Love & Light stamp set which includes the perfect images to make your own Hanukkah card or tags.

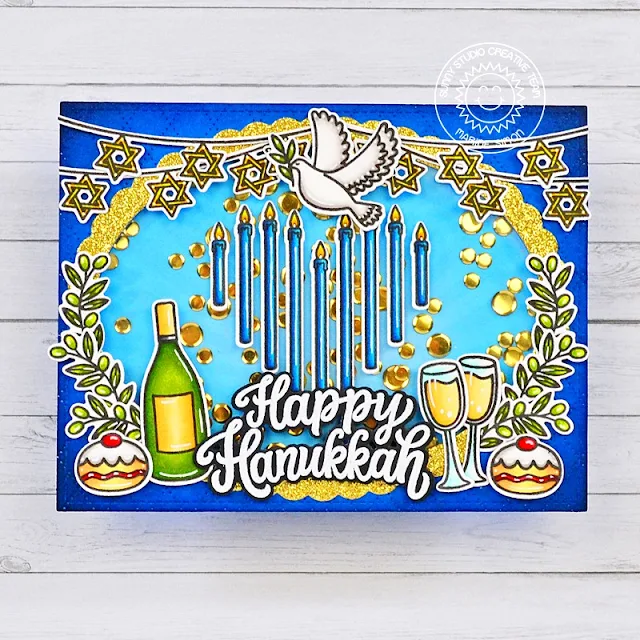
Sunny Studio Stamps: Love & Light Hanukkah Card by Marine Simon (featuring Scalloped Oval Mat Dies, Stitched Oval Dies, Dotted Diamond Dies)

I decided to go for a shaker card, and started off by cutting three different elements to build it:

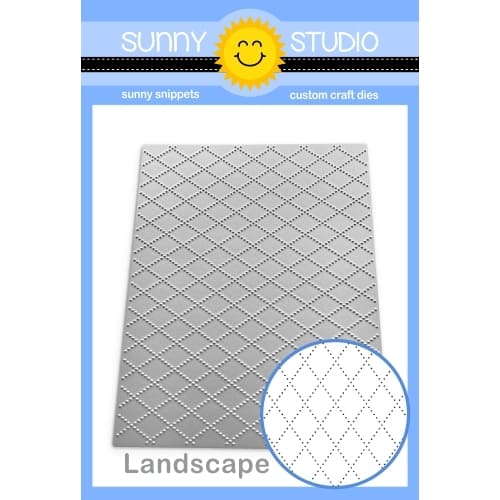
• an A2 sized Dotted Diamond Landscape blue panel
• an A2 sized Spring Sunburst blue panel
• an A2 sized acetate panel
• a gold glitter frame using the Stitched Oval 2 + Scalloped Oval Mat 1 largest dies

Sunny Studio Stamps: Love & Light Hanukkah Card by Marine Simon (featuring Scalloped Oval Mat Dies, Stitched Oval Dies, Dotted Diamond Dies)

I added a little bit of prize ribbon + black soot distress inks on the edges of my Dotted Diamond panel, and used the largest Stitched Oval 2 die to cut an opening right in the middle of it. I attached the acetate panel at the back using double sided tape, and added foam strips all along the four edges of my panel, as well as around the oval opening. I poured a bunch of golden sequins inside the window, and then stuck my Spring Sunburst panel on the foam to totally close the shaker. And to decorate the oval window nicely, I attached my gold glitter frame using liquid glue.

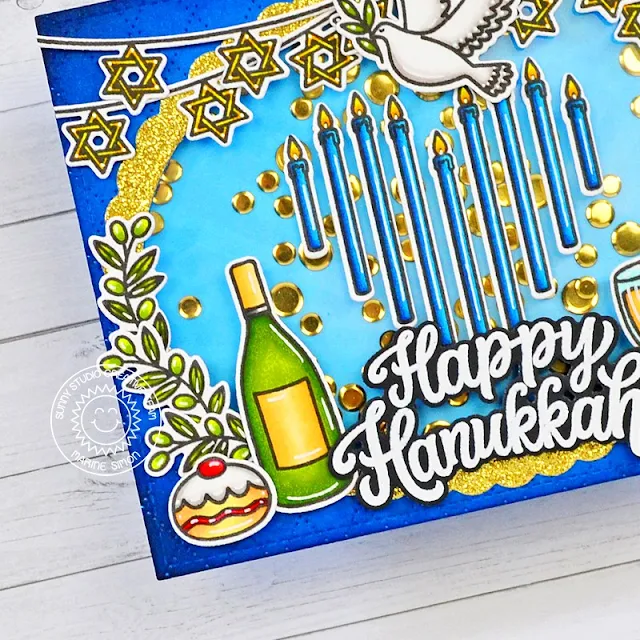
Next I stamped all my images on 80lb Neenah solar white cardstock using an alcohol marker friendly black ink, cut them all using the matching dies, and colored everything using my Spectrum Noir Illustrator markers + Graph'it brush markers. I also white heat embossed my "Happy Hanukkah" greeting from Love & Light on black cardstock and cut it using the coordinating die.

Sunny Studio Stamps: Love & Light Hanukkah Card by Marine Simon (featuring Scalloped Oval Mat Dies, Stitched Oval Dies, Dotted Diamond Dies)

I attached everything on my shaker panel using 1mm foam squares and liquid glue, and finally added highlights and details using a white gel pen. And that's it! I hope that you like it. Here's another idea, as I'm writing this, you could create a wreath with the olive branches and put either the dove in the center, or the candelabrum, or even just the greeting, any of these would look amazing! 

Thanks so much for stopping by, and see you next week.

Sunny Studio Supplies Used:

Spring Sunburst 6x6 Paper
Shop at:
Sunny Studio
Scalloped Oval Mat 1 Dies
Shop at:
Sunny Studio
Stitched Oval 2 Dies
Shop at:
Sunny Studio
Dotted Diamond Landscape
Shop at:
Sunny Studio
Love & Light Stamps
Love & Light Stamps
Shop at:
Sunny Studio
Love & Light Dies
Love & Light Dies
Shop at:
Sunny Studio

Wednesday, November 1, 2023

Winter Wreaths Card with Gladys

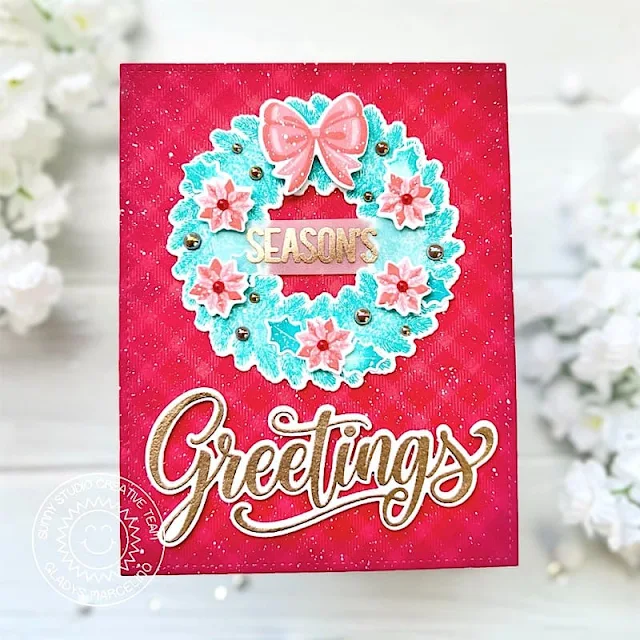
Hi crafty friends, Gladys here! I'm excited to be back on the blog today to share another holiday card featuring the beautiful Winter Wreaths stamp set. It's the busiest time of the year again and if you haven't started your holiday card making yet I hope this card will help inspire you!  

Sunny Studio Stamps: Winter Wreaths Holiday Card by Gladys Marcelino (featuring Season's Greetings)

To start, I stamped the wreath using Simon Says Stamps pawsitively saturated inks, but you can use any inks you prefer. I used a light color first then stamped it a second time using a darker color only on the outer and inner edge of the wreath to add contrast. If you don't want harsh lines, use a mini sponge dauber to smooth the ink before stamping it so that it has an even application. The bow and mini poinsettias are layering stamps which I love because it's very dimensional. I recommend using a stamping tool with layering stamps because it makes it so much easier to line things up. Once all my stamping was complete, I used the coordinating dies to cut them all out.

Sunny Studio Stamps: Winter Wreaths Holiday Card by Gladys Marcelino (featuring Season's Greetings)

Next, I used an A2 rectangle die to cut the red pattern paper from All Is Bright paper pack. I inked the edges with aged mahogony distress ink to add depth. To add more interest, I splattered white paint all over the panel and wreath. For the sentiment I used the Season's Greetings stamp set. I heat embossed it with gold embossing powder then used the coordinating die to cut the word Greetings. The word season's is heat embossed on vellum. 

To assemble the card, I centered the wreath on the top of the panel. I backed the poinsettia's and bow with double sided foam tape for dimension. Then adhered the Greetings sentiment on the bottom of the panel and the vellum centered in the opening of the wreath. For finishing touches I added red jewels on the center of the poinsettia's and a scatter of gold jewels all over the wreath. 

Thanks so much for joining me today, I'll be back for more inspiration. Have a wonderful day!

Sunny Studio Supplies Used:

Season's Greetings Stamps
Shop at:
Sunny Studio
Season's Greetings Dies
Shop at:
Sunny Studio
All Is Bright Paper
All Is Bright Paper
Shop at:
Sunny Studio
Winter Wreaths Stamps
Shop at:
Sunny Studio
Winter Wreaths Dies
Winter Wreaths Dies
Shop at:
Sunny Studio

Tuesday, October 31, 2023

Baking Spirits Bright Card with Isha

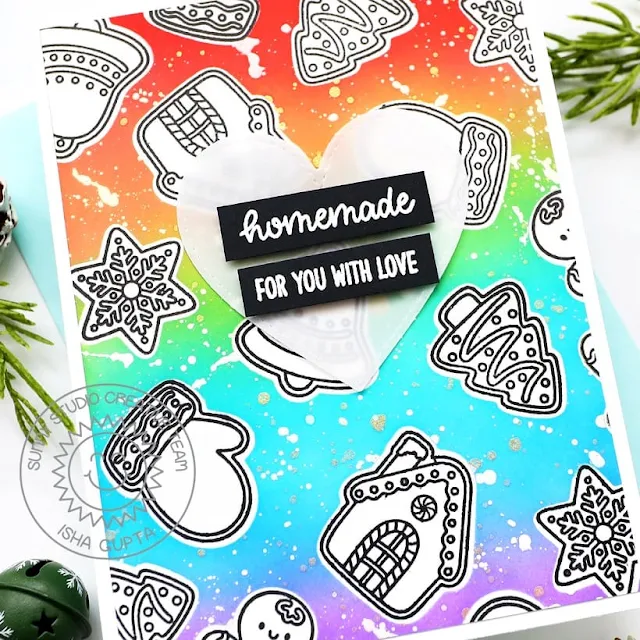
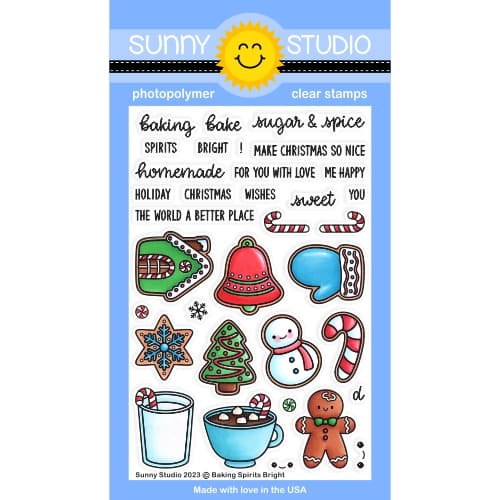
Hello everyone! Isha here today with a CAS card featuring the Baking Spirits Bright stamps and coordinating dies. The details of this artistic stamp immediately gave this idea and I am happy it came out exactly as I had imagined. 

Sunny Studio Stamps: Baking Spirits Bright Holiday Card by Isha Gupta (featuring Stitched Heart Dies)

To start I die-cut the images from masking paper using the coordinating dies. Adhere to a white card panel. Sponge distress inks (wilted violet, salty ocean, peacock feathers, mowed lawn, spiced marmalade and abandoned coral) to achieve rainbow effect. Flick gold and white splatters.

Sunny Studio Stamps: Baking Spirits Bright Holiday Card by Isha Gupta (featuring Stitched Heart Dies)

Remove the masks. Stamp the images using black ink. Die-cut the heart from vellum twice using the Stitched Heart 2 dies. Adhere the hearts together and adhere to the layer. Stamp the sentiment onto black cardstock using versamark ink. Sprinkle WOW! white embossing powder, heat set. Cut the stripes and adhere to the card using 3d foam tape. 

Thank you for dropping by! Have a nice day.

Sunny Studio Supplies Used:

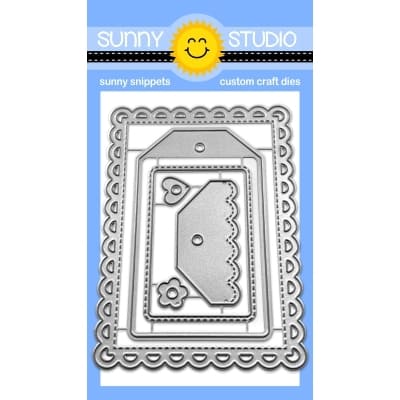
Stitched Heart 2 Dies
Shop at:
Sunny Studio
Baking Spirits Bright Stamps
Shop at:
Sunny Studio
Baking Spirits Bright Dies
Shop at:
Sunny Studio

Monday, October 30, 2023

Bells & Baubles Tags with Bobbi

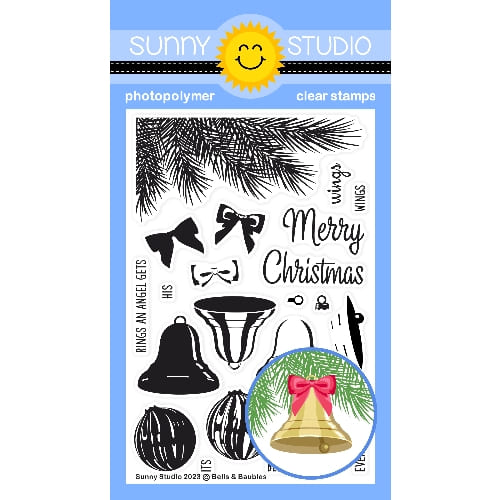
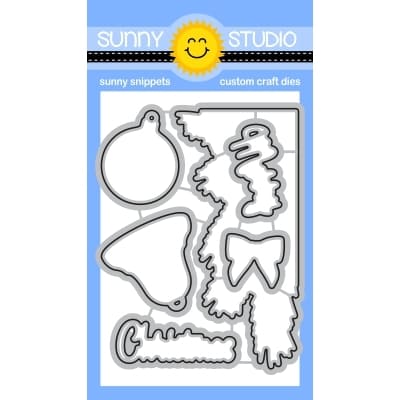
Hi there, Bobbi here with you! I’m sharing some tags featuring the new Bells & Baubles stamps and coordinating diesThis stamp set is a multi-layering set allowing you to achieve incredible dimension without coloring/shading or highlighting. 

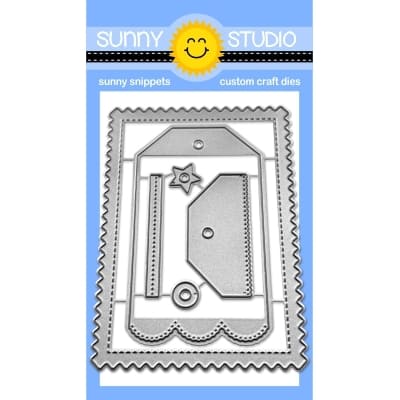
Sunny Studio Stamps: Bells & Baubles Christmas Tags by Bobbi Lemanski (featuring Mini Mat & Tag Dies)

The stamps are designed to do the work for you! All you need to do is stamp in the order of the key on the packaging and use color shades that work together (i.e., three inks that go light-to-dark in one color family).

Sunny Studio Stamps: Bells & Baubles Christmas Tags by Bobbi Lemanski (featuring Mini Mat & Tag Dies)

I made this tag using three shades of gold for the bells. I used Distress Oxide Ink in Antique Linen, Fossilized Amber and Brushed Corduroy. I embossed the evergreens in a beautiful shimmery silver embossing powder. The sparkle is really pretty. I attached the evergreens to a black tag using a foam dot. I tucked the two bells underneath the evergreens. I stamped the sentiment in black on white and cut the words. I glued them to the top of the evergreens to finish the tag. The tag is from the Mini Mat and Tag 3 dies.

Sunny Studio Stamps: Bells & Baubles Christmas Tags by Bobbi Lemanski (featuring Mini Mat & Tag Dies)

Using the Mini Mat & Tag 4 dies, I cut another black tag for this next tag. I stamped the ornament using three Distress Oxide Inks in Worn Lipstick, Festive Berries and Aged Mahogany. I added gold dots using my gold gel pen. I stamped the bow using the same inks. I embossed the evergreens in white and attached them at the top with a foam dot. I splattered the tag with white paint to finish it.

Sunny Studio Stamps: Bells & Baubles Christmas Tags by Bobbi Lemanski (featuring Mini Mat & Tag Dies)

For my last tag, I flipped the gold and silver and made the bells silver and the evergreens in gold. I used gem stickers in gold for the bells’ clappers. Gem stickers in red were added for berries on the evergreens.

Thanks for stopping by today. If you want to see more ideas and inspiration from me, subscribe to my blog, BobbiHartDesign.com. I’ll send you updates on new posts! You can also find me on Instagram as @BobbiHartDesign and on Facebook as BobbiHartDesign.

Sunny Studio Supplies Used:

Mini Mat & Tag 3 Dies
Shop at:
Sunny Studio
Mini Mat & Tag 4 Dies
Shop at:
Sunny Studio
Bells & Baubles Stamps
Shop at:
Sunny Studio
Bells & Baubles Dies
Shop at:
Sunny Studio

Sunday, October 29, 2023

Holiday Hugs Tags with Tammy

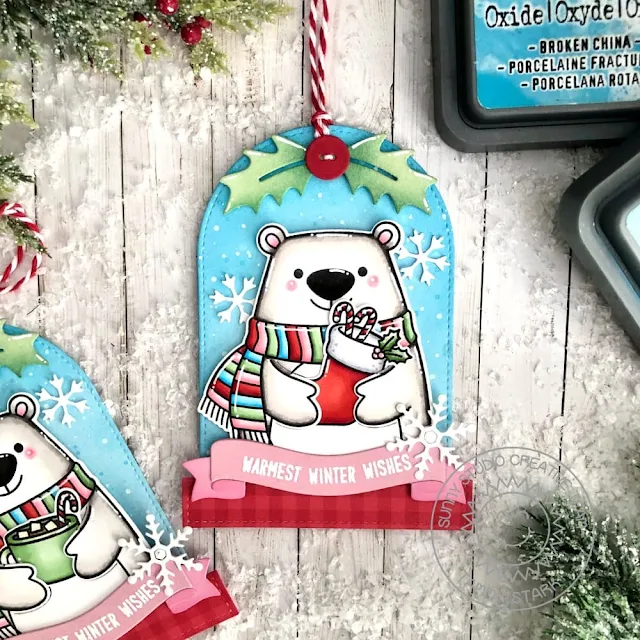
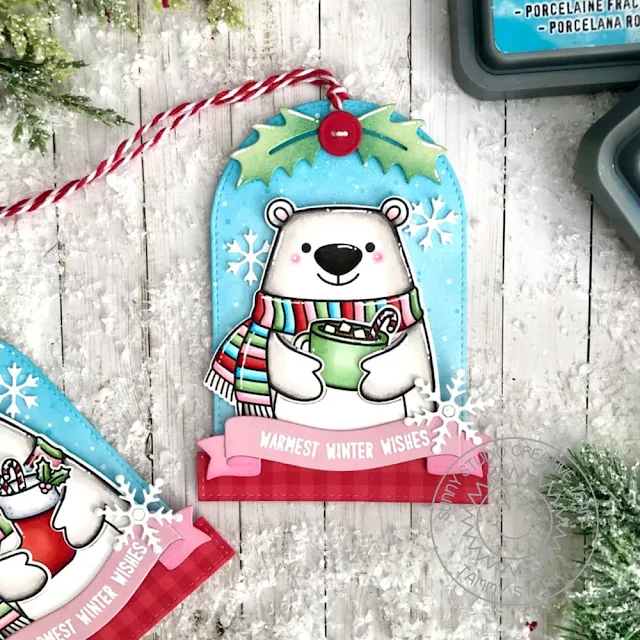
Hello friends! Tammy here with some fun snow globe tags, featuring the adorable set, Holiday Hugs.

Sunny Studio Stamps: Holiday Hugs Christmas Tags by Tammy Stark (featuring Stitched Arch Dies, Lacy Snowflake Dies, Brilliant Banner Dies)

To begin, I stamped the images from Holiday Hugs, colored with Copic markers, and die cut with the Holiday Hugs Dies.  Next, I die cut the tags from Bristol smooth cardstock using the largest die from the Stitched Arch Dies. I ink blended the tags using Broken China and Tumbled Glass Distress Oxide inks. I splattered some white acrylic paint, thinned with water, onto the background to create a snowy look. 

Sunny Studio Stamps: Holiday Hugs Christmas Tags by Tammy Stark (featuring Stitched Arch Dies, Lacy Snowflake Dies, Brilliant Banner Dies)

I used the smallest pennant from the Slimline Pennant Dies to create the snow globe bases. I die cut the red gingham paper from the Joyful Holiday Paper using the smallest pennant die. I ran it through my die cut machine twice, moving the die to use the square end of the die to shorten it and to create the rectangular base.

Sunny Studio Stamps: Holiday Hugs Christmas Tags by Tammy Stark (featuring Stitched Arch Dies, Lacy Snowflake Dies, Brilliant Banner Dies)

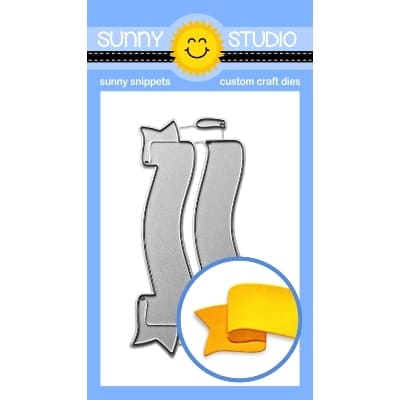
I attached snow globe bases to the bottom of the stitched arches, then the bears to the tags with foam tape for dimension. Using the Brilliant Banner 1 DiesI die the sentiment banners from pink cardstock, then white heat embossed the sentiment and attached them to the tags with foam tape. I added some die cut white snowflakes using the Lacy Snowflake Dies and Basic Mini Shape Dies 2.

Sunny Studio Stamps: Holiday Hugs Christmas Tags by Tammy Stark (featuring Stitched Arch Dies, Lacy Snowflake Dies, Brilliant Banner Dies)

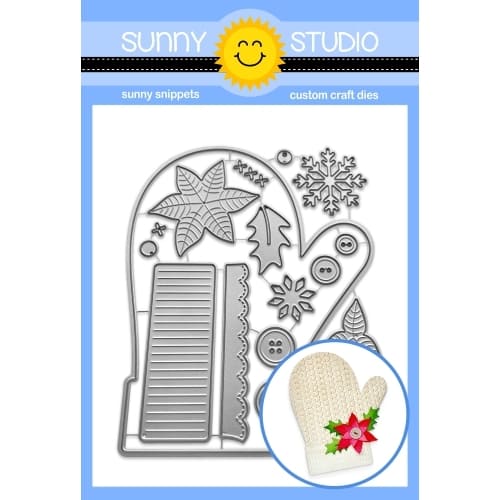
Next, I punched a hole at the top of the tags, then added the holly and berry, die cut from the Woolen Mitten Dies. I added some red and white bakers twine to complete my snow globe tags.

Thanks so much for stopping by! See you next time!

Sunny Studio Supplies Used:
  

Lacy Snowflakes Die
Lacy Snowflakes Die
Shop at:
Sunny Studio
Basic Mini Shape Dies 2
Shop at:
Sunny Studio
Stitched Arch Dies
Stitched Arch Dies
Shop at:
Sunny Studio
Slimline Pennant Dies
Shop at:
Sunny Studio
Joyful Holiday Paper
Shop at:
Sunny Studio
Brilliant Banner 1 Dies
Shop at:
Sunny Studio
Woolen Mitten Dies
Woolen Mitten Dies
Shop at:
Sunny Studio
Holiday Hugs Stamps
Holiday Hugs Stamps
Shop at:
Sunny Studio
Holiday Hugs Dies
Holiday Hugs Dies
Shop at:
Sunny Studio