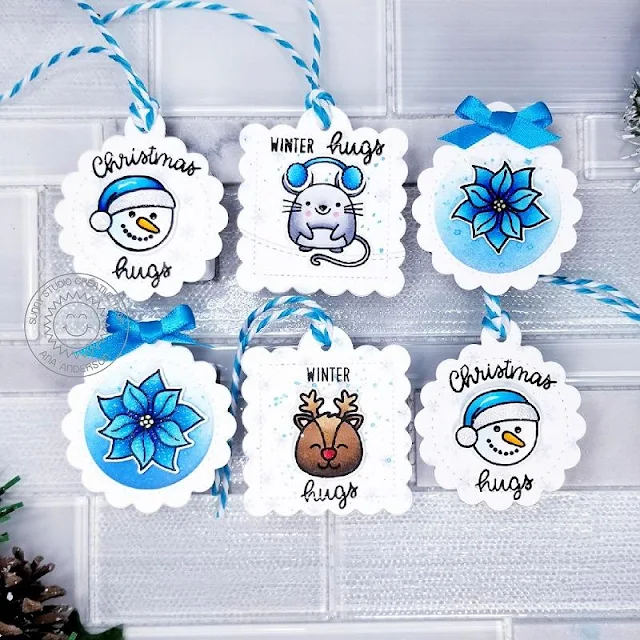
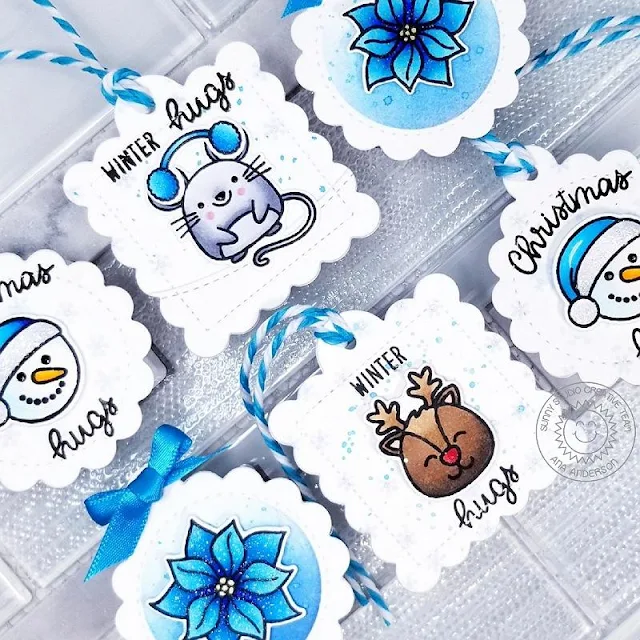
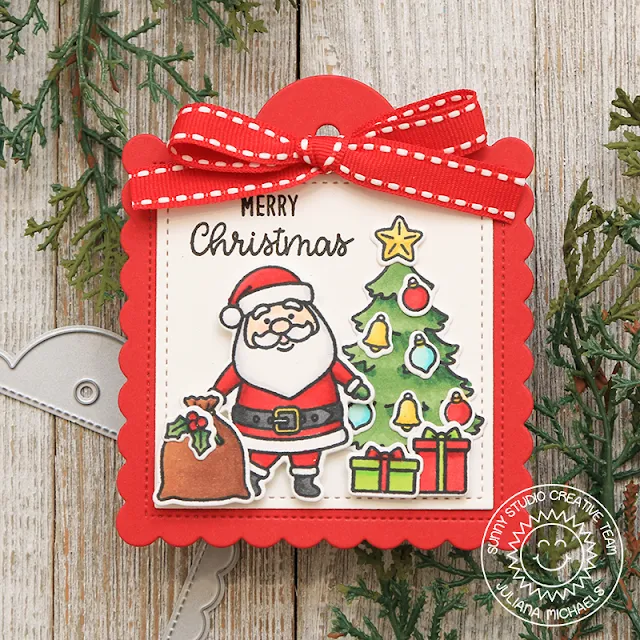
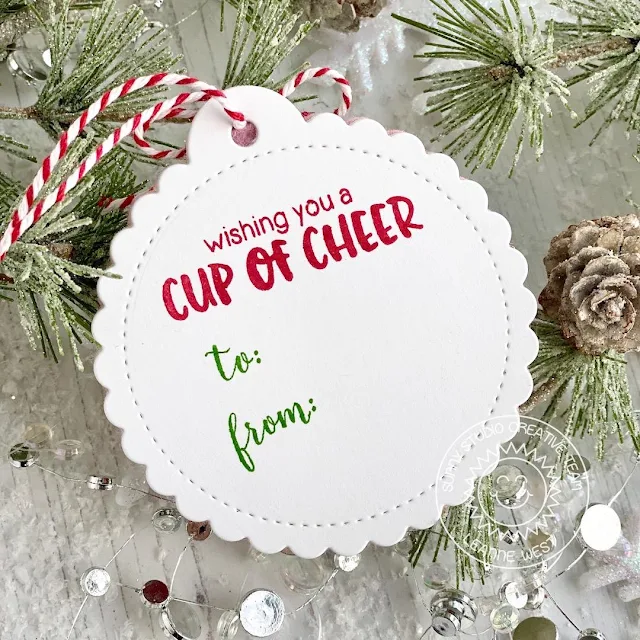
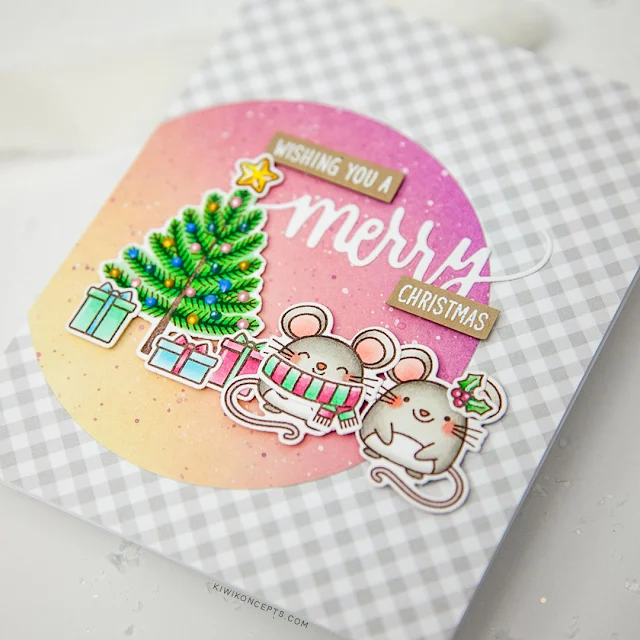
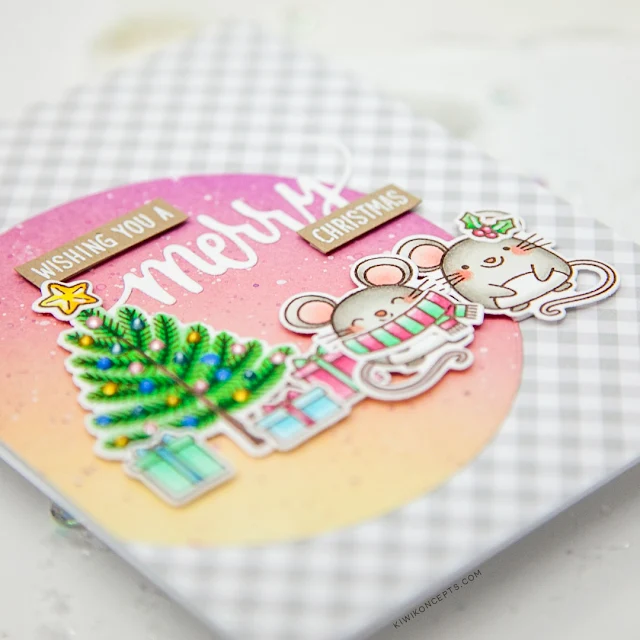
I started with die cutting two pieces of cardstock for each tag (front and back) and decorating the front piece for each tag. Since our wrapping paper is in blue tones, I created all the tags to match the color scheme.
I did some ink blending on several of them, added splatter with
diluted blue ink on some and stamped light blue snowflakes on the rest for the
backgrounds. Next, I stamped each back piece with from/to words (also
from Christmas Icons) and
adhered all fronts and backs of the tags together with liquid glue.
I stamped, colored and die cut the Christmas Icons images and adhered each little icon to each tag with foam tape. I added blue ribbon or twine to the tags, stamped the sentiments (from Alpaca Holiday stamps) and added glitter Stickles to the hats and snowflakes to embellish each one.
I am so happy the way they turned out so excited to have all the gift tags handmade this year! Thank you so much for stopping by today, I really hope I have given you some fresh ideas for the handmade gift tags and inspired you!
-------------------------------------------------------
Hi everyone! Franci here with you today, showcasing the Scalloped Tags Square dies set!
I love these dies so much I can't wait to make Valentine's Days
tags, Easter tags .. and so much more with them, but I have another Xmas/
Winter one for today to show you. First of all I die cut the main tag multiple
times out of white cardstock to cover all the different layers you see and I
also cut one out of this bright light blue patterned paper from the Very Merry paper pad.
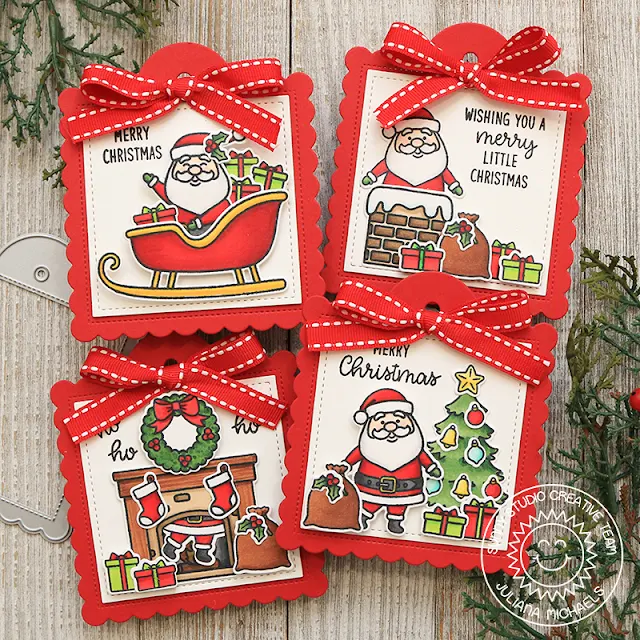
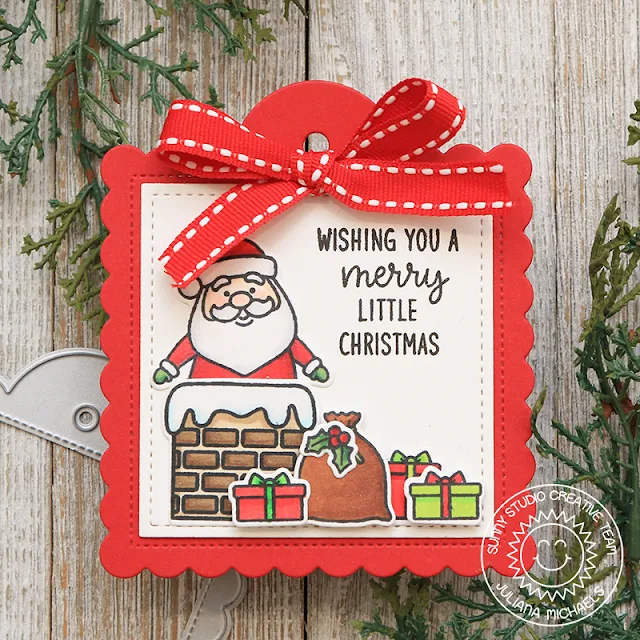
I die cut 3 of the white tags with the Woodlands Borders and I stamped 3 more with the Scenic Route stamp set. I colored these last ones with my Copics and die cut them out with their coordinated dies. I glued all of them on to my patterned paper tag with liquid glue and I started working on my images.
I die cut 3 of the white tags with the Woodlands Borders and I stamped 3 more with the Scenic Route stamp set. I colored these last ones with my Copics and die cut them out with their coordinated dies. I glued all of them on to my patterned paper tag with liquid glue and I started working on my images.
I
stamped, colored and die cut some of my fave snowmen from the Feeling Frosty set and glued them with foam adhesive. Finally I die cut one more tag out of
white cardstock and glued it on the back ( there's a lot of room there for your
personal message this way!). I stamped my sentiments on the front and added
lots of details with a white gel pen + some embellishments as White Nuvo Drops
+ a white ribbon at the top.
I'm so happy about how it turned out, hope you like it too and thank you so much for stopping by today!
I'm so happy about how it turned out, hope you like it too and thank you so much for stopping by today!
Sunny Studio Supplies Used:
Christmas Icons Dies Shop at: Sunny Studio |
Christmas Icons Stamps Shop at: Sunny Studio |
 Woodland Borders Dies Shop at: Sunny Studio |
 Alpaca Holiday Stamps Shop at: Sunny Studio |
 Very Merry 6x6 Paper Shop at: Sunny Studio |
 Feeling Frosty Stamps Shop at: Sunny Studio |
 Feeling Frosty Dies Shop at: Sunny Studio |
 Merry Mice Stamps Shop at: Sunny Studio |
 Merry Mice Dies Shop at: Sunny Studio | |
 Scenic Route Stamps Shop at: Sunny Studio |
 Scenic Route Dies Shop at: Sunny Studio |
 Scalloped Tags-Circle Shop at: Sunny Studio |
 Scalloped Tags-Square Shop at: Sunny Studio | |

