- Christmas Garland Frame die
- Best Fishes stamps & coordinating dies
- Merry Mice stamps & coordinating dies
- Scenic Route stamps & coordinating dies
- Rainbow Pearls
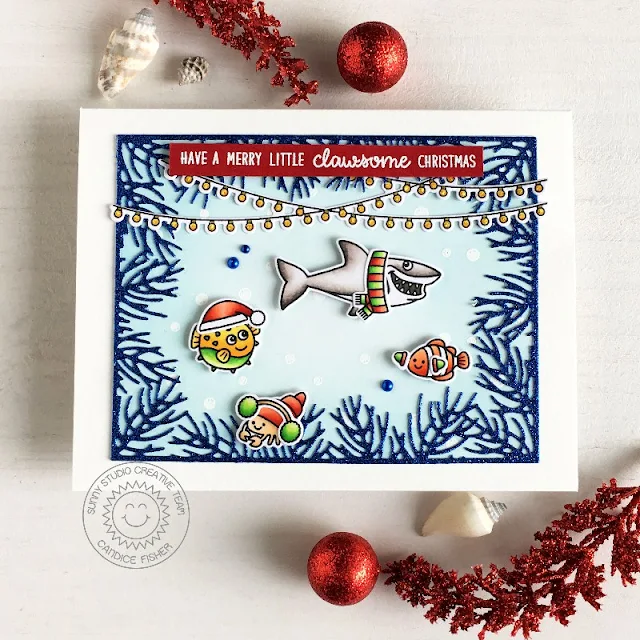
For the background, I first heat embossed the bubbles in white
and then inked over with tumbled glass oxide ink. I then die cut
the Christmas Garland Frame from
navy glitter paper, using a shim to get a deep cut through the thickness of the
cardstock. I love how it looks like coral for this card!
Next, I stamped the fishes and winter accessories,
colored with Copic markers and then used the coordinating dies listed above to
cut out. The christmas lights I
stamped and cut out with the coordinating dies, colored with Copics and
added yellow Stickles for some shimmer.
To finish the card, I heat embossed the sentiment in white from both the Merry Mice and Best Fishes stamp sets on a red banner. For the embellishments, I simply added a few navy domes from the Rainbow Pearls.
Thank you so much for stopping by today!
------------------------------------------------
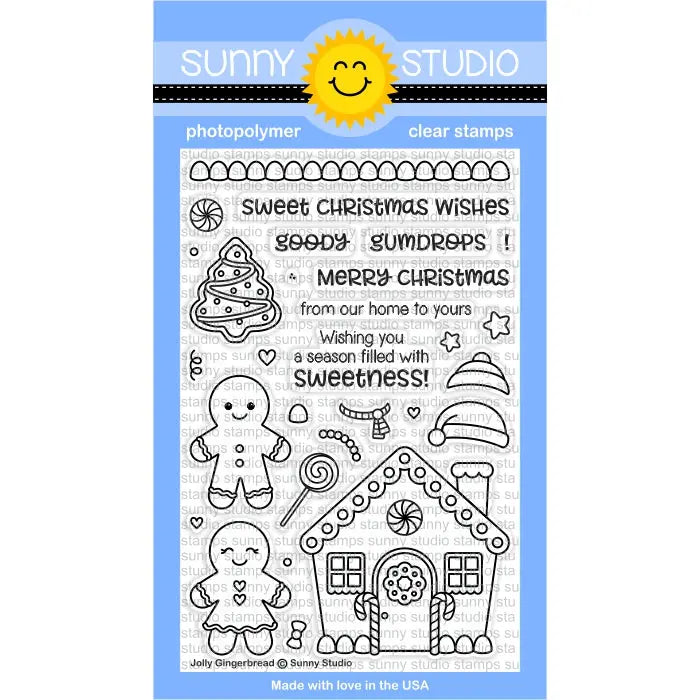
Hello everyone! It's Rachel here and I have a festive winter card that features the gorgeous Christmas Garland Frame Die. I've combined this die with the Jolly Gingerbread Stamp Set.
To create my frame, I
first started with a piece of Ranger White Watercolor Paper that I had trimmed
to slightly larger than 4.25" x 5.5". I then quickly watercolored
this piece with both Daniel Smith Viridian Watercolor Paint and Ken Oliver
Turquoise Colorburst Watercolor Powder. I then let this piece dry before I die cut
it. Once I had it cut out, I then splattered it with both dark green diluted
watercolor paint as well as diluted Opaque White Paint. I added some of this
diluted white paint to the ends of each piece to resemble fallen snow.
Next I trimmed a piece of smooth white card stock to 4.25" x 5.5" and lightly blended some Catherine Pooler Hot Tub Ink. I splattered this blended area with both some water drops as well as some more diluted white paint. I added some stitched snow drifts using the Woodland Border Dies.
Next I trimmed a piece of smooth white card stock to 4.25" x 5.5" and lightly blended some Catherine Pooler Hot Tub Ink. I splattered this blended area with both some water drops as well as some more diluted white paint. I added some stitched snow drifts using the Woodland Border Dies.
For my images, I stamped them onto
a sheet of Neenah Solar White 110lb Card Stock and colored everything with
Copics. I cut them out and then added them to my card with both liquid adhesive
and 3D Foam Tape depending on which ones I wanted to add more dimension to. I
used a fun sentiment from the Jolly Gingerbread Set and
added it to the left side of my front snow drift before adding it to my card
base.
Thanks so much for stopping by! I hope you enjoyed my card today!
Thanks so much for stopping by! I hope you enjoyed my card today!
Sunny Studio Supplies Used:
 Jolly Gingerbread Stamps Shop at: Sunny Studio |
 Jolly Gingerbread Dies Shop at: Sunny Studio |
 Best Fishes Stamps Shop at: Sunny Studio |
 Best Fishes Dies Shop at: Sunny Studio |
 Merry Mice Stamps Shop at: Sunny Studio |
 Merry Mice Dies Shop at: Sunny Studio |
 Scenic Route Stamps Shop at: Sunny Studio |
 Scenic Route Dies Shop at: Sunny Studio |
 Christmas Garland Frame Shop at: Sunny Studio | |


