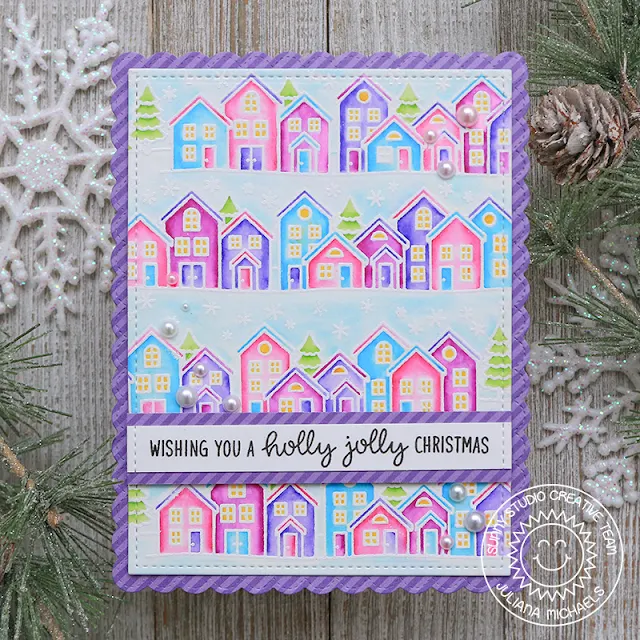
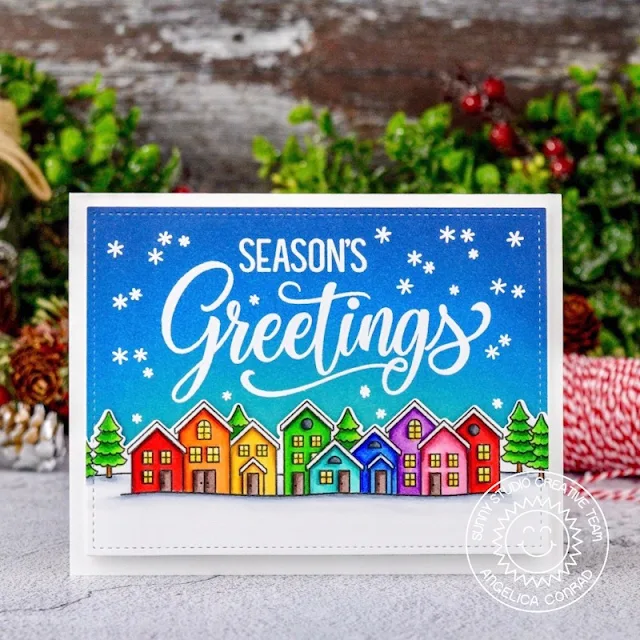
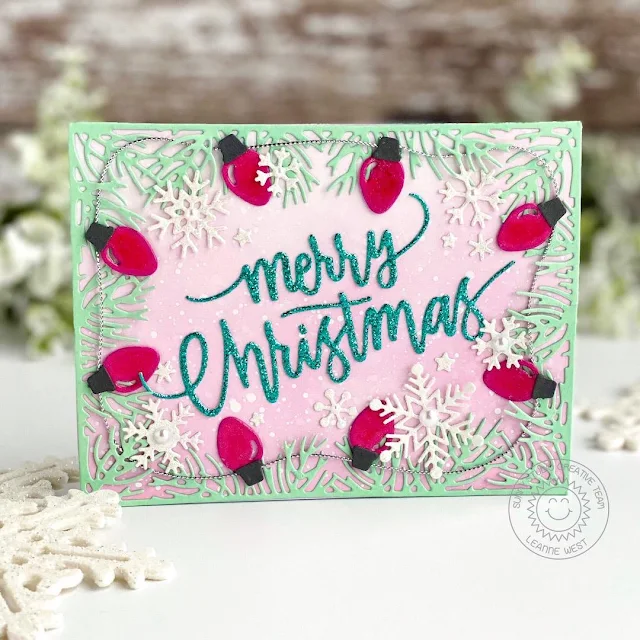
You know the saying, right - "better late then never"? We somehow missed sharing the exciting news of the newest addition to our Sunny Studio Design Team last week. You may have noticed a new designer on the blog last Friday, and today we want to officially introduce the talented Candice Fisher to the Sunny Studio team!! We know you're going to love her work as much as we do! You can follow all of her crafty creations on her blog, Instagram, and Pinterest.
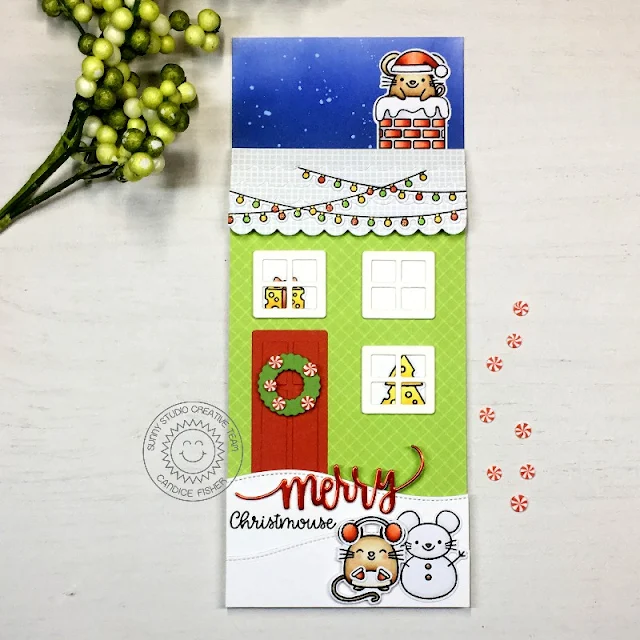
Hello to my fellow crafters, it's Candice here sharing a different use for the new sweet treat house add-on! It is an awesome accessory for the new sweet treat bag, but can be used for so much more!
The adorable new release products I used:
- sweet treat house add-on die
- Merry Mice stamp set & coordinating dies
- Santa claus lane stamp set & coordinating dies
- Scenic route stamp set & coordinating dies
- Very merry 6x6 paper
- Subtle grey tones 6x6 paper
- Christmas garland frame die (merry)
- Woodland borders die (snowhills)
- Peppermint confetti
I began my slimline card by creating an 8 1/2 x 3 1/2 card base
which fits perfectly into the size 9A envelopes. For the background, I inked the sky using chipped sapphire,
faded jeans & blueprint sketch and splattered some white paint using a damp
paint brush.
While the sky dried, I created the adorable mouse house by first, trimming the green pattern paper to fit the card and then the shingles with the grey pattern. Next, I die cut all the windows, doors and accessories, some multiple times to get the dimension I wanted. I set those aside a moment to stamp the mice, chimney & christmas lights, colored with Copic markers and then cut out using the coordinating dies to each set.
While the sky dried, I created the adorable mouse house by first, trimming the green pattern paper to fit the card and then the shingles with the grey pattern. Next, I die cut all the windows, doors and accessories, some multiple times to get the dimension I wanted. I set those aside a moment to stamp the mice, chimney & christmas lights, colored with Copic markers and then cut out using the coordinating dies to each set.
To put it all together, I added the santa mouse to
the chimney with
the singles angled over
the pop dotted house. I was then
able to add all the house accessories with
cheesy goodness in the windows!
For the front of the house, I die cut the snow hills making sure I stamped the sentiment before adhering. I finished it all with the shiny layered merry, a few sweet treats on the wreath and a string of lights!
I hope I have inspired you to take a second look at your dies to use them in different ways! Thank you for visiting!
-----------------------------------------------------------------
Hello, crafty friends! It's Rachel here and I have a Christmas gift bag to share with you today that focuses on the new Sweet Treat House Add-on Die Set.
I first created a gift bag
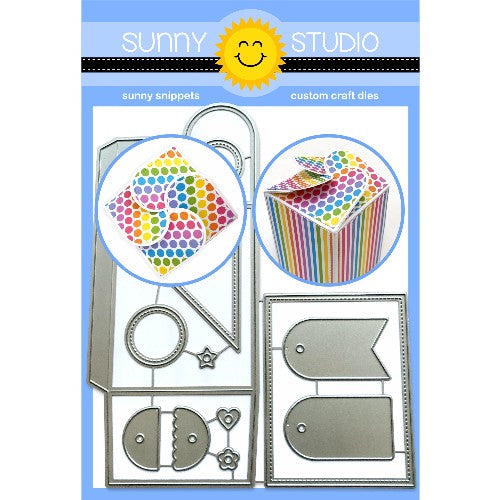
using the Sweet Treat Bag Dies and some green patterned paper from the Very Merry 6x6 Paper Pad. The Sweet Treat Bag Die Set makes the cutest gift bags and
is versatile enough to make three different styles of bags.
Once my bag was assembled, I used the Sweet Treat House Add-on Die Set to create a cute little house for the front of my bag. I love using patterned paper and added some details to my roof and front door using the Holiday Cheer 6x6 Paper Pad.
Once my bag was assembled, I used the Sweet Treat House Add-on Die Set to create a cute little house for the front of my bag. I love using patterned paper and added some details to my roof and front door using the Holiday Cheer 6x6 Paper Pad.
I also added a stitched snow drift by die cutting some White Card
Stock with one of the Woodland Border Dies. To
complete my scene, I added a few adorable snowmen from the new Feeling Frosty Stamp Set.
I stamped my images with Memento Tuxedo Black Ink
and colored them with Copics. I die cut the wreath from the front door from
some smooth white card stock and also colored that piece with Copics (YG01,
YG07, YG17, G28) to give it some depth.
I hope you enjoyed my gift bag today! Wishing you all a wonderful weekend!
I hope you enjoyed my gift bag today! Wishing you all a wonderful weekend!
Sunny Studio Supplies Used:
 Woodland Borders Dies Shop at: Sunny Studio |
 Holiday Cheer 6x6 Paper Shop at: Sunny Studio |
 Subtle Grey Tones Paper Shop at: Sunny Studio |
 Very Merry 6x6 Paper Shop at: Sunny Studio |
 Santa Claus Lane Stamps Shop at: Sunny Studio |
 Santa Claus Lane Dies Shop at: Sunny Studio |
 Feeling Frosty Stamps Shop at: Sunny Studio |
 Feeling Frosty Dies Shop at: Sunny Studio |
 Merry Mice Stamps Shop at: Sunny Studio | |
 Merry Mice Dies Shop at: Sunny Studio |
 Scenic Route Stamps Shop at: Sunny Studio |
 Scenic Route Dies Shop at: Sunny Studio |
 Christmas Garland Frame Shop at: Sunny Studio | |
 Sweet Treats Gift Bag Shop at: Sunny Studio |
 Sweet Treats House Add-on Shop at: Sunny Studio |

