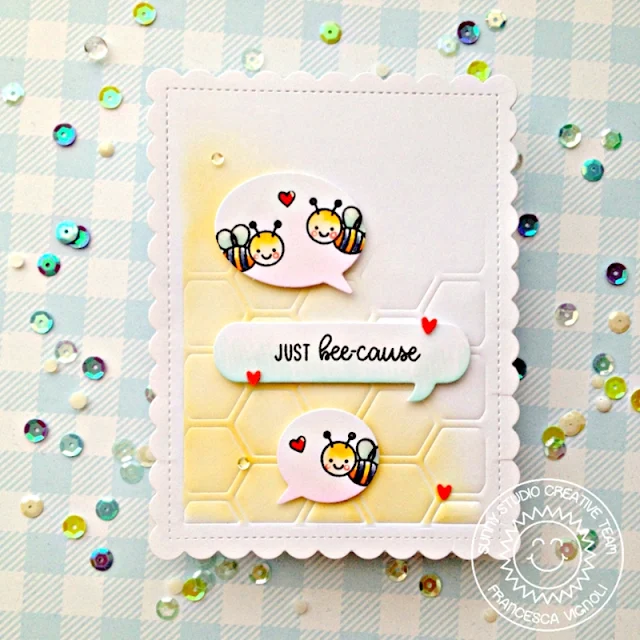
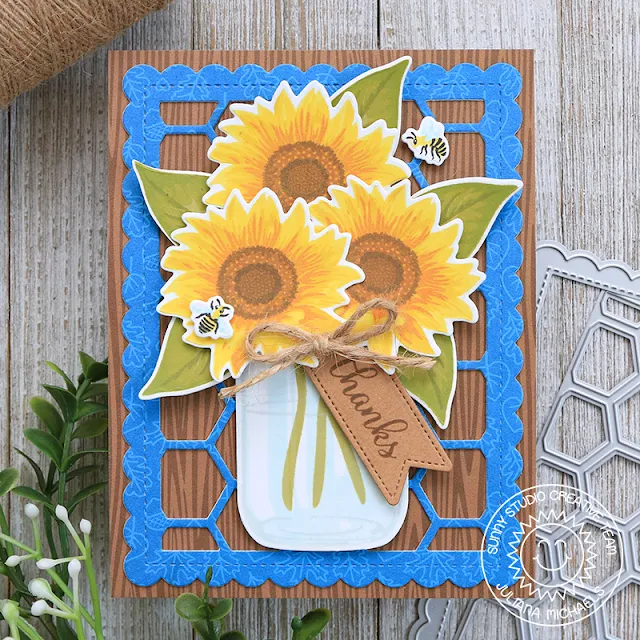
Now I stamped the images twice onto white cardstock, colored them with Copics, die-cut the elements with the matching dies and adhered them to the front and back of the card.
I stamped and
heat-embossed the sentiment twice onto a strip of black cardstock, trimmed it
and adhered the pieces to the front and back. Finally, I adhered some of the
cut-out hexagons.
I love the Frilly Frames series, they offer so many possibilities! Thank you for stopping by today, see you next week!
I love the Frilly Frames series, they offer so many possibilities! Thank you for stopping by today, see you next week!
---------------------------------------------------------
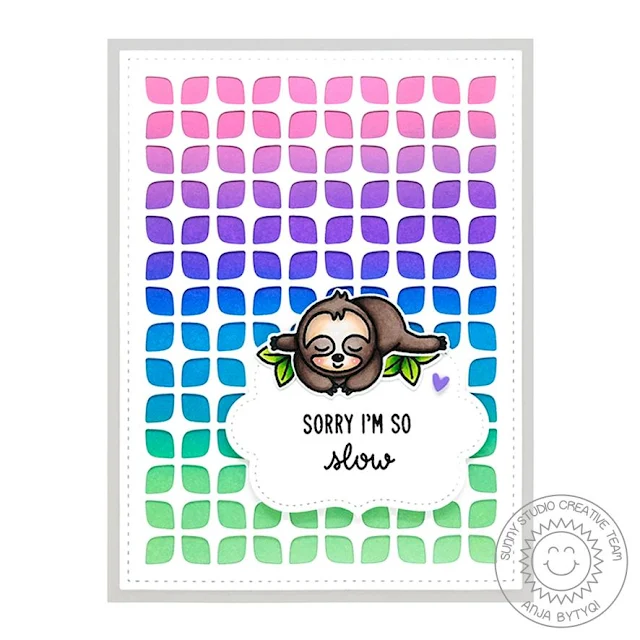
Hi everyone, Anja here and I'm back again with a new inspiration card featuring the Frilly Frames Retro Petals Dies.
My grey card
base is a bit smaller than the regular A2 size. First, I ran the 2-piece die
set together through my die cutting machine to create the white retro petal
background with a stitched border. Next, I adhered a colorful Distress Oxide ink
blended panel behind it.
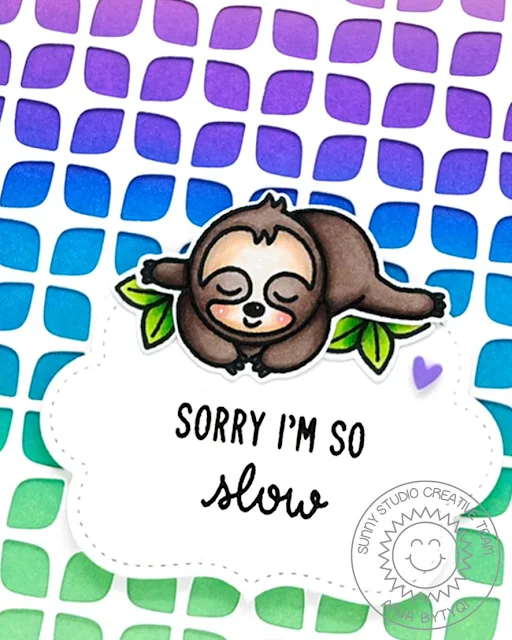
I stamped this
little cutie and some leaves from the Silly Sloths set
in Memento Tuxedo Black Ink and
colored them with Copic Markers. I used the coordinating dies to cut out the images.
I die cut the stitched label (Sliding Window Dies)
from white cardstock and stamped the sentiment in VersaFine Onyx Black Ink.
To finish off my card, I adhered a small purple clay heart (Pink & Purple Heart Confetti).
Thank you so much for stopping by! Have a slothsome day!
Thank you so much for stopping by! Have a slothsome day!
Sunny Studio Supplies Used:
 Sliding Window Dies Shop at: Sunny Studio |
 Silly Sloths Stamps Shop at: Sunny Studio |
 Silly Sloths Dies Shop at: Sunny Studio |
 Just Bee-cause Stamps Shop at: Sunny Studio |
 Just Bee-cause Dies Shop at: Sunny Studio |
 Frilly Frames Hexagon Dies Shop at: Sunny Studio |
 Frilly Frames Retro Petals Dies Shop at: Sunny Studio |


