Wednesday, August 22, 2018

Comic Strip Everyday Die Gnome Shaker Card with Franci

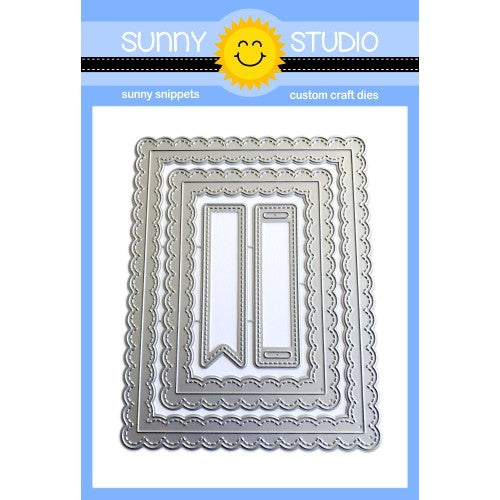
Hi there, Franci here with you today with a fun shaker card featuring the new Comic Strip Everyday die. I love this new die because it can be customized very easily. If you die cut it, you'll have a beautiful frame with lots of little spaces to be decorated but if you are in a hurry and you need to make a quick shaker, you can cut with your scissors the internal partitions and you have a beautiful stitched frame!


Sunny Studio Stamps: Comic Strip Everyday Die Home Sweet Gnome Woodland Borders Shaker Card by Franci Vignoli

That's exactly what i did for my card today. And it's also super easy to die cut foam with adhesive with the same technique so you can have all the elements to build your shaker. Instead you can use foam adhesive around the edges like I did. Also, you can create lots of mini shaker scenes leaving the die cut as it is. Can't wait to create a card like that! The little clouds are the ones included in the set and are so pretty! 


Sunny Studio Stamps: Comic Strip Everyday Die Home Sweet Gnome Woodland Borders Shaker Card by Franci Vignoli

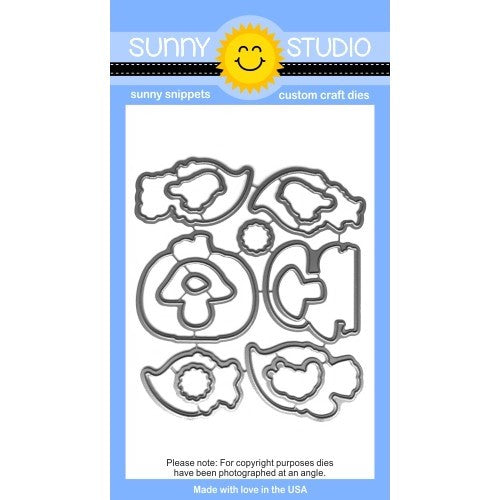
I also used the new Woodland Borders to die cut the grass out of this stripy green paper from the Dots & Stripes Jewel Tones 6x6 paper pad and the little gnomes are from the Home Sweet Gnome set. I stamped, colored and die cut them and then I adhered all my images on to the plastic sheet so they are actually outside of the shaker. I built my sentiment with the Happy Thoughts stamp set and i embossed it in white. 

Finally, all of the shaker elements are sparkling clear sequins and glitters. I think they pop very nicely against my background, which I colored with the Spiced Marmalade Distress Oxide Ink.

I hope you like my card and thank you so much for stopping by today. Have a lovely week.

Sunny Studio Supplies Used:


Dots & Stripes Jewel Tones 6x6 Paper
Shop at:
Sunny Studio
Comic Strip Everyday Dies
Shop at:
Sunny Studio
Happy Thoughts Stamps
Shop at:
Sunny Studio
Home Sweet Gnome Stamps
Shop at:
Sunny Studio
Home Sweet Gnome Dies
Shop at:
Sunny Studio
Woodland Borders Dies
Shop at:
Sunny Studio

Tuesday, August 21, 2018

Happy Harvest Scalloped Edged Fall Themed Card with Juliana

Hello! It's Juliana Michaels and today I'm here to share a fall themed card using the new Happy Harvest and Fall Kiddos stamp set. These two sets worked perfectly together for creating a fall scene and I couldn't resist doing that myself.

Sunny Studio Stamps: Happy Harvest Fall Kiddos Fancy Frames Scalloped Edged Fall Themed Card by Juliana Michaels


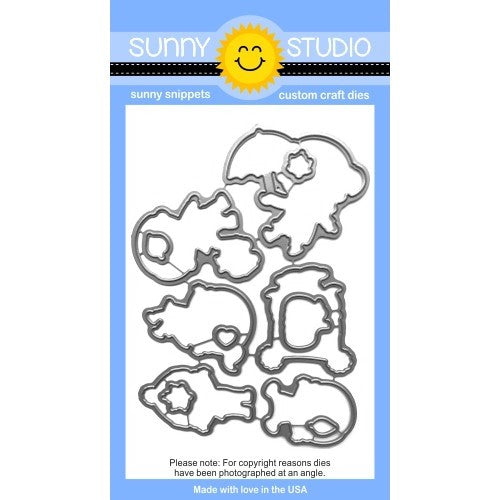
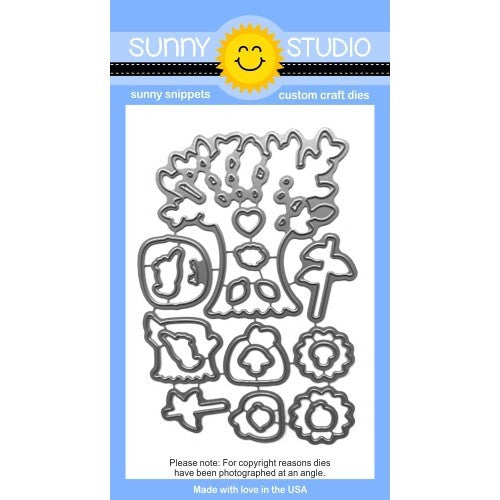
I began by stamping and coloring the images with Copic markers. I then die cut them using the coordinating dies. I thought it would be fun to create a little scene like the kids were out in the pumpkin or sunflower patch.

For the background, I took the Woodland Borders die and cut a 4.25 x 5.5 inch piece of white cardstock to create a grassy area and a sky area. I then ink blended each section using Distress Oxide Ink and a foam blending tool.


Sunny Studio Stamps: Happy Harvest Fall Kiddos Fancy Frames Scalloped Edged Fall Themed Card by Juliana Michaels

Once the background was completed, I created a “sunflower” color frame using the Fancy Frames Rectangle dies. I cut it twice using a yellow polka dot paper from the Polka Dot Parade and a brown polka dot from the Dots & Stripes Jewel Tones 6x6 paper pad.


I then set about creating the little scene and adhered some of the images with double sided foam adhesive to add a little depth and dimension. I finished it off by stamping the “pumpkin spice” sentiment from the Happy Harvest stamp set.

I hope you enjoyed seeing how this fall scene came together by combining the Happy Harvest and Fall Kiddos stamp set. Now it's your turn to pull our some Sunny Studio Stamps and start creating a fall scene for your next card! 

Sunny Studio Supplies Used:

Fancy Frames- Rectangles
Shop at:
Sunny Studio
Polka-dot Parade 6x6 Paper
Shop at:
Sunny Studio
Dots & Stripes Jewel Tones 6x6 Paper
Shop at:
Sunny Studio
Fall Kiddos Stamps
Fall Kiddos Stamps
Shop at:
Sunny Studio
Fall Kiddos Dies
Fall Kiddos Dies
Shop at:
Sunny Studio
Happy Harvest Stamps
Shop at:
Sunny Studio
Happy Harvest Dies
Happy Harvest Dies
Shop at:
Sunny Studio
Woodland Borders Dies
Shop at:
Sunny Studio

Monday, August 20, 2018

Sliding Window Fall Themed Interactive Card with Eloise

Hi friends, Eloise here and today I'll be using the new Sliding Window Die along with Happy Harvest and Fall Kiddos to create my card. This is my first time using the Sliding Window Die and it's so super amazing, I love interactive dies, and this one is so easy to use!

Sunny Studio Stamps: Sliding Window Dies Fall Kiddos Happy Harvest Interactive Card by Eloise Blue

To begin my card today, I started off with stamping out the images from Happy Harvest and Fall Kiddos onto some watercolour cardstock. I clear heat embossed them and then coloured them in with Zig Clean Color Real Brush Markers. I then used the coordinating dies to cut them out. Next, I took the Sliding Window Die and laid it in the middle of a piece of dark green cardstock that was cut to 4" wide by 5 1/2" tall and ran that through my big shot machine. Next, I scored along all the lines of the die to make it easier for later. 

Next I cut down a piece of white cardstock to the same size as my dark green panel, but as a card base and also an additional piece of white cardstock to 3 1/4" x 4 1/2" and adhered that to the back of my die cut piece, so when I pull from one side, it folds up. Next I cut a blue piece of cardstock and added it to the front of my sliding window panel. Only add adhesive to the bottom half as you don't want it to stick down the entire panel. I also cut a green hill and adhered it to the bottom of the blue piece. I'm also just going to take a moment to link Jennifer McGuire's video here as well, since I feel she explained the whole process better in her video. 

Sunny Studio Stamps: Sliding Window Dies Fall Kiddos Happy Harvest Interactive Card by Eloise Blue

Now it's time to adhere my images into place, I used foam tape and popped them all up and then adhered them onto the green and blue background. For my sentiment, I white heat embossed the 'Leaves Are Falling, Autumn Is Calling' sentiment from Happy Harvest onto a black strip of cardstock and adhered it onto the right hand side of my panel. Lastly, I adhered my panel onto a card base and my card was complete. 

Thanks so much for stopping by today, I hope you enjoyed and I'll catch you all next time.

Sunny Studio Supplies Used:

Fall Kiddos Stamps
Fall Kiddos Stamps
Shop at:
Sunny Studio
Fall Kiddos Dies
Fall Kiddos Dies
Shop at:
Sunny Studio
Happy Harvest Stamps
Shop at:
Sunny Studio
Happy Harvest Dies
Happy Harvest Dies
Shop at:
Sunny Studio
Sliding Window Dies
Sliding Window Dies
Shop at:
Sunny Studio

Saturday, August 18, 2018

Guest Designer Spotlight: Cards with Leanne West

Hi everyone! Leanne West here and I’m back again to share three cards I’ve made featuring some of the fall release products. This time I’ve focused on using some of the stand alone dies along with the pattern paper. There’s very little stamping on these cards. Only the sentiments are stamped. I rarely make cards that are this die cut heavy but I thoroughly enjoyed the process and I’m so happy with the results.  

Sunny Studio Stamps: Nutty For You Fall Flicks Filmstrip Comic Strip Everyday Fall Themed Cards by Leanne West

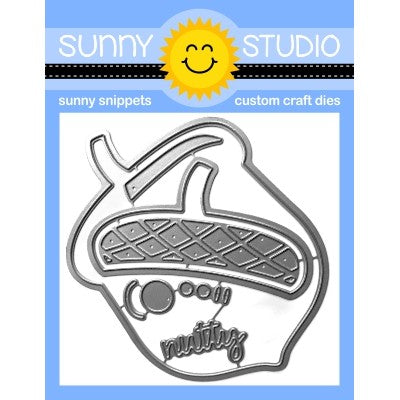
First up is a card that features the Nutty For You dies. This was such an easy card to make but really packs a punch with the oversized acorns. Instead of using all solid card stock for my die cuts, I decided to jazz it up a bit by using some of the Amazing Argyle and Gingham Jewel Tones pattern paper for the body of the acorn. I kept the sentiment simple by stamping and heat embossing “autumn” from the Fall Kiddos stamp set and adding the die cut “greetings” from the Greetings Word die. I used some vellum behind the acorns to help them stand out from the A2 sized kraft card base.  

Sunny Studio Stamps: Nutty For You Fall Flicks Filmstrip Comic Strip Everyday Fall Themed Cards by Leanne West

For my second card I wanted to create a fall scene using the Fall Flicks Filmstrip dies. This set contains dies to build tiny sunflowers and pumpkins and I thought it would be fun to make them out of the Gingham Jewel Tones pattern paper. This paper is double sided and I used both sides. The rolling hills were created using the Woodland Borders dies. I decided to also have some fun with the sentiment. I thought the large Happy Word die is such a wonderful contrast in size to the tiny sunflowers and pumpkins. The stamped part of the sentiment is from Fall Kiddos.  

Sunny Studio Stamps: Nutty For You Fall Flicks Filmstrip Comic Strip Everyday Fall Themed Cards by Leanne West

For my final card I’ve created another fall scene, but this time I used some of the Comic Strip Everyday dies. Again I’ve cut most of the pieces to build the scene out of the Gingham Jewel Tones pattern papers. I think the gingham paper makes beautiful fall foliage for the trees. The stamped sentiment is from the Beautiful Autumn stamp set.  

I wanted to share a few tips that helped streamline the process of all the die cutting for building these scenes. When having to make a lot of cuts with tiny dies, I found that a small die cutting machine like the Sizzix Sidekick was very convenient. I was able to have the Sidekick right next me on my desk. I also found it very helpful to have the card stock and pattern paper I was using for each card trimmed down into small pieces - about 2” by 4” in size. That size fits perfectly through the Sidekick and I could still get many cuts out of it.  It’s good to have a pair of tweezers or a jewel picker to handle the die cut pieces. I used a quick drying liquid adhesive in a bottle with a needle nose tip for gluing the pieces together. This was especially helpful with the parts of the house since they are extra tiny. And if you are like me and have trouble deciding on colors, just go ahead and cut out more than you need in multiple colors/patterns. That way you can play around with the pieces like a puzzle until you get just right combination.  

I hope I’ve offered you some fall inspiration for using these fabulous new products from Sunny Studio. These cards were so fun to make and I now have big love for tiny dies!! Thanks so much for joining me today! Happy Crafting!! 

Sunny Studio Supplies Used:

Gingham Jewel Tones 6x6 Paper
Shop at:
Sunny Studio
Amazing Argyle 6x6 Paper
Shop at:
Sunny Studio
Beautiful Autumn Stamps
Shop at:
Sunny Studio
Comic Strip Everyday Dies
Shop at:
Sunny Studio
Fall Flicks Filmstrip Dies
Shop at:
Sunny Studio
Fall Kiddos Stamps
Fall Kiddos Stamps
Shop at:
Sunny Studio
Greetings Word Die
Greetings Word Die
Shop at:
Sunny Studio
Happy Word Die
Happy Word Die
Shop at:
Sunny Studio
Nutty For You Dies
Nutty For You Dies
Shop at:
Sunny Studio
Woodland Borders Dies
Shop at:
Sunny Studio

Friday, August 17, 2018

Fruit Cocktail Pearfect Ever After Card with Lexa

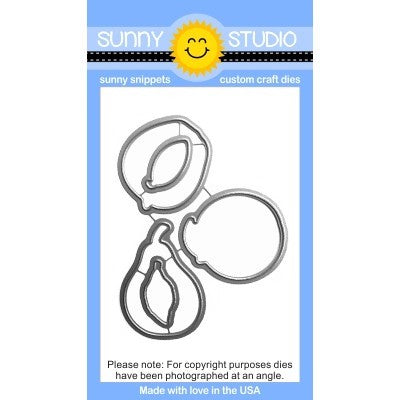
Hello everyone! Lexa here today with a card that highlighting Fruit Cocktail Stamps and the coordinating dies. This stamp set is really popular I know, but it's my first time using this set after the release and now I know why everybody loves it. The result of building three steps of stamping is amazing and so realistic.

Sunny Studio Stamps: Fruit Cocktail Quilted Hexagons Pearfect Ever After Card by Lexa Levana

First, I create a background for my card and I choose purple so it will contrast with the pears. I blend two tones of purple that faded through the outside. Some striped and polkadot hexagons from Quilted Hexagon Stamps are stamped here and there with the same purple inks. I love how it creates such a dynamic proportion for a simple card like this. 

Sunny Studio Stamps: Fruit Cocktail Quilted Hexagons Pearfect Ever After Card by Lexa Levana

The pears are stamped with various green dye inks and I also stamp smiley faces from Happy Harvest to add extra cuteness. And a tiny red heart in between them. Another reason why I love this set is their punny sentiments that can be mixed and match one with another. So much fun, right? Last but not least, I add purple borders around my card using Gingham Jewel Tones.

Thank you so much for stopping by, I really hope you enjoy today's post. Have an amazing day!

Sunny Studio Supplies Used:

Quilted Hexagon Stamps
Shop at:
Sunny Studio
Gingham Jewel Tones 6x6 Paper
Shop at:
Sunny Studio
Fruit Cocktail Stamps
Shop at:
Sunny Studio
Fruit Cocktail Dies
Fruit Cocktail Dies
Shop at:
Sunny Studio
Happy Harvest Stamps
Shop at:
Sunny Studio