Thursday, August 16, 2018

Happy Thoughts Watercolor Rainbow Happy Birthday Card with Vanessa

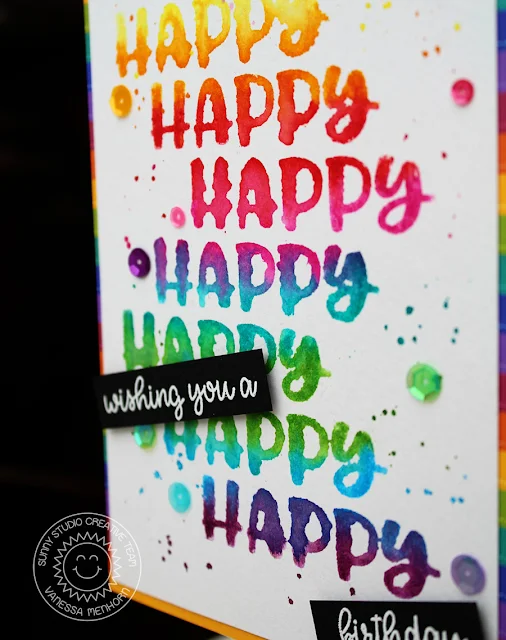
Hello everybody! Vanessa here today with a colorful rainbow card using Happy ThoughtsYou can not go wrong with a rainbow. And a watercolor look. Do you agree? I combined both on today's card!

Sunny Studio Stamps: Happy Thoughts Watercolor Rainbow Happy Birthday Card by Vanessa Menhorn

To achieve this look on my happys, I inked the stamp with two different Distress Ink colors, spritzed the stamp with water and stamped it onto a panel of watercolor paper. Then I added droplets of color and let everything dry. Now I covered a card with the fun striped patterned paper from the Preppy Prints 6x6 Paper and adhered the stamped panel.

Sunny Studio Stamps: Happy Thoughts Watercolor Rainbow Happy Birthday Card by Vanessa Menhorn

After I had stamped and heat-embossed the sentiment onto a strip of black cardstock, I trimmed it and adhered it to the card with foam-tape. Finally, I added matching sequins to the whole card.

I hope this card made you happy today, no matter if it is your birthday or not :) Thank you for stopping by!

Sunny Studio Supplies Used:

Preppy Prints 6x6 Paper
Shop at:
Sunny Studio
Happy Thoughts Stamps
Shop at:
Sunny Studio

Wednesday, August 15, 2018

Fruit Cocktail Clean and Simple Die Cut Fruit Card with Franci

Hi there, Franci here with you today with a clean and simple card feat the new Fruit Cocktail set! All the talented ladies on the team have been showing you how to build up the images with the amazing layering stamps technique. So this time, for my project, I thought outside the box a little and gave this set a fun twist! 

Sunny Studio Stamps: Fruit Cocktail Clean and Simple Die Cut Fruit Card by Franci Vignoli

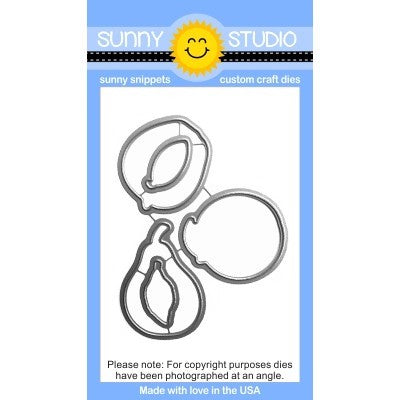
I created this card by die cutting the fruits and coloring them with Distress inks. Yeah, it's that simple! The coordinating dies do not always allow you to just die cut and color them, but in this specific case, they are so close to the original fruit shapes you can do it.

For all of the leaves, I used Twisted Citron, Shabby Shutters and Peeled Paint Distress inks. I colored the pear with the same combo and I used Spiced Marmelade and Abandoned Coral for the peach and the apple.

Sunny Studio Stamps: Fruit Cocktail Clean and Simple Die Cut Fruit Card by Franci Vignoli

I cut my card base out of white cardstock and I created a dry embossed frame on the front using my scoring board. I adhered my fruits onto my white card, stamped my sentiment (which I love!) in Memento black ink at the bottom, and added some sparkling sequins to finish my card.

I'm so super happy with how it turned out. I hope you like it too and thank you so much for stopping by today. Have a lovely week.

Sunny Studio Supplies Used:

Fruit Cocktail Stamps
Shop at:
Sunny Studio
Fruit Cocktail Dies
Fruit Cocktail Dies
Shop at:
Sunny Studio

Tuesday, August 14, 2018

Nutty For You Sequin Filled Shaker Card with Juliana

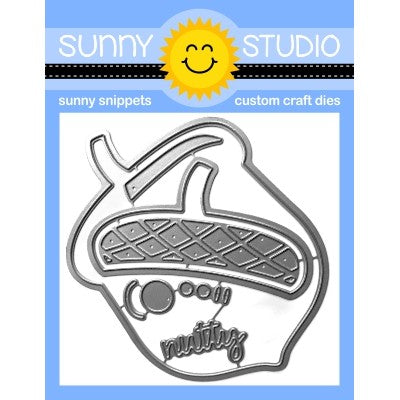
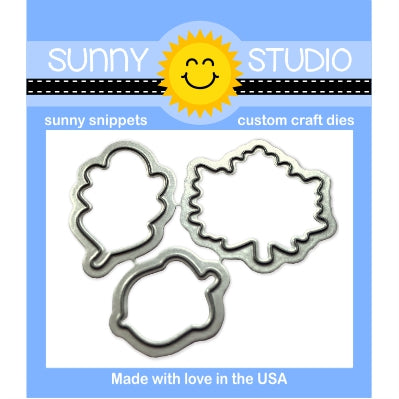
Hello friends! It's Juliana Michaels and today I'm sharing a fun interactive shaker card I created using the new Nutty For You die. This die has so many possibilities from just simple die cutting to something more complicated like the shaker card I'm sharing with you today.

Sunny Studio Stamps: Nutty For You Happy Harvest Sequin Filled Acorn Shaker Card by Juliana Michaels

I began by creating a template to use for creating the shaker box window. I took the outline die of the acorn and centered it in the middle of a piece of 4.25 x 5.5 inch scrap cardstock. I used Therm O Web Purple Tape to hold the die in place and ran it through my die cutting machine. I then lined up this template on a piece of 4.25 x 5.5 inch teal wood grain patterned paper from the Amazing Argyle 6x6 paper pad and die cut it. I used a stitched rectangle die to trim this down a bit smaller, but you can also just trim off an 1/8” on each side. I repeated the die cutting on a piece of 4.25 x 5.5 white cardstock and adhered the teal woodgrain on top of it to create the card front.

Next, I took a piece of double sided foam adhesive and cut it to 4.25 x 5.5 inches. I placed the template on top of it and die cut it with the acorn shape to create the shaker box. To cover the front of the shaker box, I cut an acetate sheet to size and adhered it on top of the double sided foam sheet. On top of the acetate, I adhered the card front.

Sunny Studio Stamps: Nutty For You Happy Harvest Sequin Filled Acorn Shaker Card by Juliana Michaels

For the inside of the shaker, I die cut the rest of the Nutty For You pieces from various colors of cardstock. I layered them to create the acorn and adhered them together. I stamped the sentiment using a stamp from the Happy Harvest stamp set directly onto the acorn with black ink. Using the template as a guide, however this time without the die, I adhered the cardstock acorn to a piece of white cardstock to create the base of the shaker.

Now it's time to add fill the shaker with beads and sequins. I prefer to pour them on top of the inside design so I can kind of see how much “stuff” I have in the shaker. Just be careful to keep the fillers toward the center of the image so they don't get stuck to the shaker box. Once you have the sequins and beads added, adhere the top of the shaker to the base. To complete the card, add a burlap ribbon to the top of the acorn on the card front.

Sunny Studio Stamps: Nutty For You Happy Harvest Sequin Filled Acorn Shaker Card by Juliana Michaels

I'm just nutty for how this shaker card turned out! See what I did there?! I hope you enjoyed this bit of inspiration on how to use the Nutty For You die in a way you might not have thought of just yet! Happy card making! 

Sunny Studio Supplies Used:

Amazing Argyle 6x6 Paper
Shop at:
Sunny Studio
Happy Harvest Stamps
Shop at:
Sunny Studio
Nutty For You Dies
Nutty For You Dies
Shop at:
Sunny Studio

Monday, August 13, 2018

Beautiful Autumn Vellum Acorn Card with Eloise

Hi friends, Eloise here and today I'll be using the Beautiful Autumn stamp set along with the Nutty For You dies to create a simple Autumn themed card.

Sunny Studio Stamps: Beautiful Autumn Nutty For You Happy Harvest Vellum Acorn Card by Eloise Blue

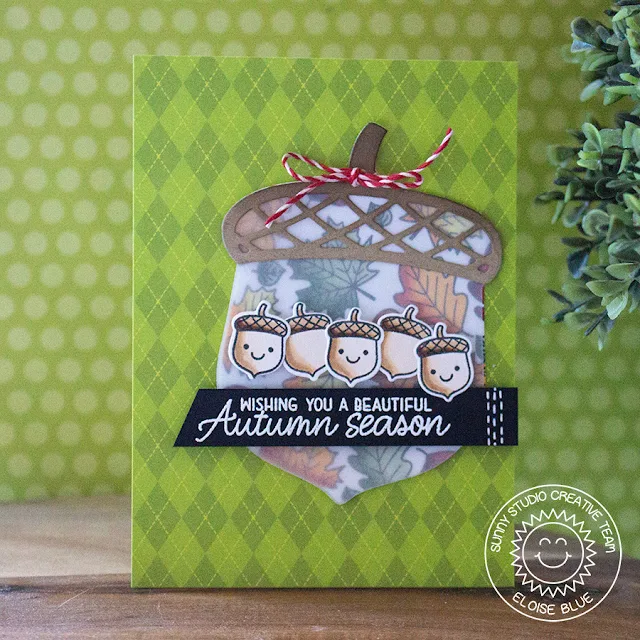
To start off I stamped out some of the leaves from the Beautiful Autumn stamp set onto some white cardstock in a random pattern, making sure they're close together as I'm going to die cut a shape later. I also pulled in some smaller leaves from Happy Harvest to fill in the gaps. Once they were all stamped, I cut the panel out with the Acorn die from Nutty For You. Then I coloured the leaves in with Copic Markers. Next I stamped some of the Acorns out from Beautiful Autumn onto some more white cardstock and coloured those in as well. Once everything was coloured, I cut the acorns out with the coordinating dies. While I had my die cutting machine out I also cut out another large acorn from some vellum and the top of the acorn out of some kraft cardstock as well.

(Copic Markers Used: Y38, YR15, YR18 / Y11, Y15, Y35 / YG61, YG63, YG67 / YR21, YR24, YR27 / E50, E53, E55, E57 / R17, R29, R89)

Sunny Studio Stamps: Beautiful Autumn Nutty For You Happy Harvest Vellum Acorn Card by Eloise Blue

Now that all my elements were ready I adhered my small acorn images onto the vellum acorn with foam tape. I then added score tape onto the back and adhered it to the leaf stamped acorn. Next I added some brown distressing onto the kraft topper and adhered that on as well. To add a little extra texture to the acorn, I tied a small bow at the top off the stem. For my sentiment I white heat embossed the 'Wishing You A Beautiful Autumn' sentiment onto a strip of black cardstock, added some white dashed lines onto the right hand side and adhered it over top. To finish off completely I added my acorn onto some green patterned paper from Amazing Argyle and then onto a card base. 

Thanks so much for stopping by today and I'll see you next week. 

Sunny Studio Supplies Used:  
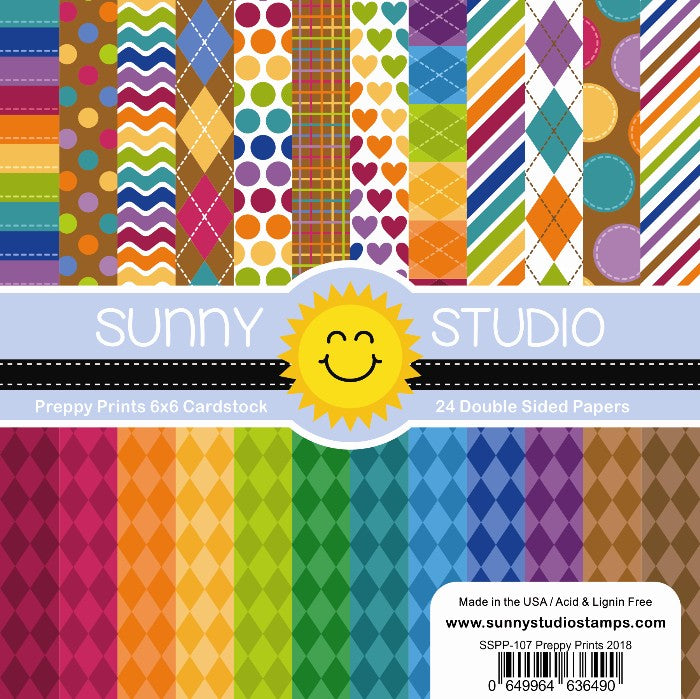
Amazing Argyle 6x6 Paper
Shop at:
Sunny Studio
Beautiful Autumn Stamps
Shop at:
Sunny Studio
Beautiful Autumn Dies
Shop at:
Sunny Studio
Happy Harvest Stamps
Shop at:
Sunny Studio
Happy Harvest Dies
Happy Harvest Dies
Shop at:
Sunny Studio
Nutty For You Dies
Nutty For You Dies
Shop at:
Sunny Studio

Sunday, August 12, 2018

Guest Designer Spotlight: Sliding Window Card & Video with Laura Sterckx

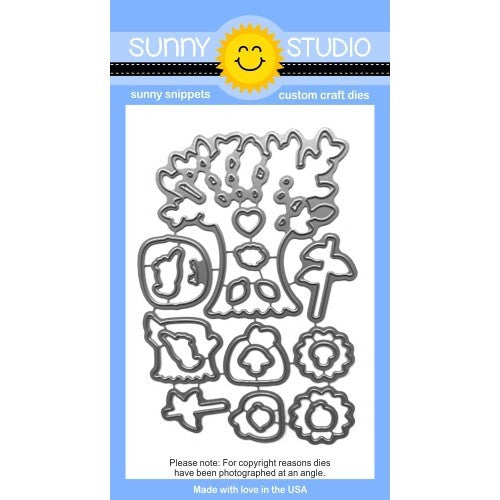
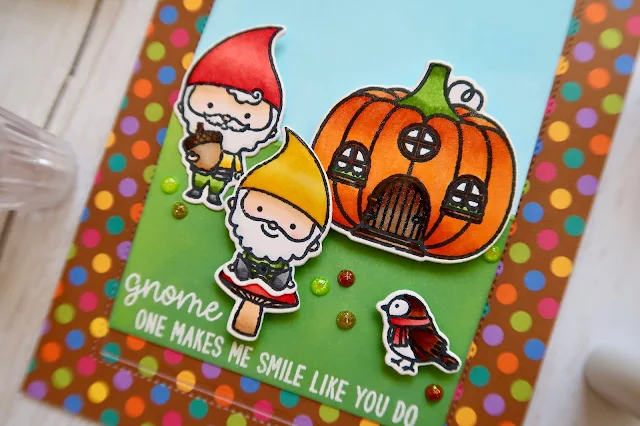
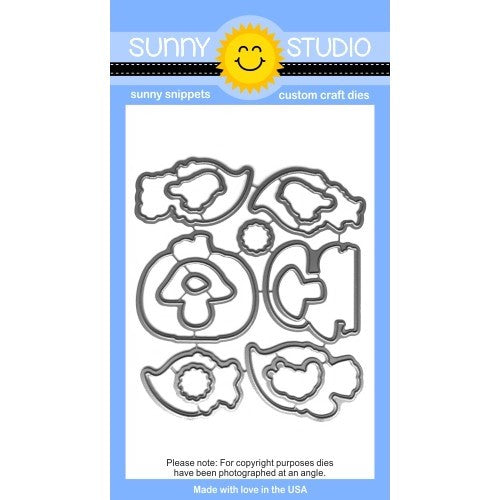
Hi everybody! It's Laura Sterckx here from Making Cards Is Fun and I'm glad to be back with another guest post on the Sunny Studio blog. When Mendi showed me the Fall 2018 Release I fell head over heels in love. The first set that spoke to me was the Home Sweet Gnome set. Just look at those adorable images and the fun sentiments. 

Sunny Studio Stamps: Sliding Window Home Sweet Gnome Card by Laura Sterckx

I decided to pair up the Home Sweet Gnome set with the Sliding Window die to create a cute pop up card. I stepped out of my comfort zone with this card since I usually stick to clean and simple designs. Thankfully, this die made it so easy and fast!

Sunny Studio Stamps: Sliding Window Home Sweet Gnome Card by Laura Sterckx

I colored images from the Home Sweet Gnome set with Copic Sketch Markers and added sparkle with a Spectrum Noir Sparkle Pen and a coat of Tonic Nuvo Crystal Glaze. 

Sunny Studio Stamps: Sliding Window Home Sweet Gnome Card by Laura Sterckx

For my sentiment, I paired together two stamps from the gnome set and heat embossed them with Opaque Bright White Embossing Powder from WOW. Finally, I applied Tonic Nuvo Drops here and there.


I created a video showing the making of this card as well. You can find more videos on my YouTube channel. That's it for now. Thank you so much for stopping by. Enjoy this new release!

Sunny Studio Supplies Used:

Home Sweet Gnome Stamps
Shop at:
Sunny Studio
Home Sweet Gnome Dies
Shop at:
Sunny Studio
Sliding Window Dies
Sliding Window Dies
Shop at:
Sunny Studio