Hello crafty friends, Marine here with you today, I'm so happy to be back on the blog! Since summer is officially here, I thought it would be nice to take you to the beach, drink some refreshing cocktails and have fun in the ocean. As very often, the scene I had in mind was extra busy with many images, so I went for a slimline design to create my card.
I started off by stamping all the images on 110lb Neenah solar white cardstock using an alcohol marker friendly black ink. I cut them all using the matching dies, and then colored everything using my Ohuhu markers and my Graph'it brush markers.
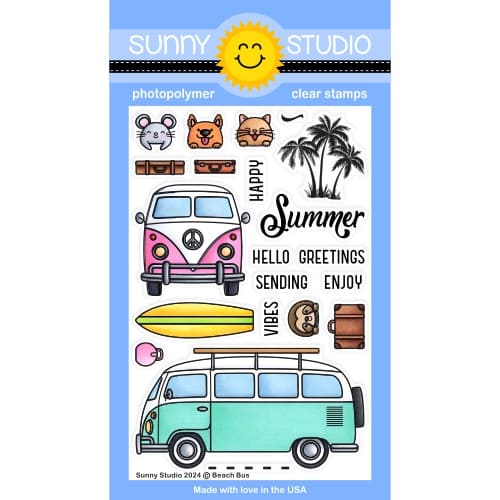
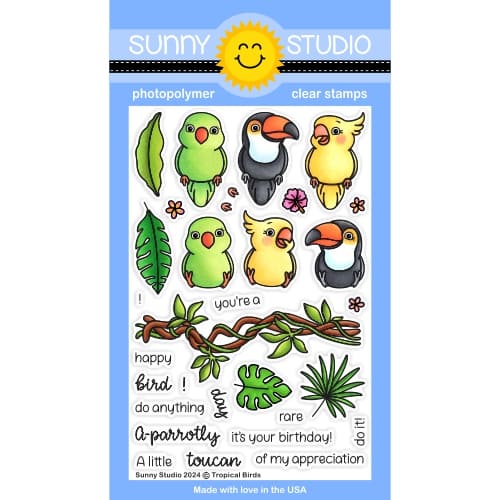
As always, here is a detailed list of the stamp sets I used: • Tiki Time - bar, torches, cocktails, leaves, toucans • Seasonal Trees - palm tree, coconuts • Tropical Birds - flowers • Paris Afternoon - table & parasol, chairs • Beach Bus - surfboard • Ocean View - seashell • Beach Babies - two characters, balloon • Kiddie Pool - four characters, droplets • Beach Buddies - sunglasses, snorkeling mask.
I added highlights and details to the images using a white gel pen, set them aside for later, and cut a 3 x 8 inches Strathmore bristol smooth panel. I masked the stitched edges off with washi tape, divided it in three sections using washi tape again, and used oxide inks to create my beach landscape:
• in the upper section, I created a cloudy sky using a stencil from my stash along with tumbled glass and broken china. I mixed some broken china oxide ink with water, and used a slim brush to add splatters to my sky,
• on the middle section,
I blended antique linen and vintage photo to create sand, and added brown
splatters using vintage photo oxide ink,
• on the lower section,
I did the ocean using broken china and uncharted mariner, and added dark blue
splatters using uncharted mariner oxide ink.
Next I mixed some copic opaque white ink with water and added white splatters all over the panel. And to give the illusion of sea foam between the sand section and the ocean section, I applied white ink on that area using a sponge dauber, and added even more ink using the rounded end of a brush.
When my panel was dry, I white embossed "Happy summer" from Beach Babies at the very bottom, and then I attached all the images using 1mm and 2mm foam squares.
Next I cut a scalloped panel out of aqua cardstock using a Slimline Scalloped Frame die, attached it to an 8,5 x 3,5 inches white card base using 1mm foam tape, and finally stuck my beach scene panel using foam tape again.
And that's it! Now put your swimsuit on, grab your sunscreen and sunglasses, and let's go have some fun at the beach! Thanks so much for stopping by, and see you next time!
Sunny Studio Supplies Used:
 Beach Buddies Stamps Shop at: Sunny Studio |
 Beach Buddies Dies Shop at: Sunny Studio |
 Tiki Time Stamps Shop at: Sunny Studio |
 Tiki Time Dies Shop at: Sunny Studio |
 Beach Babies Stamps Shop at: Sunny Studio |
 Beach Babies Dies Shop at: Sunny Studio |
 Seasonal Trees Stamps Shop at: Sunny Studio |
 Seaonal Trees Dies Shop at: Sunny Studio |
 Paris Afternoon Stamps Shop at: Sunny Studio |
 Paris Afternoon Dies Shop at: Sunny Studio |
 Ocean View Stamps Shop at: Sunny Studio |
 Ocean View Dies Shop at: Sunny Studio |
 Kiddie Pool Stamps Shop at: Sunny Studio |
 Kiddie Pool Dies Shop at: Sunny Studio |
 Beach Bus Stamps Shop at: Sunny Studio |
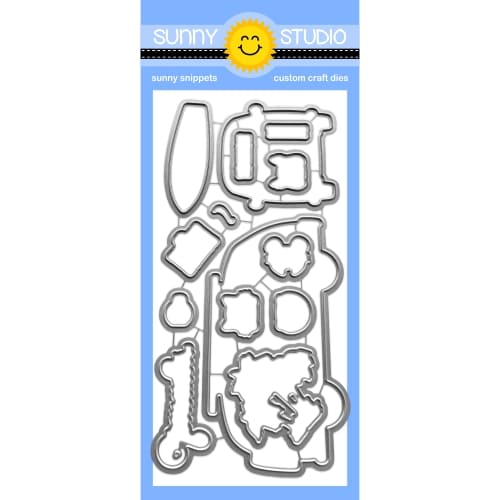
 Beach Bus Dies Shop at: Sunny Studio |
 Tropical Birds Stamps Shop at: Sunny Studio |
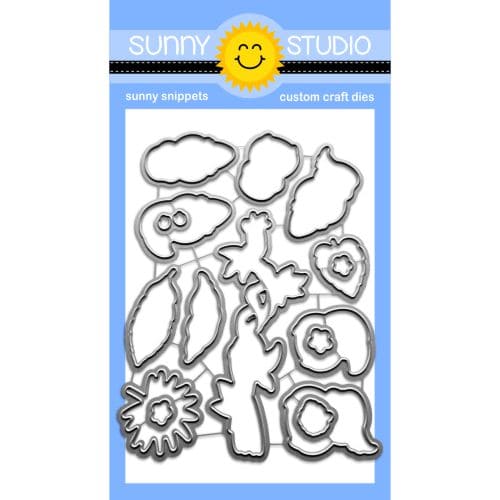
 Tropical Birds Dies Shop at: Sunny Studio |
 Slimline Scalloped Frame Shop at: Sunny Studio |


No comments:
Post a Comment