Hello crafty friends, Marine here,
I'm super happy to be back with this 4th of July themed shaker card featuring a
mix and match of images from multiple stamp sets. I may not be an American
citizen, but 4th of July cards have always been extra fun to create because you
don't get to use this red, white and blue color palette on many cards.
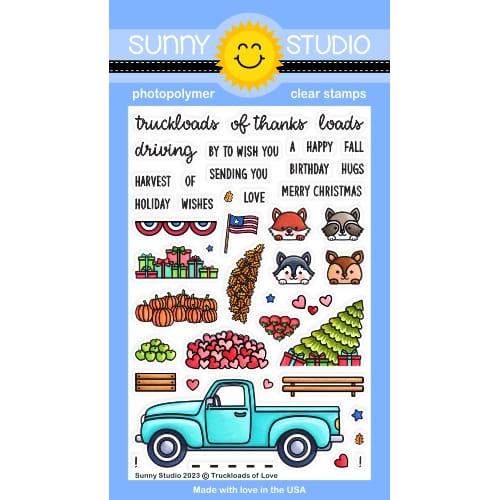
So, as very often, I started off by stamping the images on 110 Neenah solar white cardstock using an alcohol marker friendly black ink, I used the matching dies to cut them all, and colored everything using my Ohuhu markers. And as always, here is a detailed list of the stamp sets I used: • Plane Awesome - plane, banner, clouds, pilot • Spring Showers - kids • Truckloads Of Love - flags • Bunnyville - tulips, grass • Scenic Route - houses • Spring Scenes - trees.
When the coloring was done, I added highlights and details to the images using a white gel pen. Next, I cut a 5,5 x 4,25 inches panel out of a Surprise Party starry blue paper, I darkened the edges using chipped sapphire distress ink, mixed some of that same ink with water and used a slim brush to add splatters to the panel, mostly on the edges, and then I did the same with copic opaque white ink.
While my starry blue panel was drying, I cut a 5,5 x 4,25 inches Strathmore bristol smooth panel, and created a very simple sky all over it using a cloudy stencil from my stash along with tumbled glass and salty ocean oxide inks. I splattered water on the panel, dried it with a paper towel, mixed some salty ocean oxide ink, prize ribbon oxide ink and candied apple oxide ink with water and used my slim brush again to add blue and red splatters to my cloudy background. I added white splatters as well, and once my panel was dry, I attached the Scenic Route houses at the bottom using liquid glue.
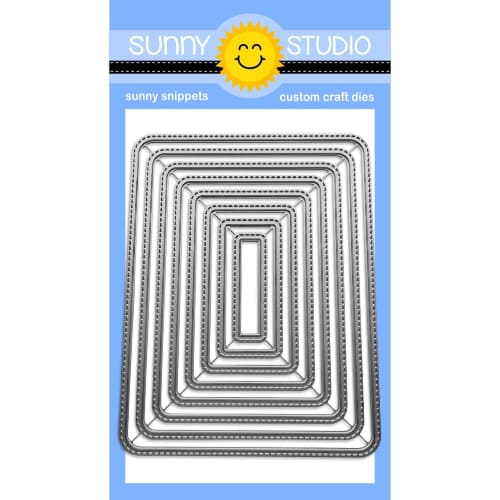
Once my starry blue panel was dry, I cut a large opening out of it using the second largest Rounded Rectangle Window die, leaving me with a starry blue frame. I attached this frame to a piece of acetate using liquid glue, I flipped my panel over and added foam strips all along the rounded window and along the very edges of my panel as well, I poured some Americana confetti on the acetate, peeled the backing papers off the foam strips, and then attached my cloudy panel to those strips to totally close my shaker panel.
I white heat embossed "Let your dreams soar" from Plane Awesome on the banner, and finally attached all the images to my card using 1mm and 2mm foam squares.
And that's it! I hope that you like this new mix & match, it was really fun to put this little scene together. Thanks so much for stopping by, and see you next week with a trio of 4th of July tags!
Sunny Studio Supplies Used:
 Plane Awesome Stamps Shop at: Sunny Studio |
 Plane Awesome Dies Shop at: Sunny Studio |
 Scenic Route Stamps Shop at: Sunny Studio |
 Scenic Route Dies Shop at: Sunny Studio |
 Spring Scenes Stamps Shop at: Sunny Studio |
 Spring Scenes Dies Shop at: Sunny Studio |
 Spring Showers Stamps Shop at: Sunny Studio |
 Spring Showers Dies Shop at: Sunny Studio |
 Bunnyville Stamps Shop at: Sunny Studio |
 Bunnyville Dies Shop at: Sunny Studio |
 Truckloads of Love Stamps Shop at: Sunny Studio |
 Truckloads of Love Dies Shop at: Sunny Studio |
 Rounded Rectangle Window Dies Shop at: Sunny Studio |
 Surprise Party 6x6 Paper Shop at: Sunny Studio |


No comments:
Post a Comment