Hello, and welcome to day 2 of our Spring Sneak Peek Week! All this week I am sharing cards showcasing our newest collection which will be available for purchase this Friday!
Card No. 1: I've always had a soft spot for cats, so I'm extra happy to share cards today using our darling new Cat Antics Stamps. This set comes with 11 unique cat images, so I love this grid-style card, which allowed me to showcase nearly half of them. I started by cutting an A2-sized cardstock panel twice using our Window Trio Heart Landscape Dies. I then filled behind each heart using tone-on-tone swatches of our new diagonal grid print from our Background Basics 2 Stamps in pink, fuchsia, and aqua. I added some of the kitty accessories from the set, like the yarn ball, mouse toy, and food bowl, coloring them to match. I then heat embossed the punny sentiment "pawsitive vibes" in the 6th heart in the top, right corner. I have a teenage daughter for whom this card will be perfect. Her generation is all about "chill vibes."
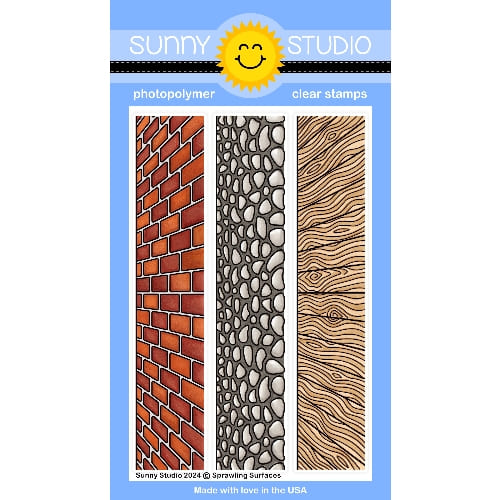
Card No. 2: For my next card, I used the cute cardboard box from the set, adding two of the peeking kitties from the set and three other cats outside the box from our new Cat Antics Stamps. As a backdrop, I created a living room scene. I added "wallpaper" using a baby blue floral print from our Spring Fever Paper pack. I then used the wood floor border from our Sprawling Surfaces Stamps along the bottom of my card front and added a thin strip of white cardstock between the two to form my base molding. I added an armchair from our Cozy Christmas Stamps, stamped it onto a piece of red gingham-patterned paper from our Joyful Holiday Paper pack, and fussy cut it out with my scissors. I added three small windows around my chair using the window from our Sweet Treats House Add-on Dies. Lastly, I heat embossed the sentiment "I'm furever grateful" onto our Brilliant Banner 4 Dies, which had been cut out using a red polka-dot print from our Polka-dot Parade Paper.
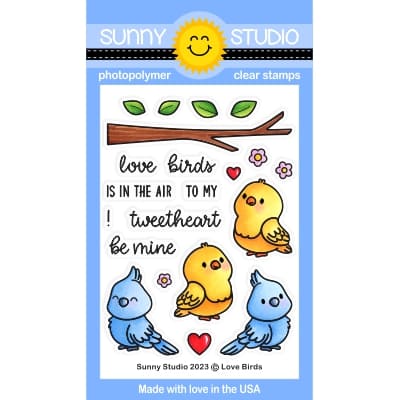
Card No. 3: For this next card featuring the Cat Antics Stamps, I wanted the kitty holding the heart-shaped yarn and the other yarn balls piled into the cardboard box for the set to take center stage. I mounted them onto a stitched Rounded Rectangle Mat, which I backed with one of the slightly larger negative spaces left over from our Rounded Rectangle Window Dies. I then added a red and pink striped background behind them using our Diagonal & Straight Stripes Stencils. I created my own custom greeting by spelling out the word "wool" using our Chloe Alphabet Dies, stamping the word "you" from our Sea You Soon Stamps, "be mine" from our Love Birds Stamps, and the question mark from our Silly Sloths Stamps.
Card No. 4: Up next is another card inspired by the ball of yarn from the Cat Antics Stamps. This time I inked up large pastel dots of color across my entire background using small ink blending brushes and Distress inks. I then dried the ink really well with my heat gun, before stamping and heat embossing the balls of yarn in the center of each dot at different random angles to form my own handmade patterned paper. I really love the results!
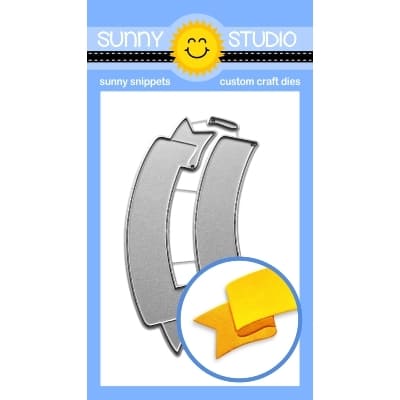
For my focal point, I put the kitty holding the fall of yarn inside the box by cutting along the stamped edge with my X-acto knife. I framed her with a pink Stitched Heart 2 Die colored with the same Picked Raspberry ink used in my background. Lastly, I tied together my little scene with our Brilliant Banner 2 Dies, which I stamped and heat embossed with a greeting from the Cat Antics set.
Card No. 5: For my next card, I created a paned window from a piece of white cardstock by die-cutting the same stitched rectangle four times using our new Rounded Rectangle Window Dies. I glued a piece of acetate behind the window panes and added foam tape on the back of my panel around the perimeter so I could add some small iridescent star confetti to create a shaker card.
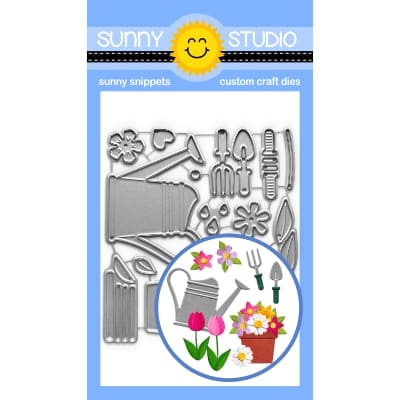
I then colored three cats from the Cat Antics Stamps and placed them inside a window box, which I cut from woodgrain textured cardstock. I didn't have a die for a box of this size so I just cut an angle from a strip of cardstock on one side and then flipped the triangle piece I cut off to use as a template to cut the other side at the same angle. For my flowers, I used all the different leaves and flowers from our Spring Garden Dies, inking them up on one side using finger daubers with distress inks. For my greeting, I heat embossed a sentiment from the Meow & Furever Stamps onto our Brilliant Banner 4 Dies, cut from pink cardstock.
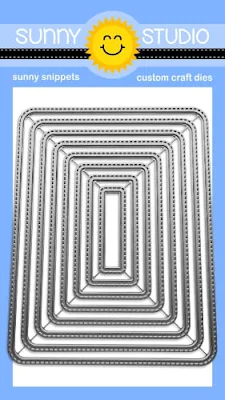
I've only scratched the surface today on how our new Rounded Rectangle Mat Dies and Rounded Rectangle Window Dies can be used. I found myself turning to these versatile dies for so many cards, which I will share much more later in the week.
Card No. 6: For my last card of the day, I colored the three little peeking tuxedo kitties from the Cat Antics Stamps. Black and white cats are my favorite so I couldn't resist creating a card dedicated to them. Plus, it made for a fun, bold color scheme when paired with hot pink. I used a row of three stitched hearts from our Window Trio Heart Portrait Dies and Window Trio Heart Landscape Dies and heat embossed them with my greeting by combining the "pawsititve vibes" phrase from the Cat Antics set with the word "sending" from our Panda Party Stamps. I then added hot pink tone-on-tone strips along the top and bottom using the print from our new Background Basics 2 Stamps. To dress it up, I added a stitched edge and ric-rac trim edge with our Slimline Basic Border Dies. Lastly, I embellished it with tiny hearts from our Basic Mini Shape Dies 2, which were topped with some Stickles Twinkle Glitter and set aside to dry.

That wraps up today's sneak peek. I'm so happy you joined me today! I'd love to give a $50 gift code to one lucky winner using the Rafflecopter below. Our daily contests will run through Saturday, January 11th at Midnight PST with winners announced here on Sunday, January 12th.a Rafflecopter giveaway
Here's a closer look at our new Cat Antics Stamps & Dies, Rounded Rectangle Mat Dies, and Rounded Rectangle Window Dies used today, which will be available for purchase on Friday, January 10th.
Other Supplies Used:
 Tsukineko Jumbo Dauber Shop at: Sunny Studio |
 Versafine Onyx Black Ink Shop at: Sunny Studio |
 Polka-dot Parade 6x6 Paper Shop at: Sunny Studio |
 Basic Mini Shape Dies 2 Shop at: Sunny Studio |
|
 Sweet Treats House Add-on Shop at: Sunny Studio |
 Sea You Soon Stamps Shop at: Sunny Studio |
 Slimline Basic Borders Shop at: Sunny Studio |
 Meow & Furever Stamps Shop at: Sunny Studio | |
 Stitched Heart 2 Dies Shop at: Sunny Studio |
 Cozy Christmas Stamps Shop at: Sunny Studio |
 Cozy Christmas Dies Shop at: Sunny Studio |
 Joyful Holiday Paper Shop at: Sunny Studio | |
 Panda Party Stamps Shop at: Sunny Studio |
 Hayley Lowercase Alphabet Dies Shop at: Sunny Studio |
 Spring Fever Paper Shop at: Sunny Studio |
 Brilliant Banner 2 Dies Shop at: Sunny Studio | |
 Love Birds Stamps Shop at: Sunny Studio |
 Sprawling Surfaces Stamps Shop at: Sunny Studio |
 Spring Garden Dies Shop at: Sunny Studio |
 Brilliant Banner 4 Dies Shop at: Sunny Studio | |
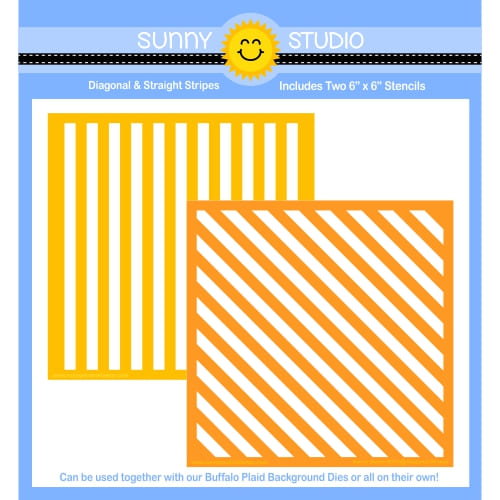 Diagonal & Straight Stripes Stencils Shop at: Sunny Studio |
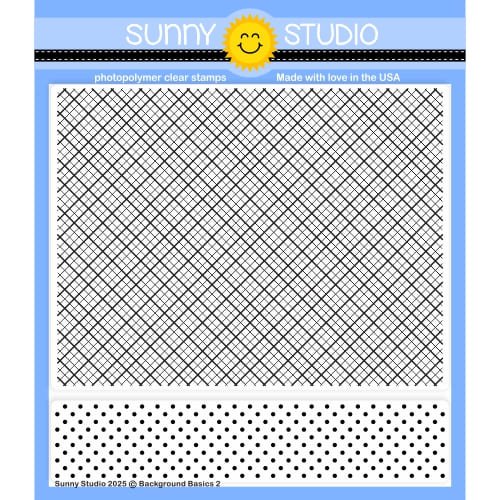 Background Basics 2 Stamps Shop at: Sunny Studio |
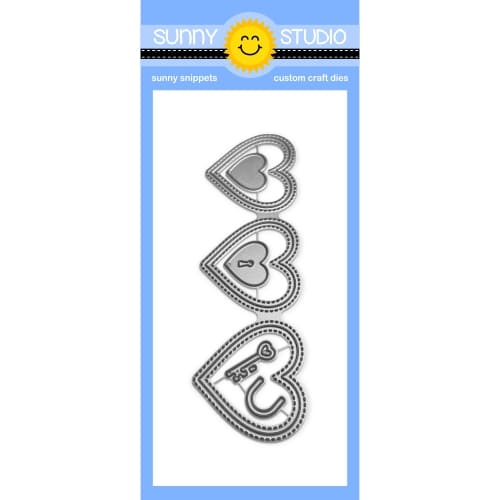 Window Trio Heart Landscape Shop at: Sunny Studio |
 Hero Arts White Detail Shop at: Sunny Studio | |
 Silly Sloths Stamps Shop at: Sunny Studio |
 Stickles Twinkle Glitter Shop at: Sunny Studio |
 VersaMark Watermark Ink Shop at: Sunny Studio |




If I have a small crafty mishap, I'll try to cover it with an embellishment, but most times I just trash it. I'm a bit of a perfectionist.
ReplyDeleteMarisela Delgado said: Oh my goodness, those are some cute cards and kitty cats. 😍 mariandmonsterd@yahoo.com
ReplyDeleteCute cards. I either turn the paper over and start again or try to fix inky mistakes with a sponge applicator and more ink.
ReplyDeleteThis set is so super cute!!! I just got a 9-mo-old cat and he is a hoot! These cards are fantastic!
ReplyDeleteLori S in PA
I try to camouflage the mistake if it is small, otherwise I tend to start over.
ReplyDeleteThose kitties are super adorable! I usually try to cover with a sentiment, and if that isn't going to work, I just make it a part of the design!
ReplyDeleteI often turn the cardstock over and try again. Sometimes I can cover it with a sentiment strip or embellishment.
ReplyDeleteWhere possible, I love to add a layer to the area where I have a mishap. Sometimes the same stamped image but raised with pop dots works!
ReplyDeleteLove, love, love the kitty stamps!
I love the Cat antics stamp set and heart window dies.
ReplyDeleteoh those kitty stamps!!! they make me think of my friend Holly who passed this year. sigh
ReplyDeleteYour kitties are darling, which says a lot coming from a dog person!
ReplyDeleteIf a creative mishap can be interpreted as a 'design innovation', I'll leave it. If it's more disastrous (as mine often are!), I'll try to cover it with a die or, in many cases, turn the panel into scraps and start anew.
Carol
The kitty set is adorable, and I love the rectangle dies too!
ReplyDeleteI like adding an embellishment to cover up a smudge, and if I stamp a sentiment and get it a bit crooked, I usually stamp it on a separate strip of cardstock and mount it over the top of the original one.
The kitties in hearts is so cute. I love them all, though.
ReplyDeleteThe kitties are so sweet! Love your shaker. I usually will add a gem, sequin, Nuvo drop - whatever fits! lol
ReplyDeleteIf I get ink on places I don't want it, I cover it with embellishments or try to erase it out. I don't freak out anymore- it is, what it is, handmade
ReplyDeleteLove the kittens!! The set is just too cute! Mistakes... ugh ... depends what it is - usually I do a cover up or pivot with the mistake to blend it in! Thanks!
ReplyDeleteSometimes my mishaps turn into "happy accidents" and I'm able to cover them up with embellishments or sentiment strips but the times when the mishaps are major, then the project ends up in the recycle bin - and I leave my craft room to go get more coffee!
ReplyDeleteThe cats are adorable! A must have! I like to cover oopsies up with an embellishment or sentiment.
ReplyDeleteAdding bling or strategic sentiment placement can hide many mistakes!
ReplyDeleteI usually will try to place an embellishment on top of a crafty blooper. If it’s still too obvious, I will start over. 😔
ReplyDeleteThe kitties are DARLING! I like putting sentiments over my mistakes!
ReplyDeleteThese little kittens are so cute. I love the the way they are drawn so they can have two colors on them. I also adore the ball of yarn that heart shaped.
ReplyDeleteLove the kitties and I have two nieces that are kitty fanatics… I like to use embellishments when I have a blooper!
ReplyDeleteSherry Storjohann
"Wool" you be mine? LOL LOL LOL So funny! Great customized sentiment! As a cat lover, this sentiment is great! What a "super" cute stamp set of kitties! So so cute! <3
ReplyDeleteIt depends on the oops! Sometimes, I leave it as part of the design. Other times, I add sentiments, additional die-cuts (like hearts or another critter/item that fits with my theme), or an embellishment. Handmade creations are one-of-a-kind, so sometimes the oops! are just part of the finished item.
ReplyDeleteLove the new cat stamps and dies!
ReplyDeleteI cover up mishaps with embellishments or a design change.
DeleteIf it's a small mishap there are lots of ways to cover it up but if it's a big one I start all over.
ReplyDeleteLove the kitties. I cover boo boos with embellishments.
ReplyDeleteCat Antics has so many different poses. There is a lot of versatility here.
ReplyDeleteLove these kitties in the window box, so many sweet cards shared. I usually recover from crafty mishaps by adding something over the error.
ReplyDeleteLove these kitty stamps! I usually try to cover up with paper or add embellishments if its a smaller spot
ReplyDeleteThese cats are too adorable.
ReplyDeleteWhat cute and versatile cats! So adorable!
ReplyDeleteI love an added stitch detail to my cards so the new dies are great.
ReplyDeleteIf I have a mishap, I try to cover it with a new layer and if that won’t work, then I just have to start over. I love these Kitty Antics!! So adorable!! Can’t wait to see even more cuteness to come!!
ReplyDeleteAdorable cats. I usually cover my mistakes with a sentiment.
ReplyDeleteI mostly cover up. These kitties are so stinking cute!!
ReplyDeleteI generally try to cover a mishap with an embellishment. Love the trio heart!
ReplyDelete