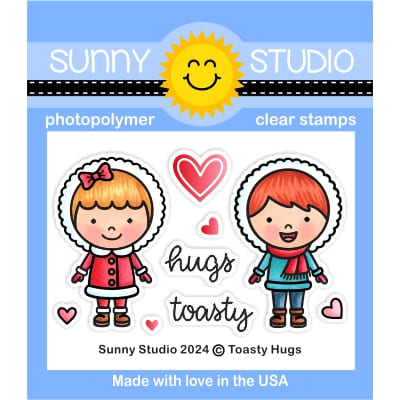
Happy Friday everyone, this is Nicky with you today on the Sunny Studio Stamps blog where I'm sharing all the details for this card using the cute little Toasty Hugs stamp set. Read on for all the details.
Using Speckled Egg Distress Oxide Ink, I ink blended the winter sky on an A2 white panel of cardstock.
I die cut the Cityscape Border Die from white cardstock and glued this created panel to the sky. Over this I layered two snow 'hills' made using the Slimline Nature Borders Die. This background panel was now ready to glue to my card base and set to one side.
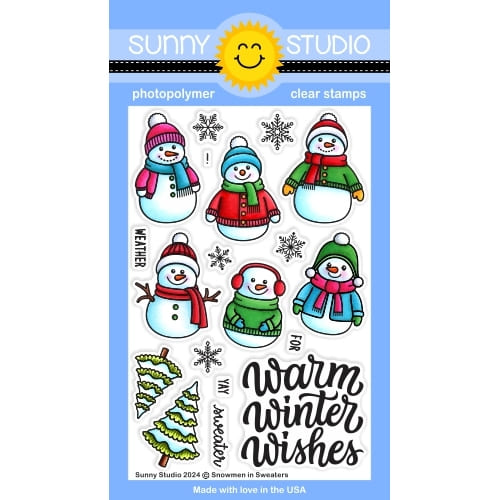
I stamped the trees from Snowmen in Sweaters and the two kids from Toasty Hugs using black ink. I coloured with the following Copic markers:
Skin - E34, E11, E21
Hair Girl Left - E44, E43, E40
Hair Girl Right - E42, E40
Blush - R22, R21, R20, R00
Green - G19, YG45
Red - R29, R24
White - C3, C1
Brown - E44, E43
I die cut the images, using the Snowmen in Sweaters Die and Toasty Hugs Die, and backed them with foam tape and attached them to the background.
For the finishing touches I stamped and heat embossed the sentiment on a red strip and attached with foam tape and I glittered the snow on the trees and then using a stylus and white acrylic paint, I dotted in the snow throughout the scene. Your snow will look far more authentic if you make sure to 'nick' the lines of some of your images as I have done and of course by dotting rather than splattering you have full control and won't spoil the faces on the characters etc.
Thank you for coming by to read today, I will be back this time next week with something brand new.
Sunny Studio Supplies Used:
 Cityscape Border Dies Shop at: Sunny Studio |
 Slimline Nature Borders Shop at: Sunny Studio |
 Snowmen in Sweaters Stamps Shop at: Sunny Studio |
 Snowmen in Sweaters Dies Shop at: Sunny Studio |
 Toasty Hugs Stamps Shop at: Sunny Studio |
 Toasty Hugs Dies Shop at: Sunny Studio |


This is beautiful! We see so many country scenes but I love the skyscrapers!
ReplyDeleteLori S in PA