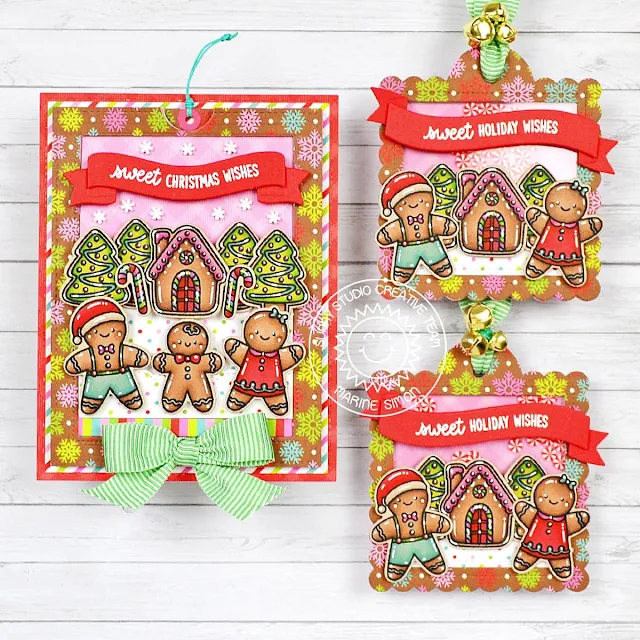
Hello crafty friends, Marine here, I'm so happy to be back with this super cute set of interactive card + treat bag topper + shaker tags featuring the lovely gingerbread cookies from Baking Spirit Bright and Christmas Cookies.
My first plan was to make the shaker tags and treat bag topper only, but I had some extra stamped images, so I quickly created a sliding card to go with my tags and treat bag topper. And to make sure that everything coordinates nicely, I used the All Is Bright 6x6 paper pack.
I started off by stamping all my images on kraft cardstock using memento tuxedo black ink. I cut them all using the coordinating dies, and colored everything using my alcohol markers. Here is a detailed list of the stamp sets I used: • Baking Spirit Bright - house, trees, stars, candy canes, small gingerbread man • Christmas Cookies - large gingerbread people.
So, let's start with the Sliding Window card, shall we? I cut a 5 x 3,75 inches All Is Bright pink gingham panel using the largest Stitched Rectangle, cut the Sliding Window out of it, as well as the notch at the very top, and also cut a 5 x 3,25 inches All Is Bright green panel.
I folded my Sliding Window pink panel on the score lines, flipped it over, and added double sided tape on the slim bottom tab. I peeled the backing paper off this tab, flipped my 5 x 3,25 inches green panel over, and attached it at the back of my Sliding Window pink panel, lining up the bottom edge of my pink panel with the slim tab. And I wanted to frame my sliding pink panel nicely, so I cut a 5 x 3,75 inches All Is Bright snowflake panel, cut a Sliding Window out of it, as well as the notch, I trimmed that panel to get a frame, and I stuck that frame to my pink panel using liquid glue.
Next I cut an All Is Bright gingerbread man paper as wide as my sliding panel, I flipped my Sliding Window panel over, and added foam strips along the bottom edge, on the long edges as well, but not along the top edge. I peeled all the backing papers off, and attached my sliding panel to the gingerbread man panel. I attached my panel to a 5,25 x 4 inches All Is Bright stripe panel, and finally to a 5,5 x 4,25 inches All Is Bright red panel.
To totally complete my interactive panel, I attached the remaining piece of snowflake paper at the top of the green pull tab panel, cut an pink eyelet using a Sliding Window die, stuck that eyelet, pierced a hole through it, and added some turquoise twine to be able to pull the interactive panel.
Next I decorated the front of my Sliding Window panel. I cut two All Is Bright polka dot panels as wide as the interactive panel (3 inches), used a die from the Ribbon & Lace Border die set to create two scalloped borders, attached those borders using 1mm foam squares, and then I stuck the images to the scalloped borders and to the pull tab panel using 1mm and 2mm foam squares.
I created two different greetings: one for the front of the card, and one for the inside. For the first one, I cut my two Brilliant Banner 1 pieces out of red cardstock, I white heat embossed "Sweet Christmas Wishes" from Baking Spirits Bright on the front pieces, attached that front piece to the back piece using 1mm foam squares, and then I stuck the whole banner above the trees using 2mm foam squares. For the second greeting, I cut a small Scalloped Oval Mat 1 panel out of aqua cardstock, white heat embossed "Sugar & Spice Make Christmas So Nice" from Baking Spirits Bright on that scalloped panel, I pulled the interactive panel of my card, and attached my small scalloped panel on the bottom section using 1mm foam squares.
To finish my card, I added a few extra details: I cut a 3 inches wide slim stripe out of an All Is Bright paper, and attached it to the tab right below the gingerbread people using liquid glue. I added a few White Snowflake confetti around the Brilliant Banner 1, added highlights and details to the images using a white gel pen, and added a bow at the very bottom of my card using liquid glue.
Now let's move on the shaker tags! They both were made following the same steps and matching All Is Bright papers:
1. Cut a Scalloped Square Tag panel out of a snowflake paper, and used the fifth smallest Stitched Square die to cut an opening inside my tag panel
2. Cut a whole Scalloped Square Tag panel out of acetate, and
attached that acetate panel to the back of the snowflake frame using liquid
glue
3. Still at the back of the
frame, added foam strips on the four edges
4. Poured some candy cane
confetti from my stash inside the frame
5. Cut a whole Scalloped Square Tag panel out of a pink gingham
paper, and stuck that pink panel to the foam strips to totally close the shaker
tag
I cut a polka dot panel using the fifth smallest Stitched Square die again, trimmed that panel into two slim strips that I attached at the bottom of each shaker window using liquid glue, and then I stuck my images using 1mm and 2mm foam squares.
I created two identical greetings using Brilliant Banner 3 dies. I cut each banner piece out of red cardstock, white heat embossed "Sweet Holiday Wishes" from Baking Spirit Bright on the front piece, stuck that front piece to the back piece using 1mm foam squares, and then attached the whole banner to the shaker window using 2mm foam squares.
For the final details, I added highlights to the images using a white gel pen, and tied some ribbon with golden bells at the top of each tag.
And last but not least: the Treat Bag Topper. I used the main die to cut the base out of red cardstock, another base out of an All Is Bright snowflake paper and I trimmed the handle off, and one last base out of an All Is Bright red gingham paper and I trimmed it to keep the handle only. I attached the red gingham handle to the red Treat Bag Topper base using liquid glue, and next the snowflake panel. I used another Treat Bag Topper die to cut the pink gingham panel, attached it to the snowflake panel using liquid glue, and then stuck the images using 1mm and 2mm foam squares.
For my greeting, I first cut a light brown tag using a Window Quad Square die, I white heat embossed "Baking Spirit Bright" from Baking Spirit Bright on the lower section of my tag, cut the top decorative piece out of an All Is Bright gingerbread man paper, stuck it to the top of my tag using 1mm foam square, and tied the tag to the handle along with three golden bells using turquoise twine. I added highlights and details to the images using a white gel pen, glued a few White Snowflake confetti, and finally attached a bow on the handle using liquid glue.
Sunny Studio Supplies Used:
 Stitched Rectangle Dies Shop at: Sunny Studio |
 Christmas Cookies Stamps Shop at: Sunny Studio |
 Christmas Cookies Dies Shop at: Sunny Studio |
 Sliding Window Dies Shop at: Sunny Studio |
 Scalloped Tags-Square Shop at: Sunny Studio |
 Window Quad Square Die Shop at: Sunny Studio |
 Scalloped Oval Mat 1 Dies Shop at: Sunny Studio |
 All Is Bright Paper Shop at: Sunny Studio |
 Ribbon & Lace Dies Shop at: Sunny Studio | |
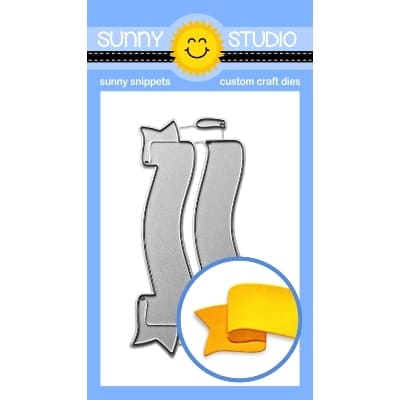 Brilliant Banner 1 Dies Shop at: Sunny Studio |
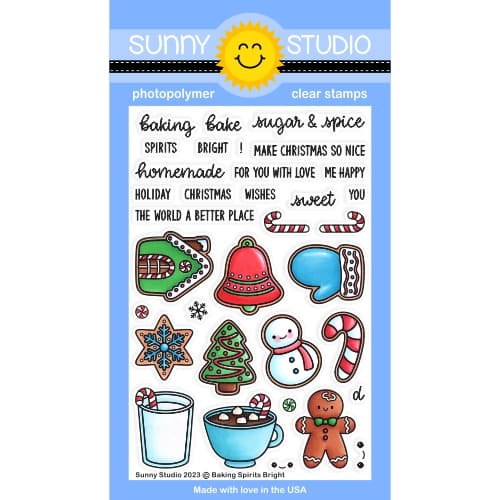 Baking Spirits Bright Stamps Shop at: Sunny Studio |
 Baking Spirits Bright Dies Shop at: Sunny Studio |
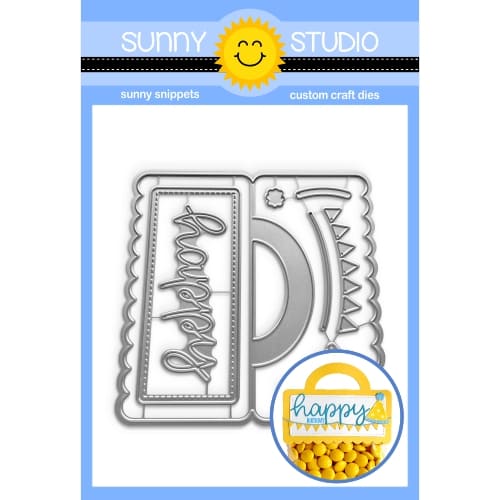 Treat Bag Topper Die Shop at: Sunny Studio | |
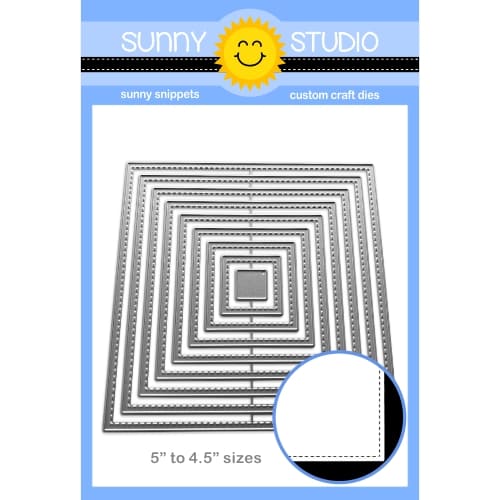 Stitched Square Dies Shop at: Sunny Studio |
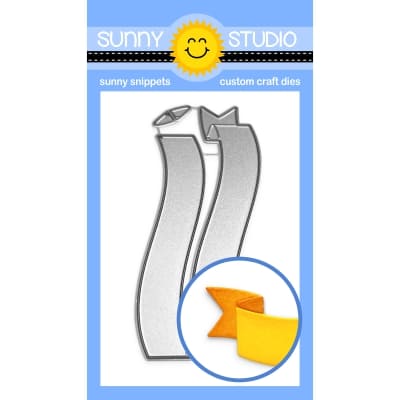 Brilliant Banner 3 Dies Shop at: Sunny Studio |




No comments:
Post a Comment