Hi
everyone, Anja here and today
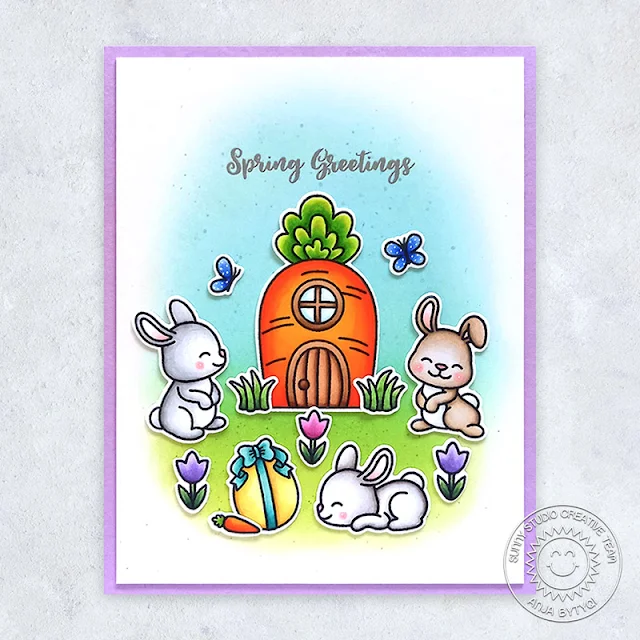
I'm sharing a sweet spring scene created with the adorable Bunnyville Stamps.
I started off with a lilac top folding A2 card base and trimmed down a piece of
Bristol cardstock to be a bit smaller. For the background, I blended together
the Distress Oxide Inks Tumbled Glass, Salvaged Patina, Mowed Lawn and Twisted
Citron. I let the colors fade into the white and added ink splatters with a
paint brush. When everything was completely dry, I stamped the sentiment from
the Spring Greetings mini
set in in VersaMark Ink and
heat embossed it with Silver embossing powder.
Next, I stamped
the images in Memento Tuxedo Black Ink and
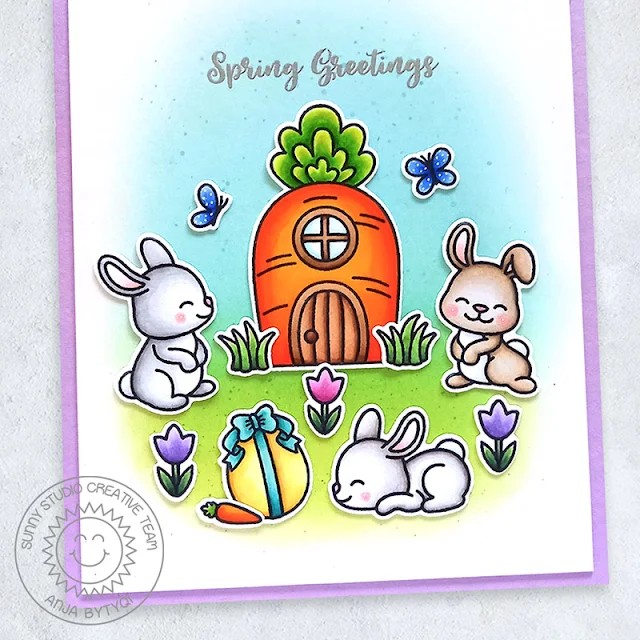
colored them with Copic Markers. I just love these cute bunnies and their
little carrot house. I cut everything out with the coordinating dies and assembled the
scene.
Thank you so
much for stopping by! Have a beautiful day!
----------------------------------------------
Hi crafty friends! Marine here. Spring has
arrived so it's time to share with you some cute and sweet Easter inspiration
showcasing the adorable Bunnyville stamp set.
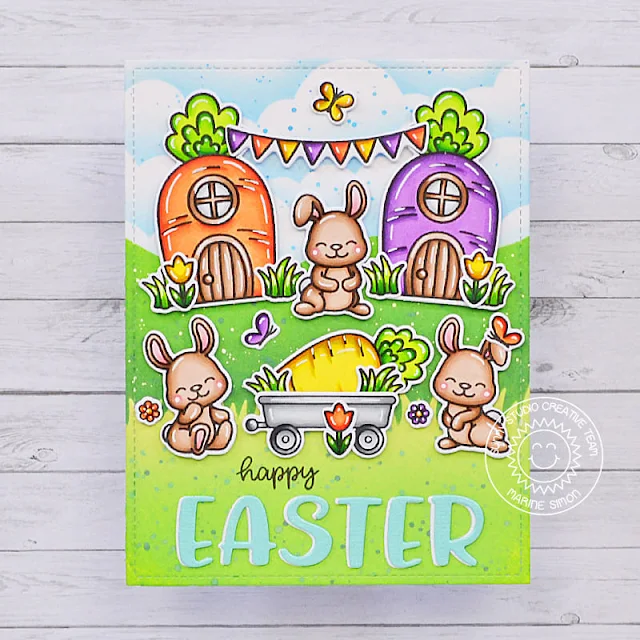
Originally, I had planned to make just one card, the one with the carrot
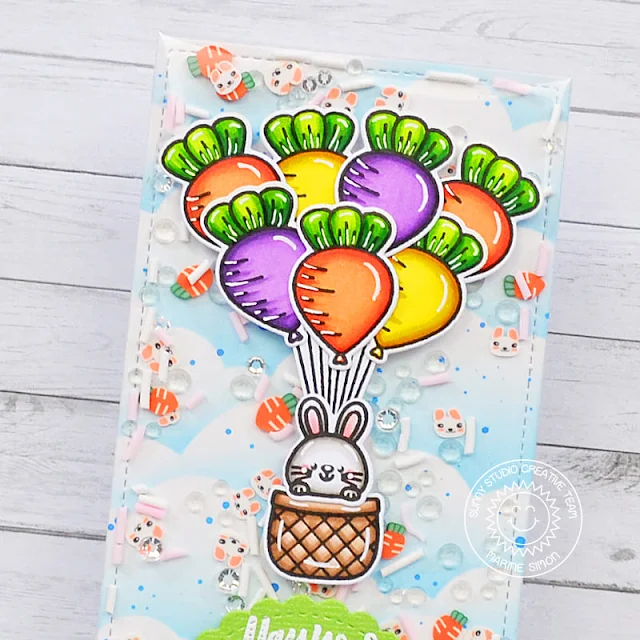
houses, but I really wanted to use the carrot balloons so I made a second card
to feature those balloons.
I started off by
cutting a 5,5 x 4,25" bristol panel, and used stencils from stash along
with oxide inks to create a lovely countryside scenery. At the bottom of the
panel, I created a grass section using shabby shutters + mowed lawn oxide inks.
Right above it, I created a hill section using mowed lawn + rustic wilderness
oxide inks. And at the top of the panel, I created a cloudy stencil using
tumbled glass + salty ocean oxide inks.
Next I stamped my images using an alcohol marker friendly black ink, cut them
all using the coordinating dies and then colored everything using my alcohol
markers. And as always, I picked the images from some other stamp sets: Harvest Mice for
the cart and Balloon Rides for
the banner.
Once the
coloring was done, I attached everything on my countryside panel. I first glued
the yellow carrot + some grass inside the cart using liquid glue, and next I
stuck the other images using foam squares for the biggest images, as well as
glue dots and liquid glue for the smallest ones.
Next I created my sentiment in two parts. I cut the letters to form the word
"Easter" out of a light blue cardstock using the Chloe Alphabet die set,
and as always I added white letters at the back to create an outline and make
the letters pop on the green background. I attached those letters at the bottom
of my panel, and then stamped the word "Happy" from Fabulous Flamingos right
above the letters. I used my white gel pen to add highlights and details to the
images and finally attached my panel on a white card base.

And like I said
at the beginning, I really wanted to use the carrot balloons from Bunnyville,
so I created a mini slimline edge to edge shaker card inspired by the Heart Bouquet card I
shared here on the blog back
in December.
To make this hot air carrot balloon, I also picked the bunny +
basket from Balloon Rides,
as well as the balloon strings from Heart Bouquet.
And for my sentiment, I white heat embossed the phrase "May your Easter be
a happy one" from Bunnyville on
green cardstock and cut it using a die from the Scalloped Circle Mat 1 die set.
And that's it
for today! I had a lot of fun making those two cards, and I hope you like them
too! The process video is available above (click on the image above) so make sure to check it out for
more information and details about the cards. Thanks so much for stopping by,
and see you next week!
Sunny Studio Supplies Used:


.JPG)
.JPG)


